Understand layer height on a curved miniature base
Compare vertical stepping, surface shape and print time on a rounded display base.
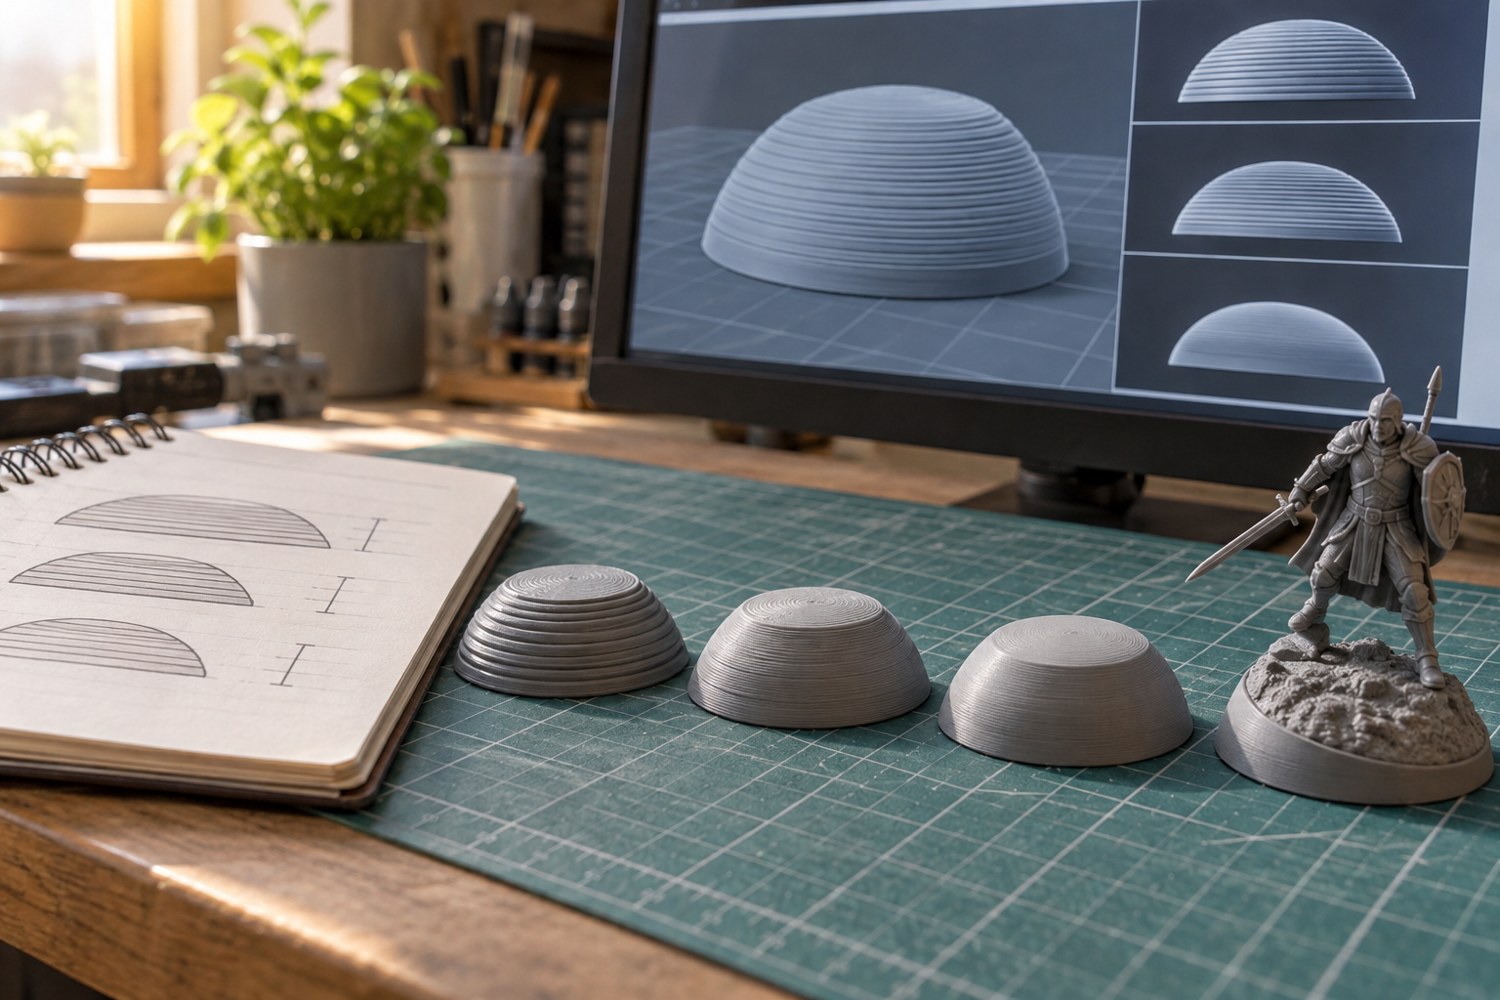
A curved miniature base can show layer steps most clearly where the surface slopes gently towards horizontal. That makes it a useful object for understanding layer height. The important distinction is between the shape of the source model and the stacked slices used to reproduce it. A smoother-looking model on screen does not automatically produce a smoother physical curve.
Layer height controls the vertical spacing between slices. Smaller steps can describe a changing slope more closely, while taller layers reduce the number of slices required. They do not, by themselves, resolve every tiny feature across the width of the object. Prusa's documentation distinguishes this vertical resolution from the horizontal detail associated with extrusion and nozzle choices. Keep those two directions separate when diagnosing a result.
Compare the same curve
Take a base with both a near-vertical rim and a shallow curved shoulder. Slice a copy with a normal manufacturer profile and another with a finer supported profile. Keep the material, scale and orientation the same. Look at the preview around the shoulder rather than judging only the perfectly flat top. Record the estimated duration for each version so that the visual difference can be weighed against the time required.
A whole base is not always necessary for the first comparison. A narrow section that retains the shoulder can reveal how the stepping changes. Label the section underneath, away from the surface being evaluated. Print the comparison pieces under comparable conditions and inspect them from the distance at which the finished miniature will usually be seen. A difference visible in an extreme close-up may disappear on a gaming table.
Lighting changes the judgement. Place the samples beside one another and rotate them under the same lamp. A grazing light can make small ridges conspicuous; broad light can soften them. Neither view is false, but each answers a different question. If the final model will sit beneath a strong shelf light, include that direction in the comparison rather than relying only on flattering workshop lighting.
Give detail to the region that needs it
Variable layer height can use finer slices in selected regions while retaining taller layers elsewhere. PrusaSlicer provides this capability, with automatic and manual adjustment. On the rounded base, that may mean more attention to the shoulder and less to a simple straight wall. Use the supported limits for the selected printer and nozzle; entering an extremely small number is not a substitute for a working profile.
Recheck top and bottom surfaces after changing the layer scheme. Also inspect any lettering and locating features. You may find that the curved edge improves while a tiny horizontal inscription remains unchanged. That is a useful result: it shows that the inscription needs a different design decision instead of still finer vertical steps.
Decide with the complete finishing plan in mind. An unpainted display base may justify a finer surface. A heavily textured ground surface may conceal the same steps beneath an intentional finish. Save the sample that meets the intended appearance and retain its settings with the model. The goal is a deliberate balance for this object, not a single layer height that must be used for everything on the printer.
Another detail to explore
Choose a first 3D printer around the objects you want to make
Start with three objects, their dimensions and the space available for making them. Those decisions narrow the printer search before speed claims do.
Read article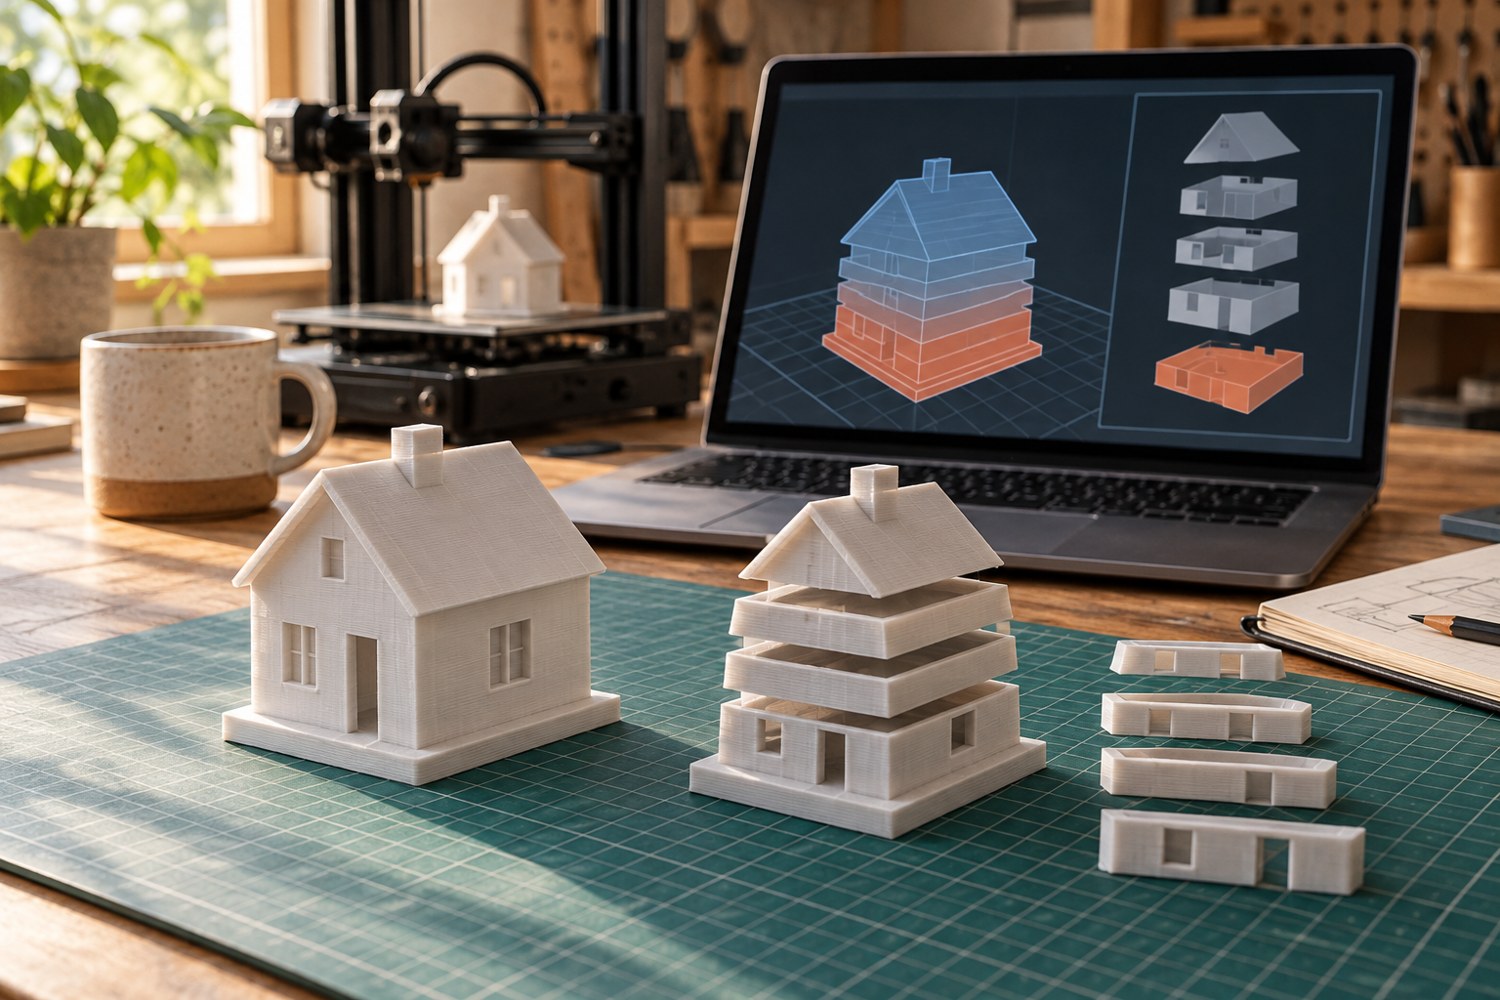
Read a sliced preview before starting a print
Read the toolpaths, first layer and delicate features before a file reaches the printer.
Read article