Plan a long print around an attended workspace
Schedule preparation, printing and cleanup as one job that fits the way the workspace is supervised.
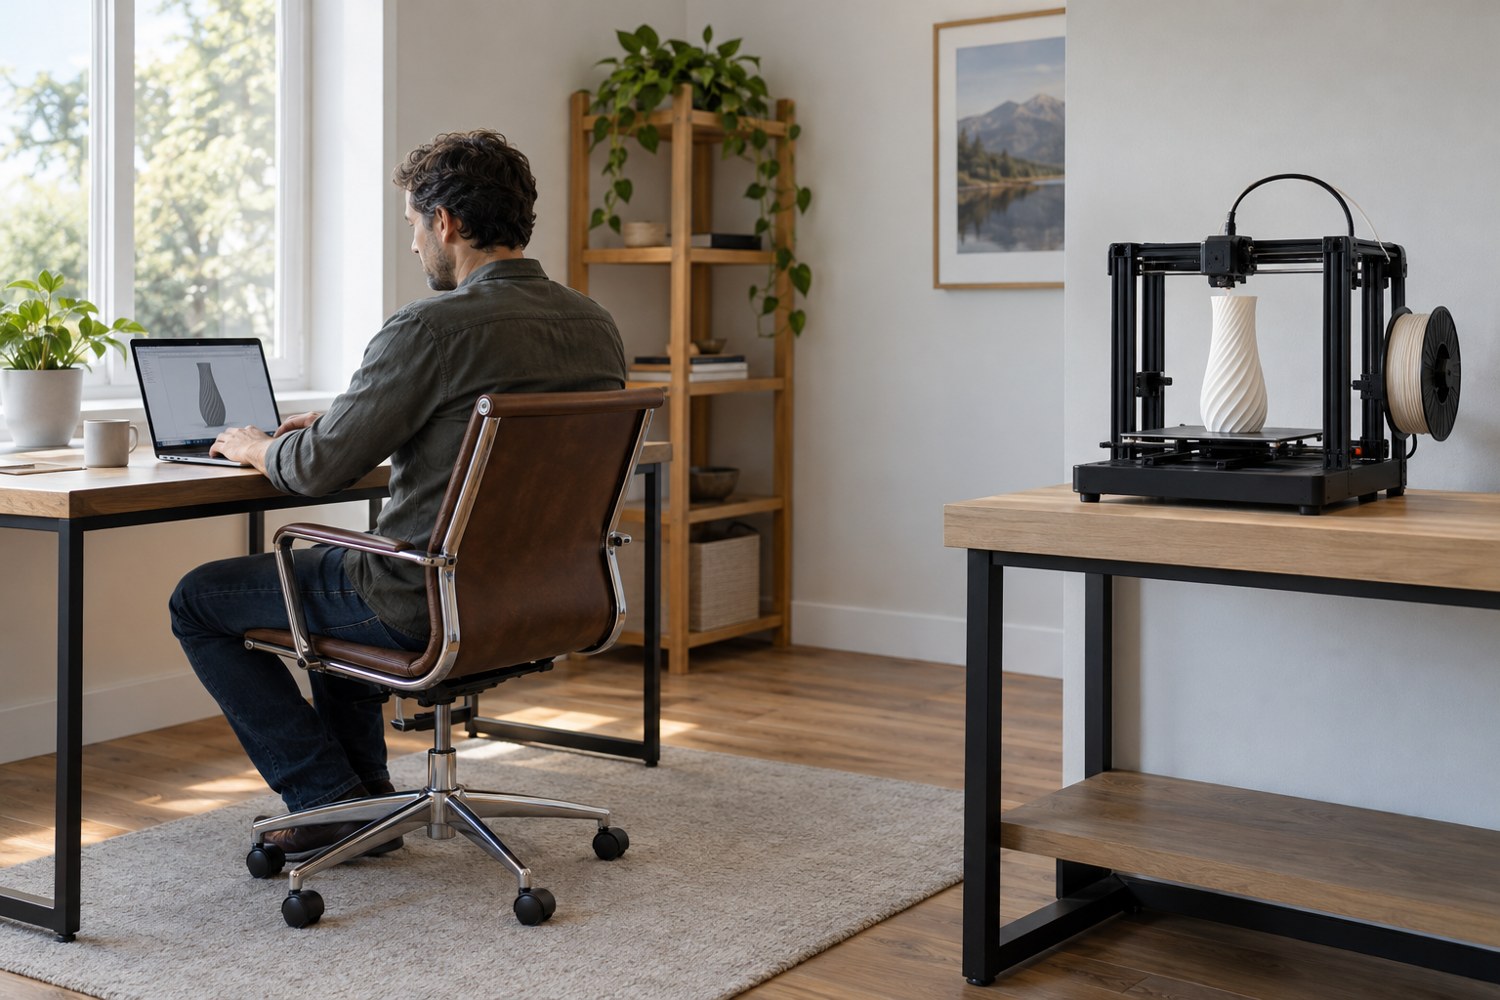
A long print starts before the machine begins moving and ends after the finished object is safely removed. The displayed duration is only one part of the schedule. Preparation, warm-up, checks, cooling and cleanup all occupy time, and a print that ends at an inconvenient hour can leave the whole workspace difficult to manage.
Read the printer manufacturer's supervision and operating instructions first. A camera or notification does not provide the same ability to respond as an appropriate person on site. Do not design a schedule around leaving an unfamiliar machine unattended. If the available supervised period is shorter than the job, consider splitting the model, using a printing service or choosing a different project arrangement.
Work backwards from the available window
Write down when someone can prepare the machine, observe the start and respond during operation. Reserve time after the estimated finish rather than filling every minute of that window. A small print that normally fits an evening may be suitable; a large experimental model with several uncertain features may not be.
Review the final sliced estimate, not an earlier estimate made before adding supports or changing layer height. Confirm that sufficient material is available and that the spool can feed without snagging. Check the work area against the manual: stable placement, clear machine movement, suitable ventilation and access to the normal controls. Keep packaging and loose project materials away from the operating area.
Plan interruptions honestly. A firmware-supported pause can be useful for a deliberate colour change, but it should not be assumed to make arbitrary overnight stopping reliable. The machine, material and part geometry all matter. Unless the manufacturer documents the intended operation, schedule a continuous job within the permitted use conditions or redesign the task.
Reduce the consequence of a restart
Look for natural divisions in the model. A large village can become separate buildings and terrain sections; a display plinth may have a detachable nameplate. The joining work is a real cost, so choose seams that can be aligned and finished. Breaking a model into many arbitrary fragments can exchange a printing problem for an assembly problem.
Test uncertain features before the long job. A small fit sample can reveal a clearance error that would otherwise appear after hours of printing. Inspect the full preview after incorporating the change, since a successful coupon does not validate the untouched remainder. Keep the final file clearly separated from obsolete versions on the transfer device.
At the start, observe the initial operation as the manufacturer recommends. During the job, keep the planned checks and respond to warnings rather than repeatedly dismissing them. When printing finishes, follow the cooling and removal instructions; do not rush a hot part off the plate to meet an artificial deadline.
Finish by recording the actual duration and any intervention. This is useful scheduling information for a repeat, not a promise that every future print will be identical. A workable plan leaves space for the operator and the workspace as well as the object. If that space is unavailable, reducing the job is a better decision than pretending the estimate is the entire task.
Another detail to explore
Choose a first 3D printer around the objects you want to make
Start with three objects, their dimensions and the space available for making them. Those decisions narrow the printer search before speed claims do.
Read article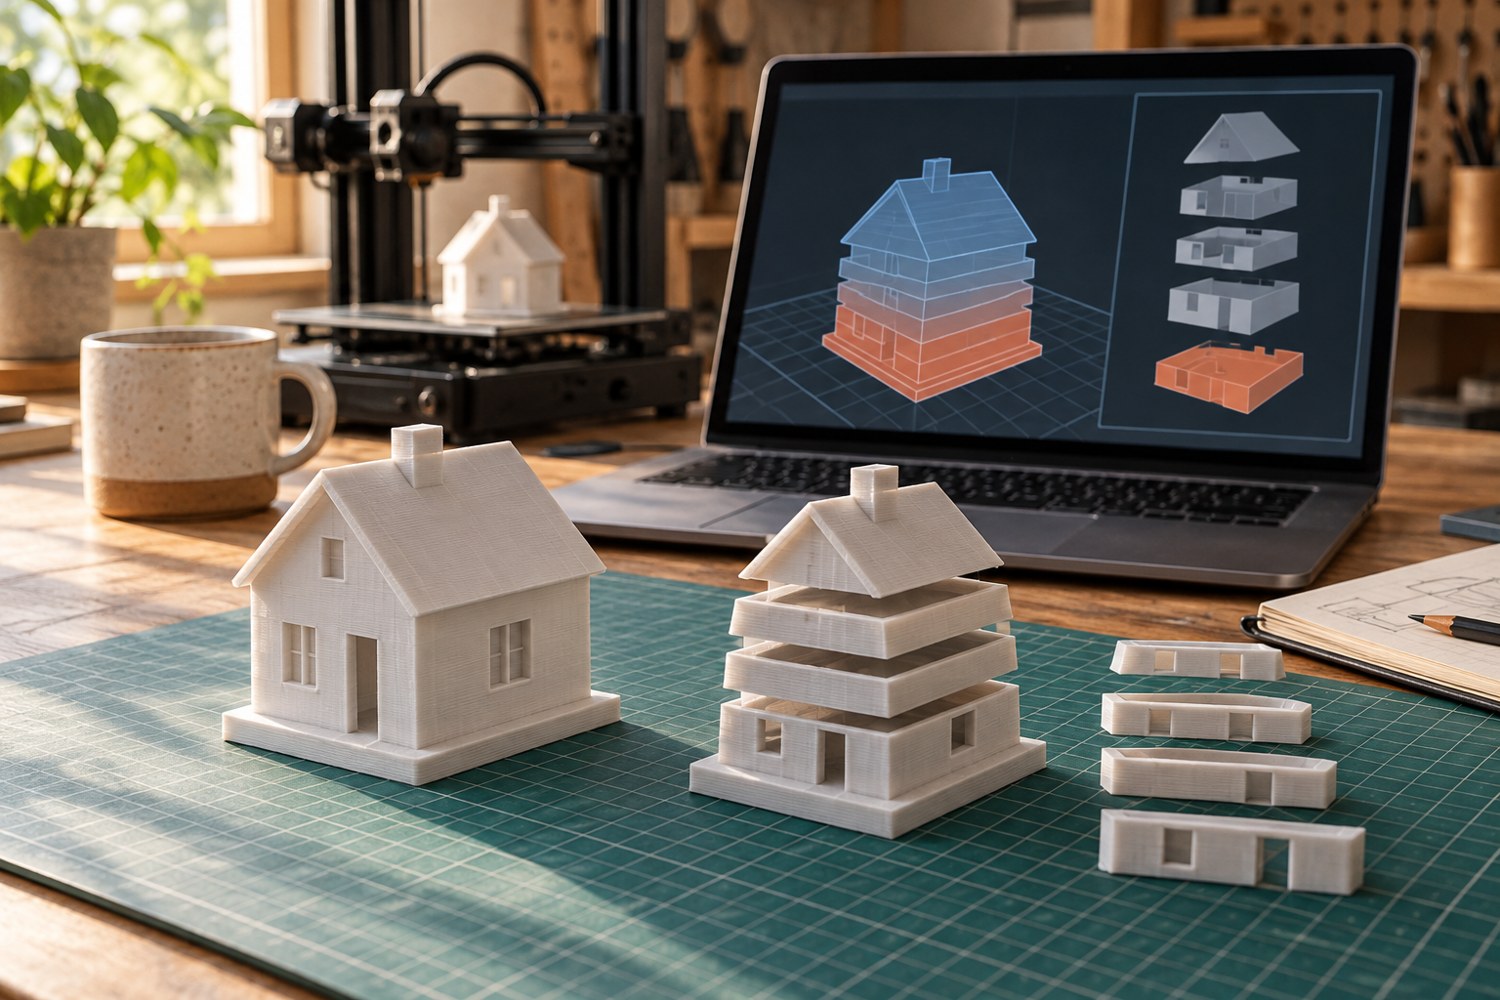
Read a sliced preview before starting a print
Read the toolpaths, first layer and delicate features before a file reaches the printer.
Read article