Plan a dust cover around a model base
Measure the model's full envelope and rehearse cover removal before ordering or building a dust cover.
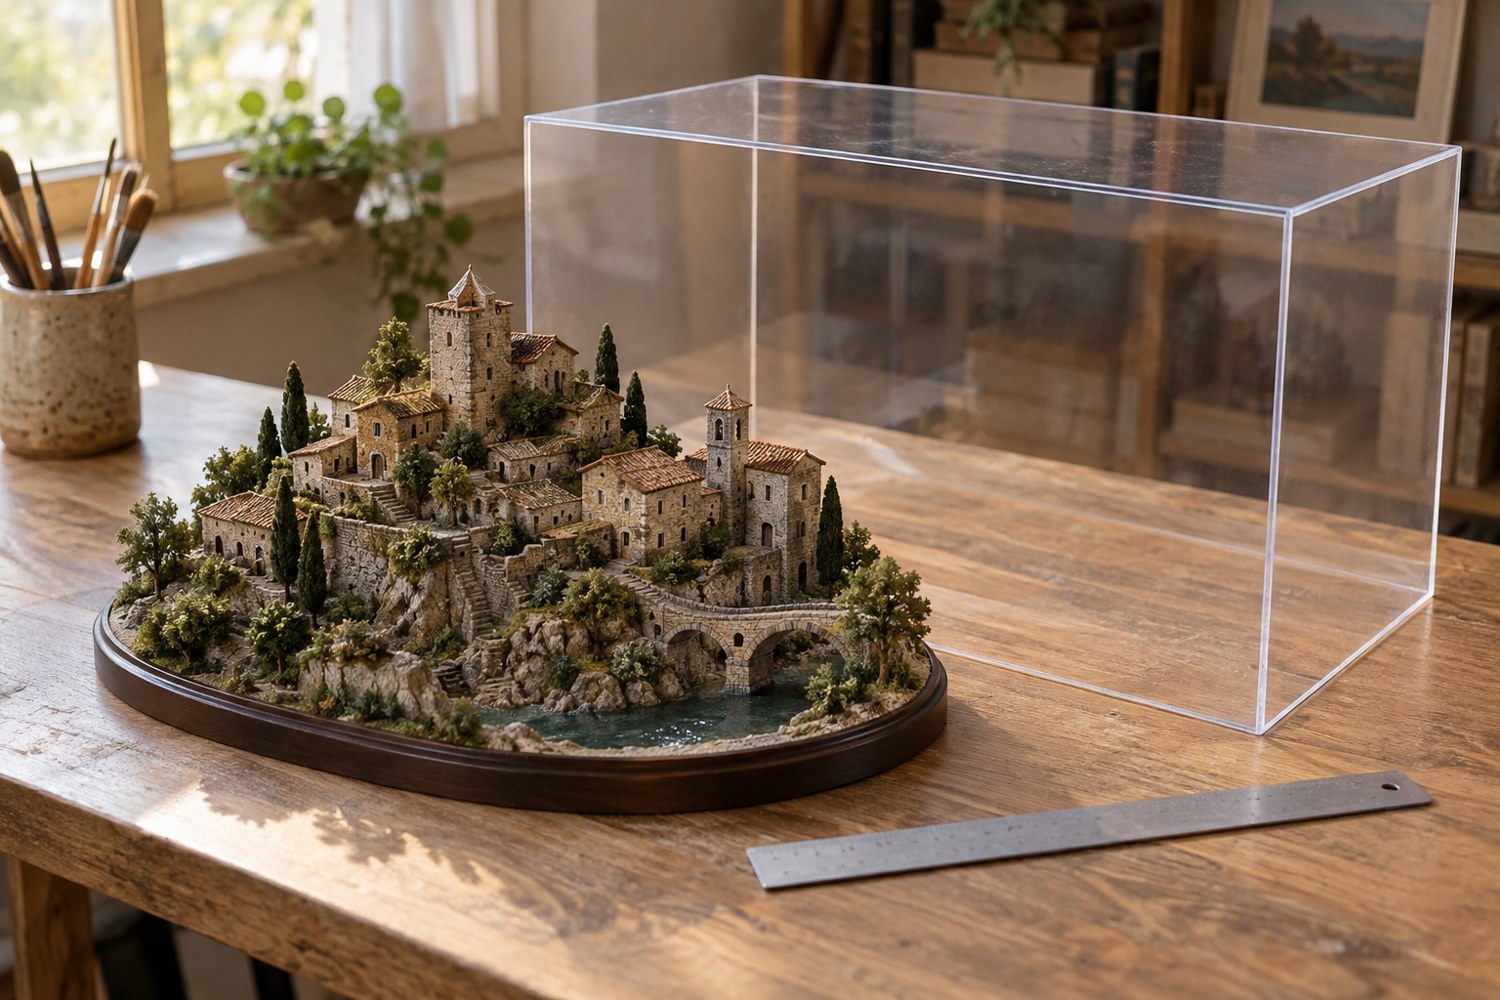
A dust cover needs clearance around the model during movement, not only while it rests in place. Measure the base and every projecting detail, including branches, masts and overhanging roofs. Record the maximum width, depth and height. Check whether those dimensions change when a removable part is installed.
Distinguish the cover's outside dimensions from its usable internal space. Wall thickness, corner construction and a locating lip can reduce that space. Confirm the supplier's measurement convention before ordering. Draw the internal outline around the model on paper and leave an intentional margin rather than designing to exact contact.
Test the removal path
Make a rough cardboard cover or a simple frame that represents its opening. Lift it in the way the real cover will be removed. A tall feature near an edge may require a straighter motion than you can achieve on a crowded shelf. Check the clearance above the cover as well as inside it.
Provide a way to grip the cover without touching the model. If it sits in a base groove, make sure the user can lift it evenly. Avoid a fit so tight that removal requires a sudden pull. The cover should not be used as a handle for the entire display unless the product is explicitly designed to support that load.
Choose materials and cleaning methods based on the cover manufacturer's guidance. Transparent plastics and glass have different handling and care needs. Test any cleaner only as recommended, and keep cleaning liquid away from the model and its scenic materials.
Consider reflections before committing to a display position. A clear cover can reflect windows or room lights over the main subject. Adjusting the shelf position or lighting may matter more than making the cover larger. Photograph a temporary clear panel if you need to evaluate that relationship.
Allow the model's paints, adhesives and scenic products to reach their stated curing or handling conditions before enclosing it. Do not use the cover to hide an unfinished drying stage. Store the cover separately during repairs, on a surface where its edges cannot collect grit that later scratches the base. Include a short removal instruction if someone else will handle the display. A cover should reduce routine contact with the model, not introduce a new obstacle every time it is lifted.
Leave space for a label without crowding the model
If the display needs a title or project label, include it in the base plan before ordering the cover. A label added later can occupy the finger clearance needed to lift the model or sit directly in front of an important shoreline. A separate outer band on the base can give text a clear location without turning it into scenery.
Check readability through the cover from the normal viewing angle. Reflections, a thick lower edge or a deep locating groove can obscure small text. A temporary paper label placed in the mock-up will reveal these problems before a permanent plaque is made.
Keep the cover and base identifiable if several displays use similar dimensions. A discreet label underneath can prevent someone trying to force the wrong cover onto a slightly different groove. Store a photograph of the assembled display with its measurements and cleaning guidance. That record is useful when replacing a damaged cover without disturbing or remeasuring every fragile projection on the model itself.
Another detail to explore
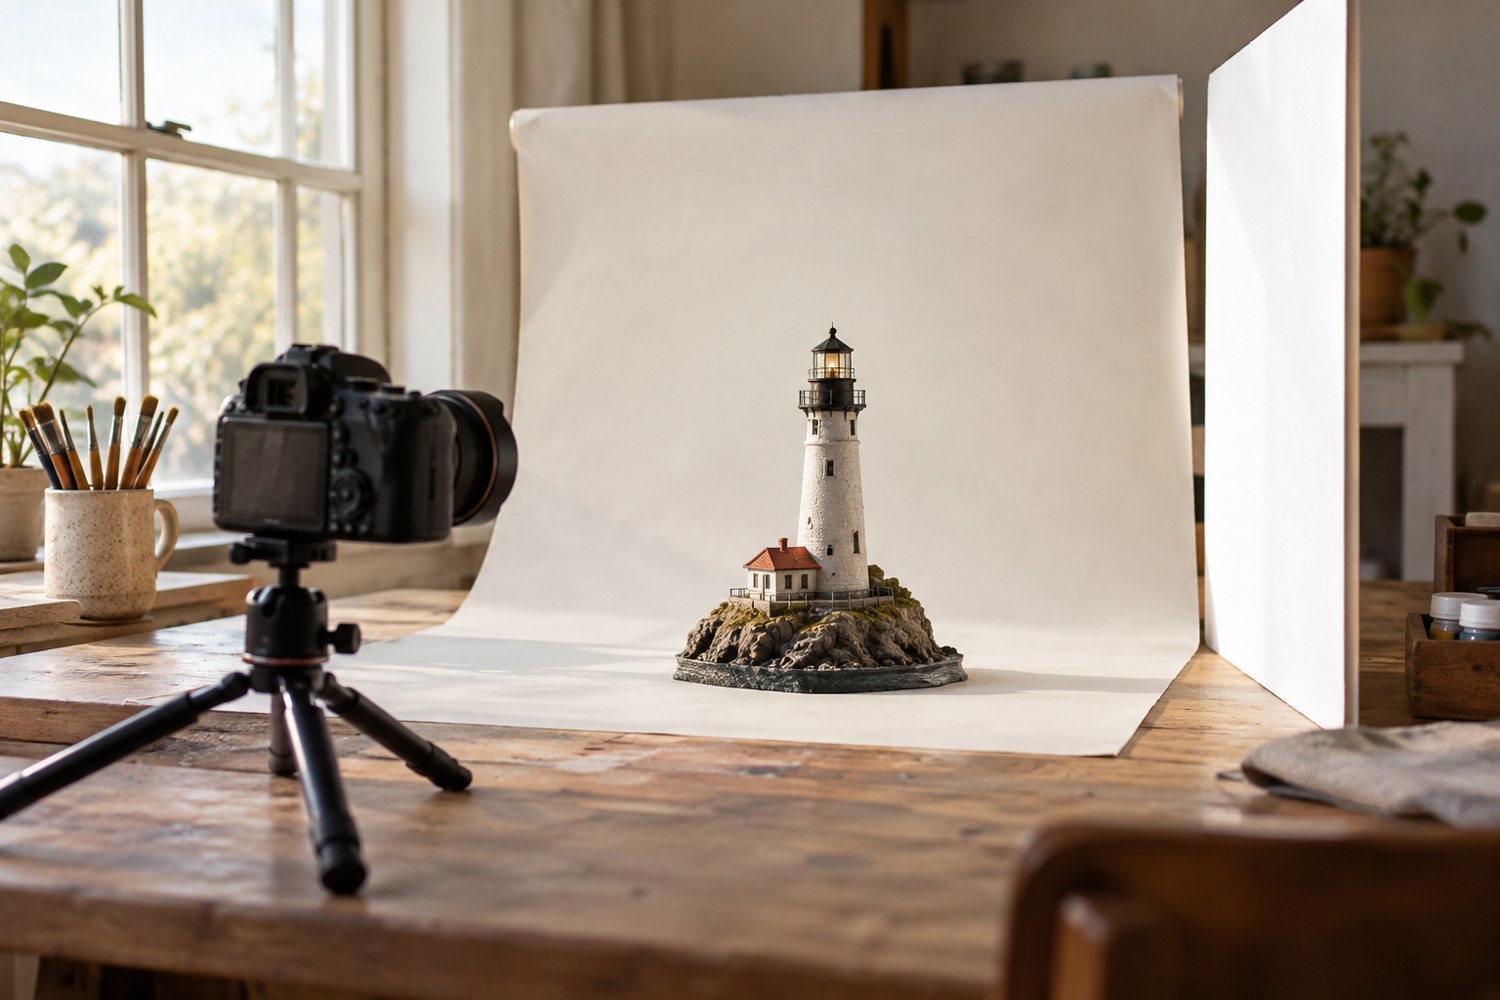
Photograph a miniature with a simple window-light setup
Use a stable model position, indirect window light and a simple reflector to make small forms readable in photographs.
Read article
Choose a background for a terrain model
Choose a background that separates the model's silhouette and supports its colours without becoming a second subject.
Read article