Photograph a miniature with a simple window-light setup
Use a stable model position, indirect window light and a simple reflector to make small forms readable in photographs.
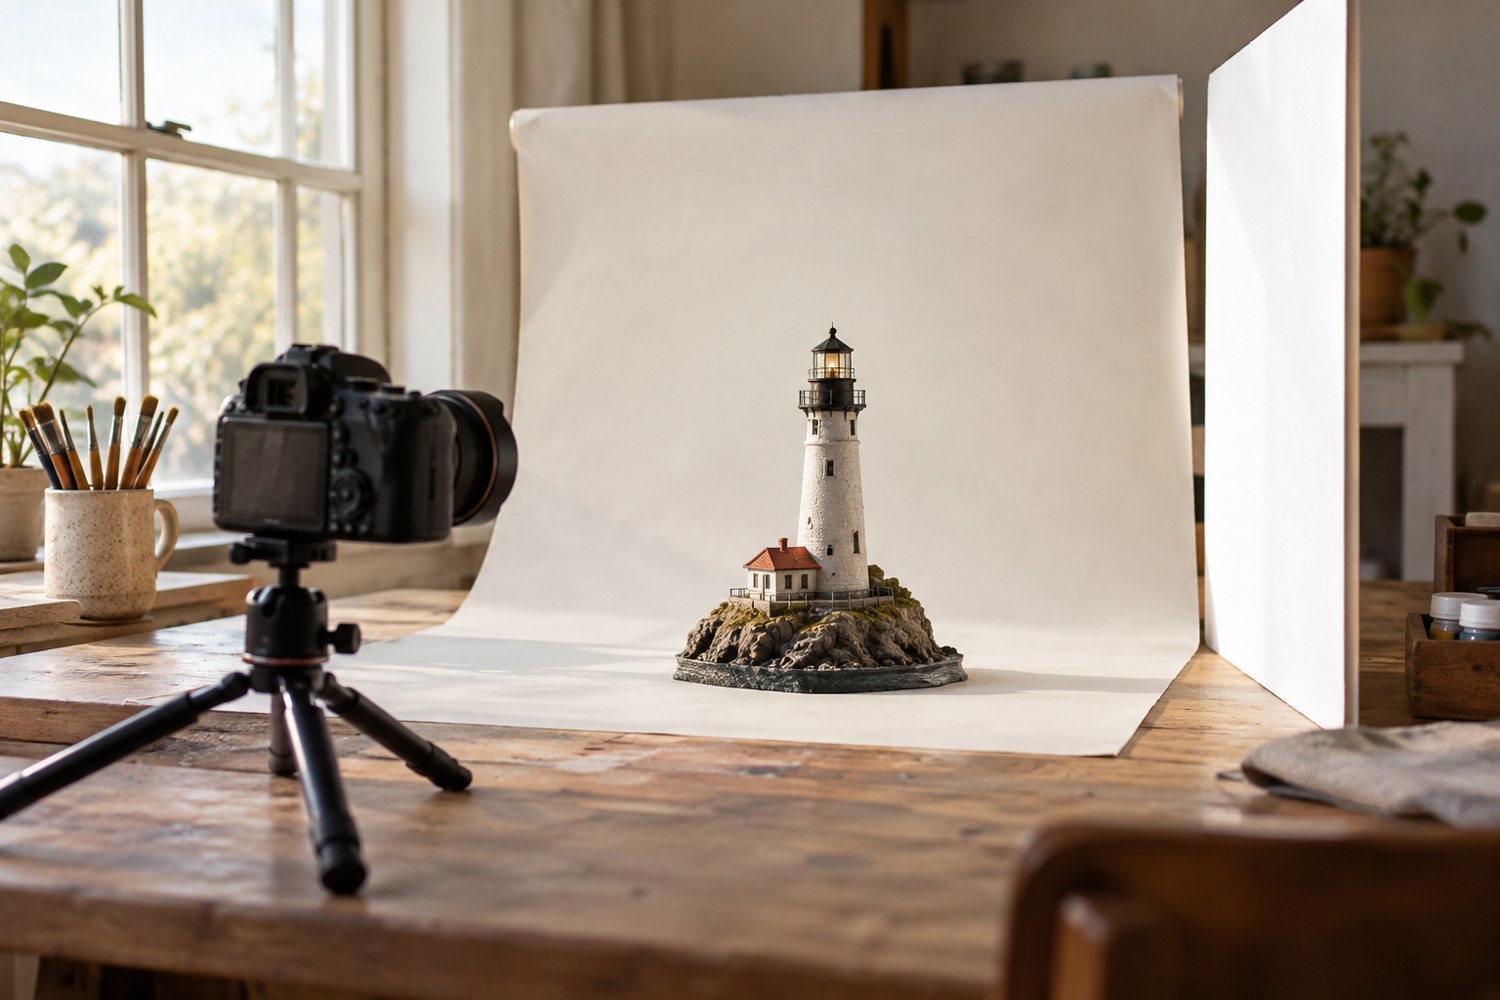
A window can provide a large light source for miniature photography without a complicated lighting setup. Choose a table where the model can sit securely and where the window is to one side rather than directly behind the camera. Start with indirect light; strong direct sun can create very bright patches and deep shadows that are difficult to balance.
Put a plain background behind the model and curve it gently onto the table if you want to avoid a visible horizon line. Keep the background far enough away that the model does not cast a distracting hard shadow onto it. Turn off nearby lamps that introduce a different colour unless you are deliberately including them in the lighting design.
Move the model before adding equipment
Rotate the model in small steps and watch how the light describes the surface. A wall facing the window directly may look flat, while a slight angle reveals its texture. Choose the position that makes the important feature readable without hiding the rest of the scene in shadow.
Place a plain white card on the shadow side to reflect some light back. Move it closer or farther away rather than immediately adding another lamp. The card should soften an unwanted dark area without removing every shadow. Keep it outside the frame and secure it so it cannot fall onto the model.
Support the camera or phone on a stable mount. Use a timer or remote release if available so pressing the shutter does not move the setup. Keep the model itself still. A rotating display or an unsteady table makes it harder to distinguish focus problems from movement.
Focus on the shape that matters
Select the important plane of the model and inspect a test image at full size. Close-up work can have limited depth of field; Canon's macro guidance discusses the challenge of keeping enough of the subject acceptably sharp. Do not assume that the sharpest-looking preview guarantees the front and back of a deep scene are both clear.
If only a narrow slice is sharp, try stepping back and framing slightly wider, or adjust aperture where your camera allows it. Check the result rather than automatically choosing the smallest aperture setting. For a simple record photograph, a clear main subject and an honest view of the whole model may matter more than extreme magnification.
Watch the brightest painted area. If it loses all surface detail, reduce exposure using the camera's available controls and take another frame. Compare the shadow side too. The reflector and the model angle can improve the balance before you attempt aggressive editing.
Take a wide view, a three-quarter view and one detail while the light is consistent. Window light changes with weather and time, so finish a related set reasonably close together. Record the setup with a quick behind-the-scenes photograph if you need to repeat it later. Keep the final edits restrained: correct framing and overall exposure without concealing joins, print marks or features relevant to the model you are showing.
Keep the setup repeatable when daylight changes
Mark the positions of the model base, camera support and reflector on a removable sheet beneath the setup. Do not mark a valuable tabletop or stick tape to the miniature. These references let you restore the geometry after checking an image on another screen or photographing a separate detail.
Take a simple reference frame at the start of the session with a neutral card in the same light. If your camera supports white-balance control, use a consistent approach for the series and check the device instructions. Avoid letting every image receive a dramatically different automatic colour interpretation and then trying to make the paints match afterwards.
When a cloud changes the light, compare a new test frame with the earlier overview. You may need to wait for a similar condition or finish the remaining images as a separate set. Record the difference rather than claiming a colour comparison between frames taken under obviously different illumination.
Keep the model away from direct heat and prolonged strong sunlight while arranging the shot, according to the requirements of its materials. The window is a light source, not a storage location. At the end of the session, return the model to its normal support and check that the temporary reflector, background or camera mount has not disturbed any loose scenic detail.
Another detail to explore
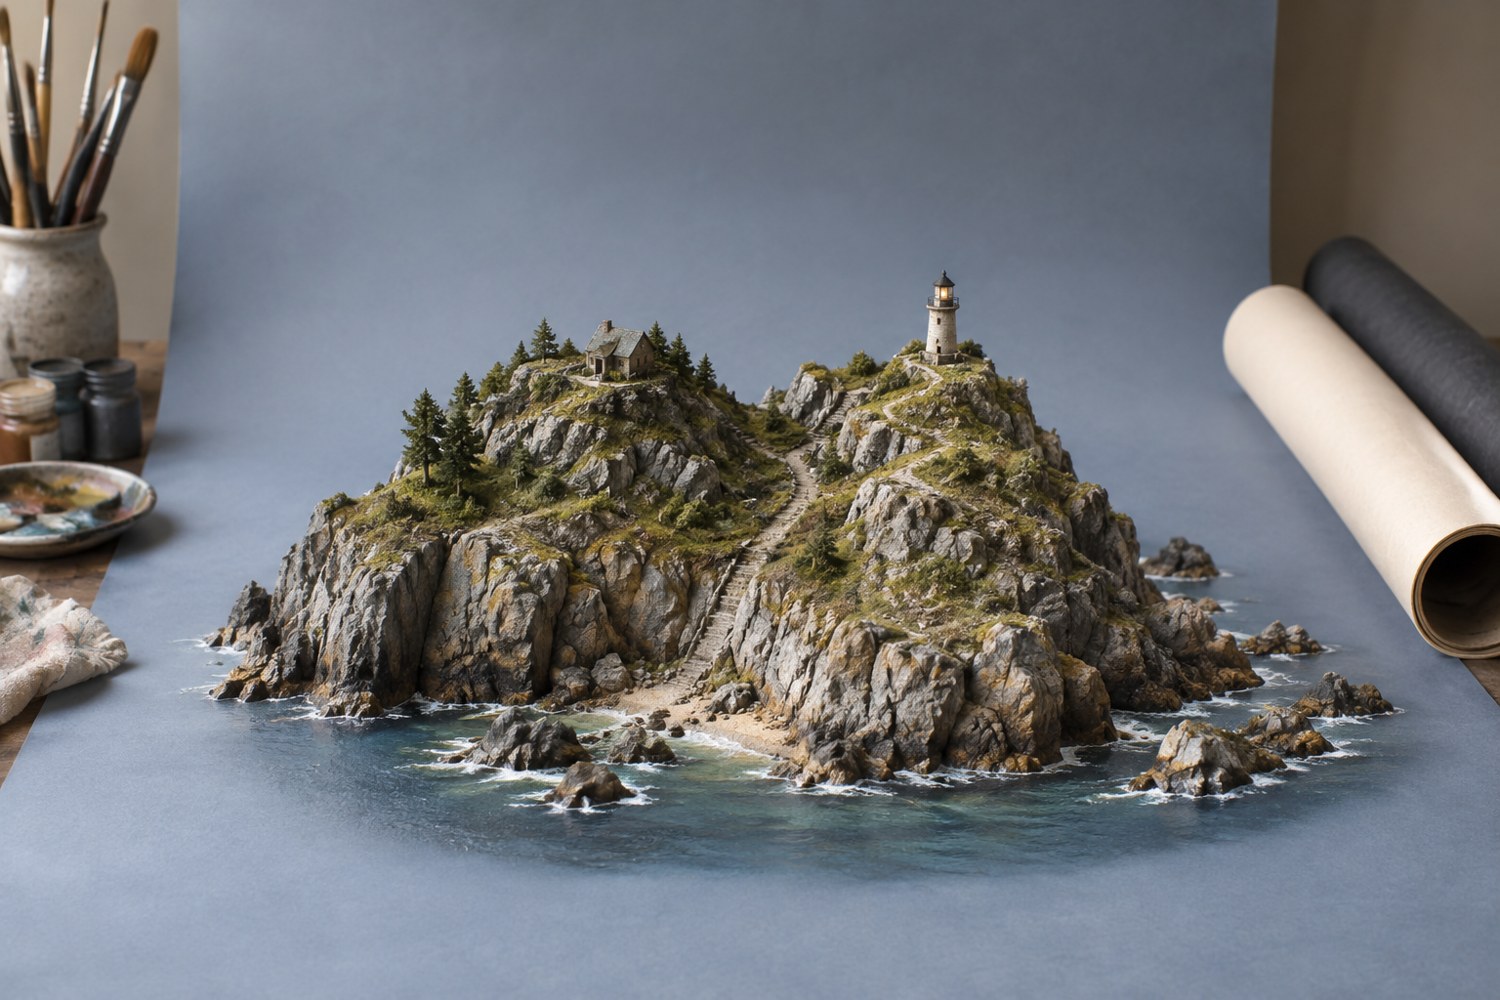
Choose a background for a terrain model
Choose a background that separates the model's silhouette and supports its colours without becoming a second subject.
Read article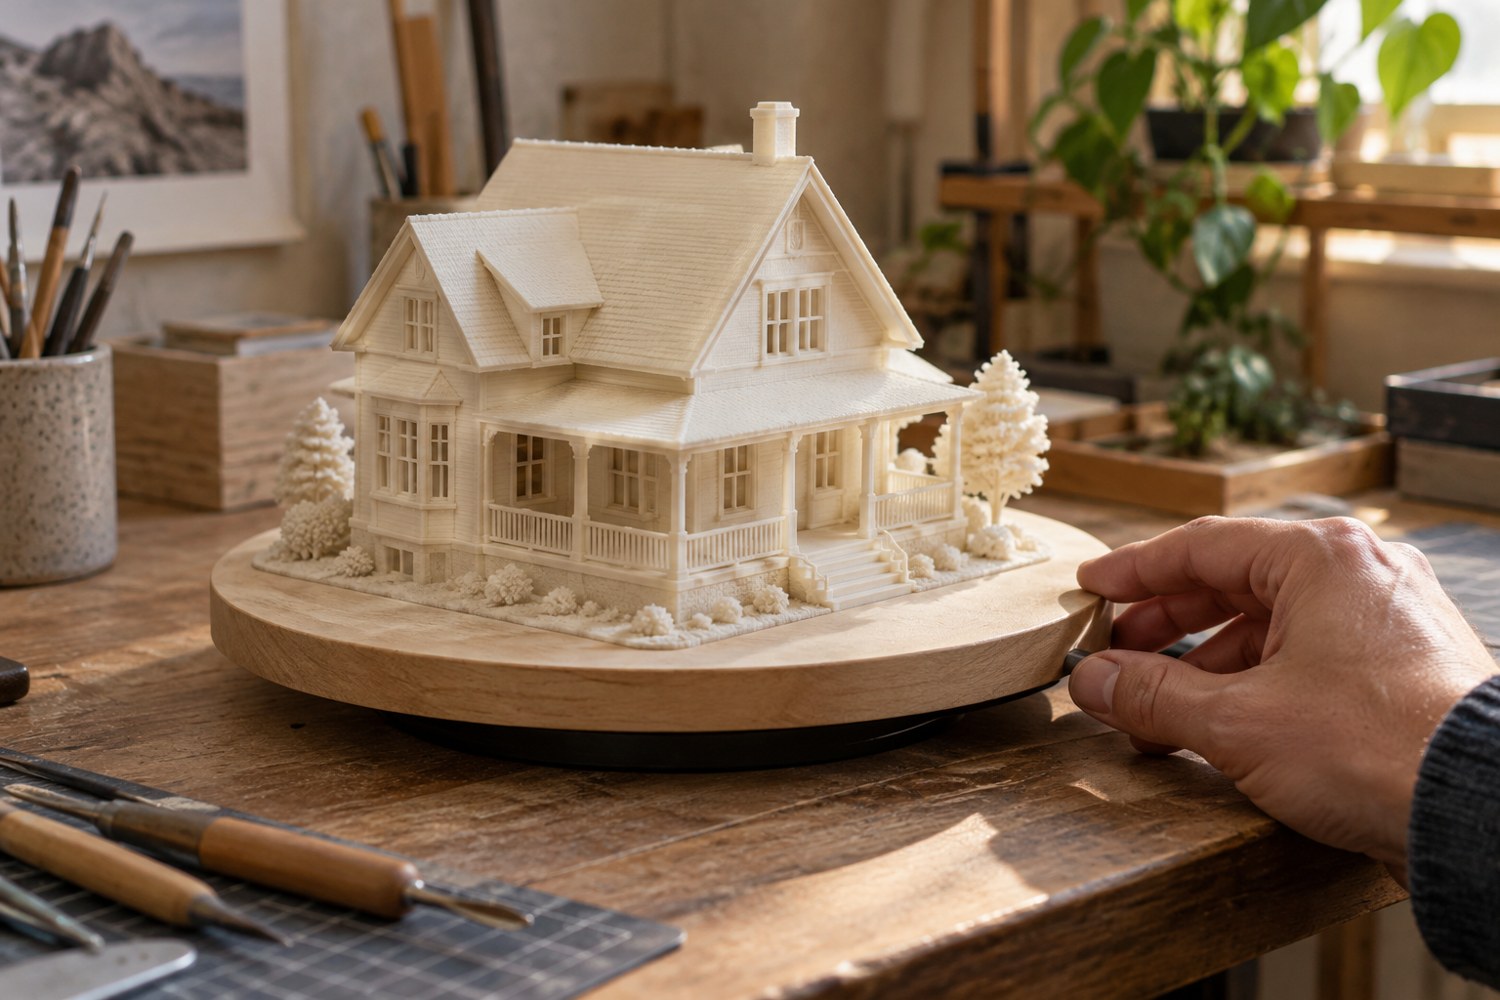
Use a turntable to inspect a finished print
Use a stable turntable to inspect changing reflections and silhouettes, with the model supported by its base.
Read article