Plan a colour change without a multi-material printer
Use a planned layer change for raised lettering or bands of colour on a compatible printer.
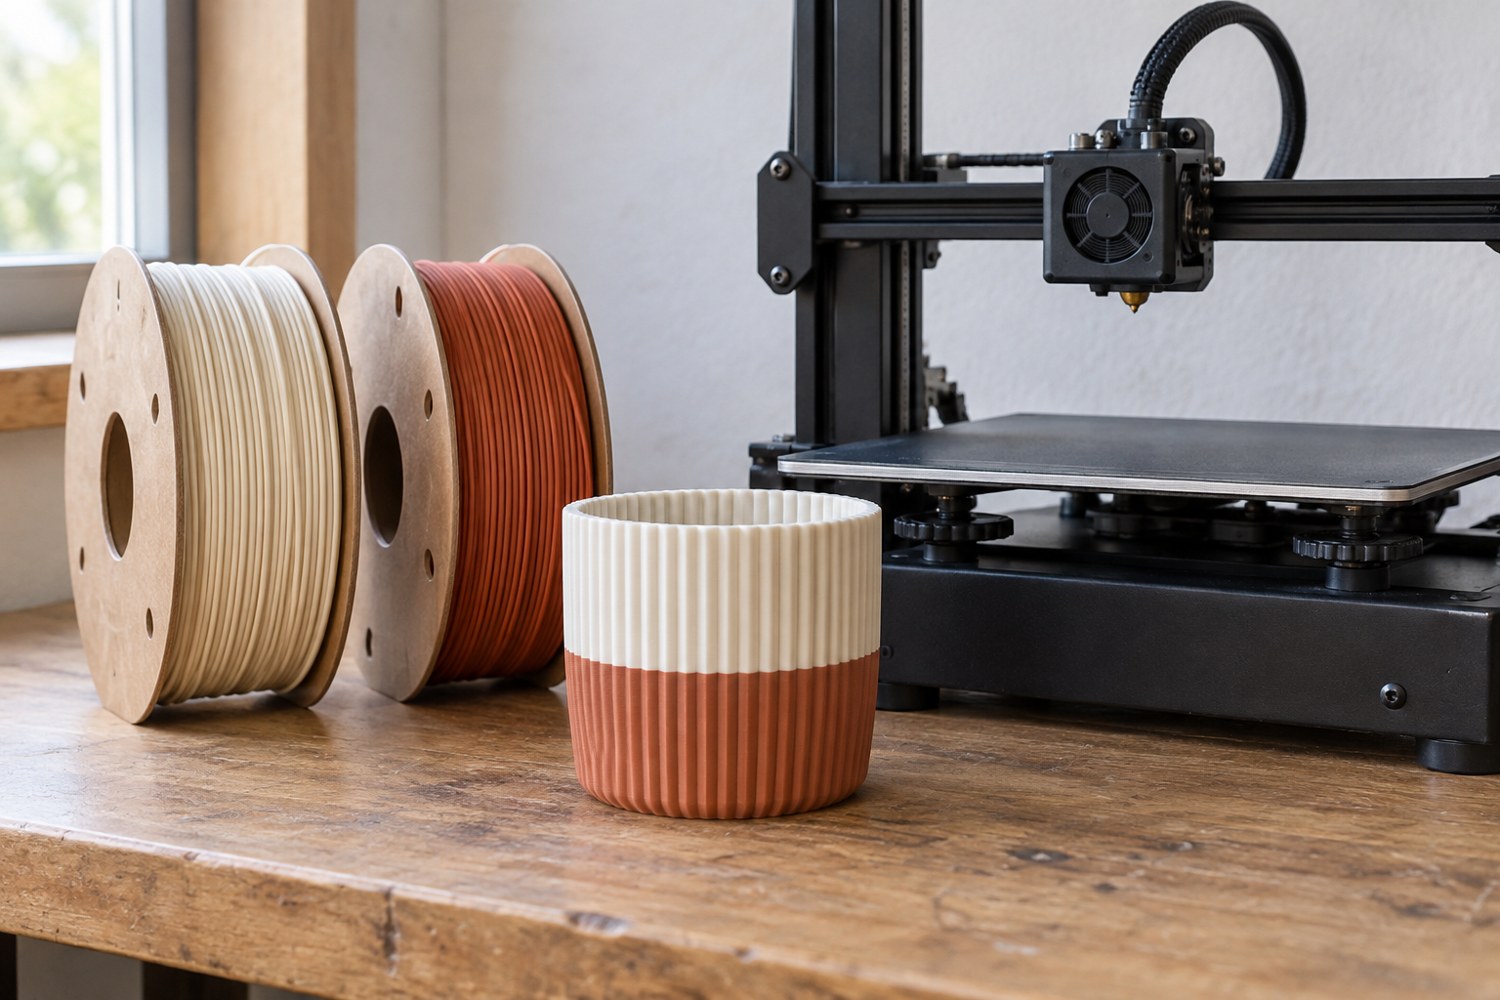
A single-material printer can produce some multicolour objects by pausing for a filament change at a chosen layer. A flat nameplate with raised letters is a good example: the base prints in one colour and the upper lettering in another. This method does not independently colour different regions that occupy the same layer.
First confirm that the printer and firmware support the slicer's intended change procedure. PrusaSlicer can insert a colour change at a selected layer and uses a supported printer response to pause and request new filament. Do not assume that every machine understands the same command. Use the documentation for the actual printer rather than copying a line of G-code from an unrelated setup.
Inspect the sliced preview to find the first layer of the raised detail. Add the change at that boundary and review the result from above and from the side. The preview colours are a visual aid; they do not load a particular spool. Prepare the physical filaments in the intended order and label them if similar shades are difficult to distinguish under workshop light.
Use compatible filaments of the same material type for this straightforward approach. A colour change is not an invitation to join unrelated polymers with different processing requirements. Even within one material family, use the supplier's guidance for the exact products and test the combination when the object has an important fit or finish.
Schedule the print so that you can respond to the pause. Follow the machine's unloading, loading and purging prompts, keeping clear of hot and moving parts. Make sure the resumed colour is clean enough for the design before continuing as instructed. A light inscription above a dark base may show a small amount of residual colour more conspicuously than the reverse arrangement.
Try the idea on a short sample containing a few letters before making the complete sign. Check that the contrast is readable at the intended distance and that the change begins where expected. Save the project with the change included, then give the exported file a name that distinguishes it from the single-colour version. The process is most effective when the model has been designed around a clear height boundary from the start.
Another detail to explore
Choose a first 3D printer around the objects you want to make
Start with three objects, their dimensions and the space available for making them. Those decisions narrow the printer search before speed claims do.
Read article
Read a sliced preview before starting a print
Read the toolpaths, first layer and delicate features before a file reaches the printer.
Read article