Photograph small details with a phone
Improve phone detail photographs with stable support, correct focus distance and light that reveals the surface.
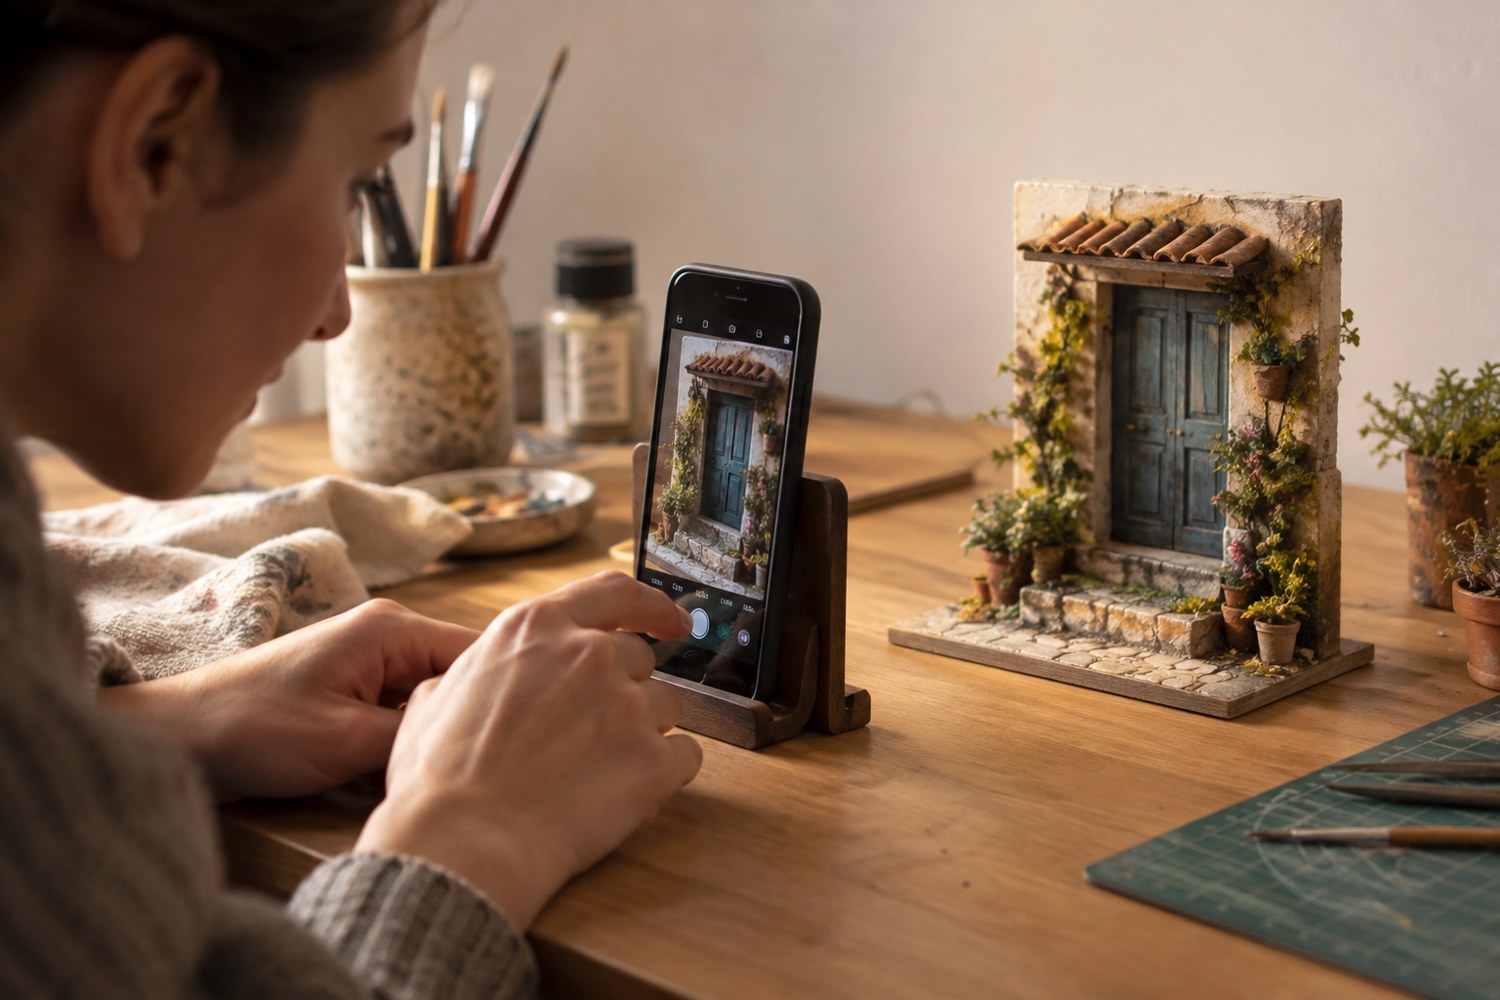
Moving a phone closer does not always make a small detail clearer. Every camera has a focusing range, and some phones switch lenses or modes as the subject approaches. Begin slightly farther away than you think necessary, tap the important feature to focus where supported, and inspect a test image before moving closer.
Clean the lens using the device manufacturer's recommended method. Support the phone on a stable holder and place the model on a fixed surface. A timer can reduce movement from touching the shutter. Keep your hands and the phone from shading the feature you are trying to photograph.
Check which camera is being used
On supported iPhone models, Apple documents automatic macro behaviour and related controls. Other phones may use different lenses or dedicated modes. Check the guide for your device rather than assuming that a flower icon or a close focusing distance behaves identically across models.
Watch the framing as you approach. If the view jumps or the colour changes, the phone may have changed camera or processing mode. Take a frame and examine the saved image, not just the live preview. A slightly wider sharp photograph can be more useful than a tighter image with smeared detail.
Use a broad light from one side to reveal texture, with a plain card on the opposite side if the shadows are too deep. Avoid placing a bright lamp so close that it creates a harsh reflection on varnish or clear plastic. Rotate the model a little and compare the surface before increasing brightness.
Keep the background simple and leave enough room for context. A close-up of a join should show where it sits on the model. If the image is for a portfolio, take a wider companion frame so the viewer can relate the detail to the whole piece.
Avoid heavy digital sharpening or filters that invent crisp-looking edges. Compare the final image with the physical model under ordinary light. Cropping and modest exposure correction can improve presentation without concealing the feature being documented. Save the original image alongside the edited version. If you are recording a flaw for repair, keep the unedited file and note the angle or lighting that made it visible so you can check the same area after the work is done.
Keep a detail series consistent
For a repair record, take the first photograph wide enough to show the location, then a closer frame of the defect. Repeat those views after the repair using the same orientation and light direction. This makes it easier to see the actual change rather than differences caused by a new angle or stronger sharpening.
Use a stable reference point in the framing, such as a nearby doorway or base corner. Avoid placing a ruler against the damaged feature merely to show size. If a measurement is needed, make it separately with a suitable method and include the result in the caption.
Review the original file before deleting any apparent duplicate. One frame may show a recess sharply while another has focused on the front edge. Keep the image that answers the intended question, even if it looks less dramatic. For public presentation, a close-up should add information to the overview rather than simply magnifying an attractive area with no explanation of its place in the project.
Another detail to explore
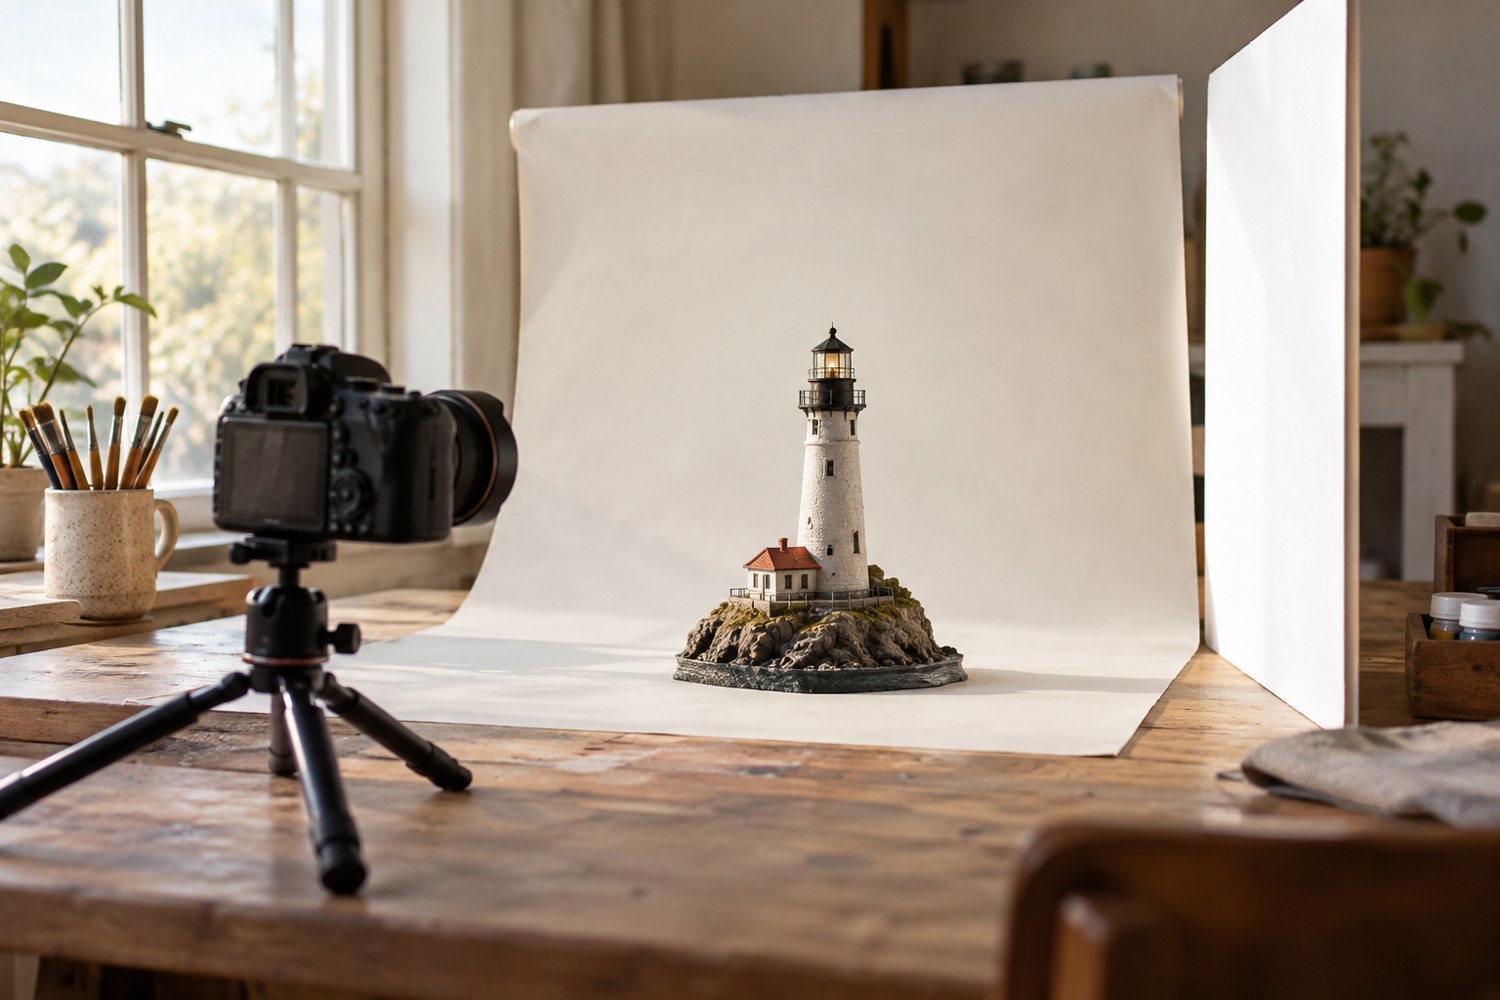
Photograph a miniature with a simple window-light setup
Use a stable model position, indirect window light and a simple reflector to make small forms readable in photographs.
Read article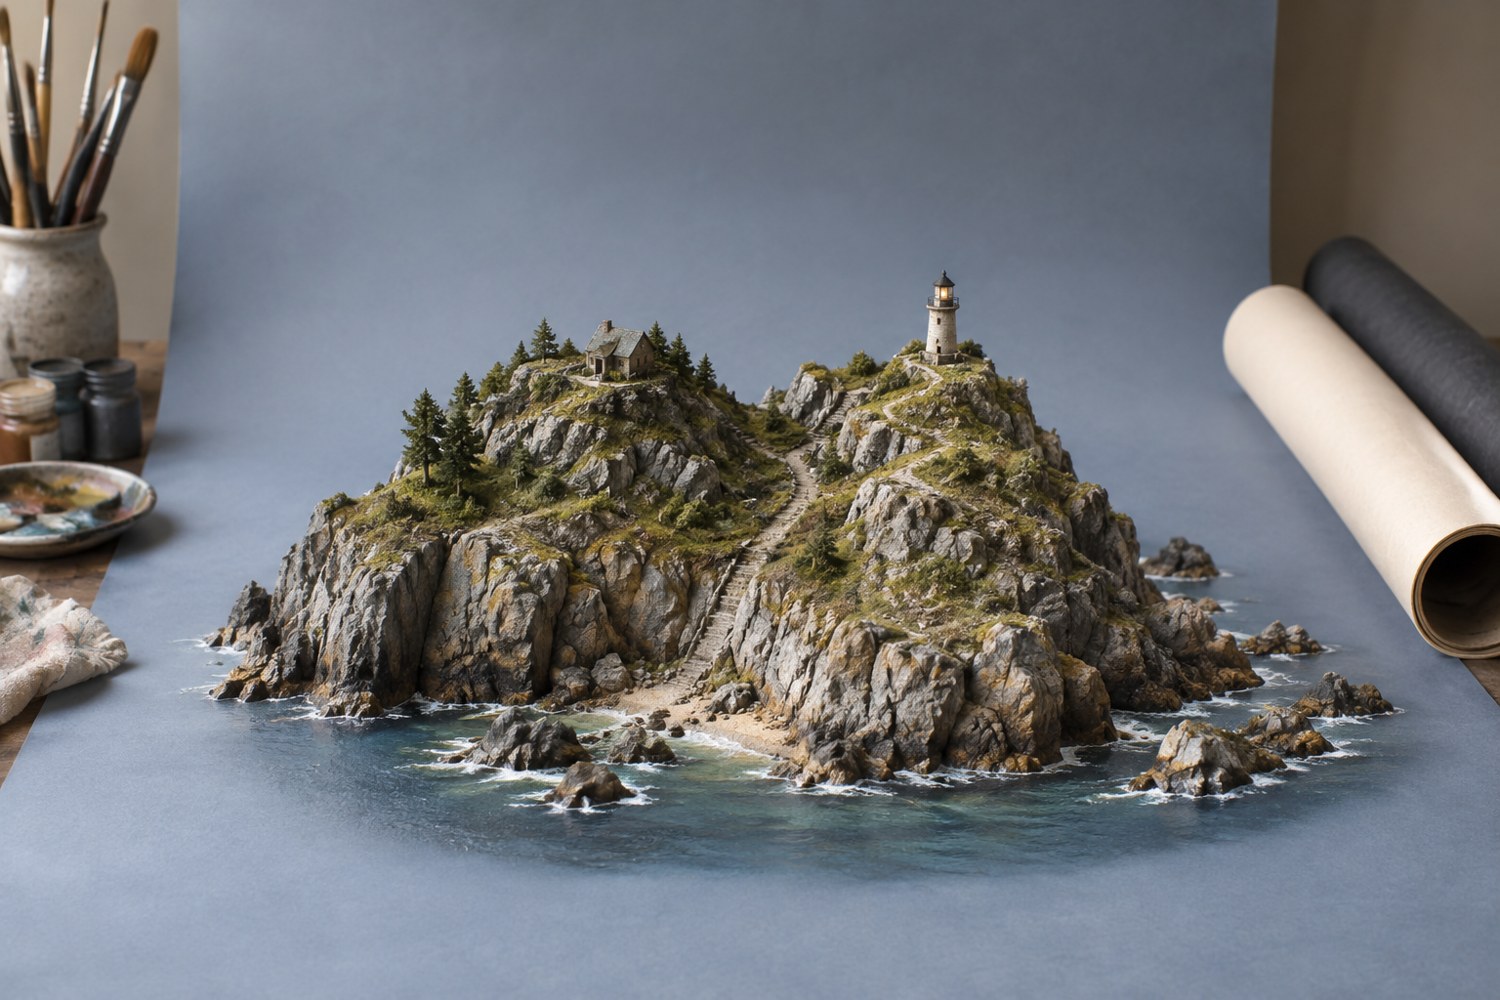
Choose a background for a terrain model
Choose a background that separates the model's silhouette and supports its colours without becoming a second subject.
Read article