Measure a failed print before changing settings
Turn a failed object into a useful record of where the intended geometry stopped matching the print.
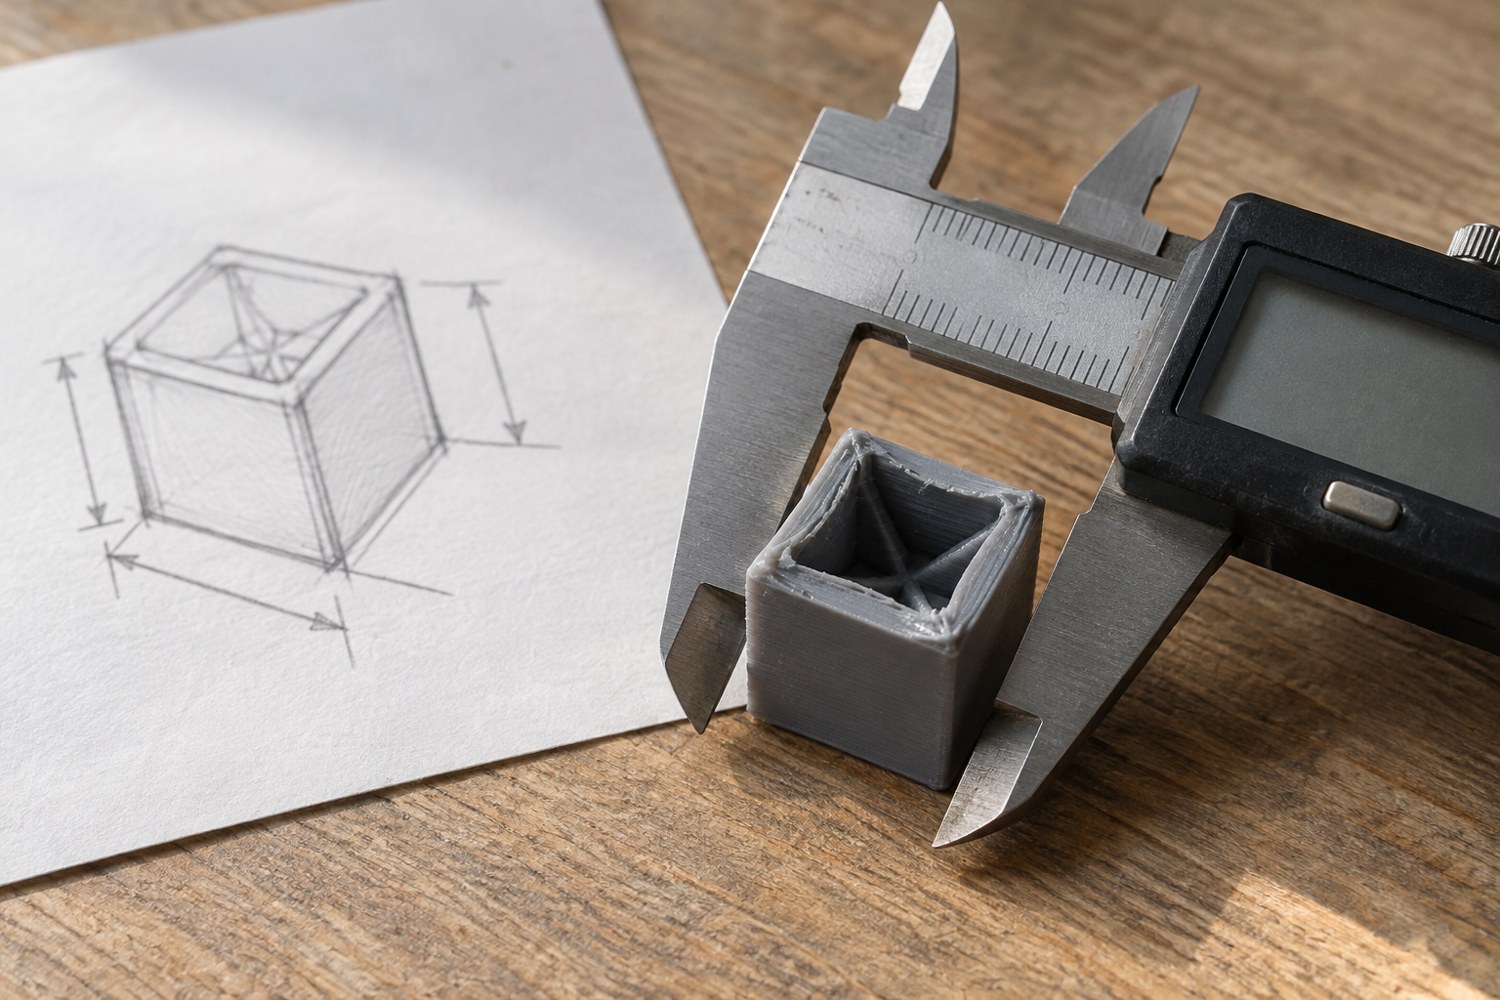
A failed print still contains evidence. Before clearing the plate, photograph the object in place and note the time, approximate height and visible symptom. A shifted upper section, a lifted corner and a missing thin wall suggest different investigations. Writing only “failed again” discards the details that could make the next attempt more informative.
Let the machine and part reach the safe handling state described in the manual. Keep the original print file and project. If the printer reported an error, copy its exact wording and consult the manufacturer's guidance before restarting. A temperature or electrical warning deserves a different response from a cosmetic surface defect.
Locate the first change
Find the lowest point where the physical result departs from the intended shape. On a tower, the bottom may be correct while a later section shifts sideways. On a box, the whole footprint may already be distorted. Measure the approximate height of that transition and locate the same region in the sliced preview. This connects a visible symptom to a particular part of the toolpath without assuming its cause.
Mark the orientation on a photograph: front of printer, plate edge and the face that was nearest a fan or opening. If several prints show a problem on the same machine side, that is different from a problem that rotates with a feature of the model. A simple annotated image can preserve this distinction better than a long paragraph written from memory.
Use a caliper or ruler only where the surface supports a meaningful measurement. A rough string of displaced material is not a reliable edge. Measure intact reference areas and record uncertain readings as approximate. For a warped base, compare the flat central region with the raised corners rather than compressing the part between the jaws until it appears square.
Choose a single next investigation
Compare what you observed with the manufacturer's troubleshooting categories. If the preview contains the same missing wall, the printer may simply be following the supplied paths. If the preview is complete and the object detached, examine the documented adhesion and surface checks. Avoid changing a long list of settings merely because each has appeared in an online discussion of failure.
For a fit problem, keep the failed part and its mating component together. Note whether it is too large everywhere or only at the bottom edge, whether the hole is blocked by support, and whether the part fits after cleanup. Those are different observations. Filing until it fits can make the part useful, but measure and photograph the original condition before removing the evidence.
Write the next trial as a small comparison: same file and material after a documented surface preparation, or a revised wall thickness with the same profile. Save the change under a new revision. If the result improves, retain both samples long enough to compare them under identical conditions. If it does not, restore the baseline before investigating another cause. A failed print becomes valuable when it narrows the next question instead of encouraging a cascade of untraceable adjustments.
Suppose an enclosure lid will not enter its rim. Begin by checking that the lid and body are the intended matching revisions. Next compare the opening at several points and inspect the lid's lower edge. If only a small ridge at the plate-facing edge interferes, a uniform scale change would alter every other dimension while leaving the original cause unexplained. If the entire opening is smaller than intended, inspect the imported scale and the model dimensions before considering a process adjustment. Write these observations as alternatives, not diagnoses made from a single photograph.
Another useful record is a simple failure map. Draw the top view of the build plate and mark the object's location, then indicate where the defect occurred. Keep this alongside the height measurement. On a later trial, you can decide deliberately whether to preserve the location or move the object to test a location-related suspicion. If you move it accidentally while also changing a setting, that potentially useful comparison disappears.
Before discarding the part, save the smallest section that preserves the evidence. A whole failed landscape may occupy too much storage, but the lifted corner or misfitting joint can remain in a labelled sample box. Keep sharp fragments contained. The sample's value is in the specific observation attached to it, so remove it from the collection once that question has been resolved and documented.
Another detail to explore
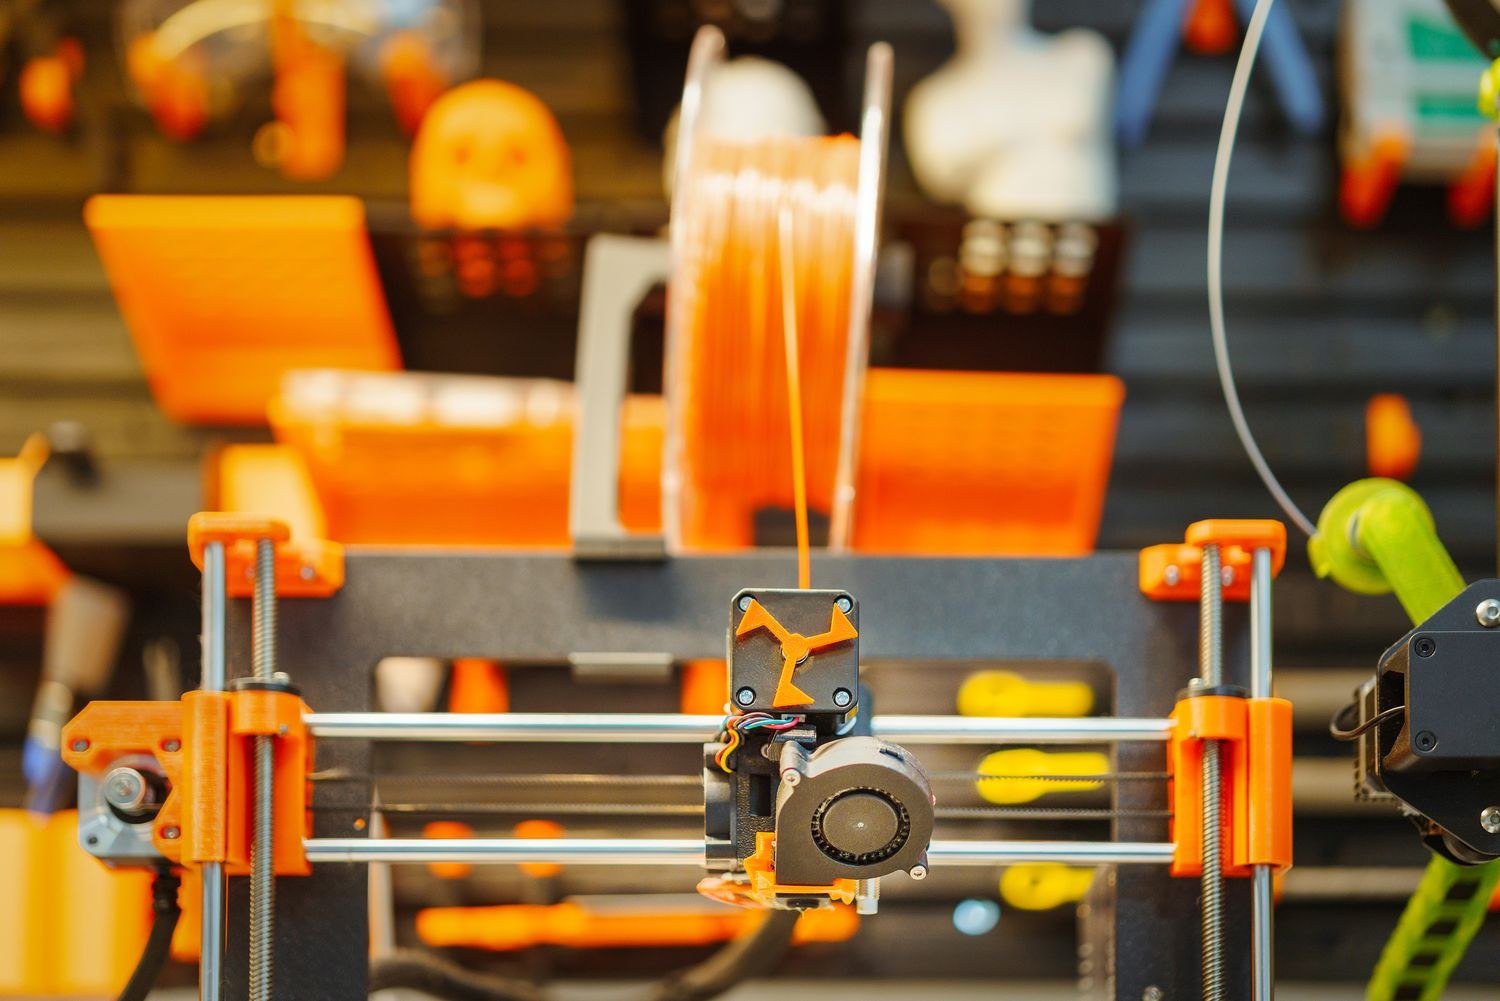
Choose a first 3D printer around the objects you want to make
Start with three objects, their dimensions and the space available for making them. Those decisions narrow the printer search before speed claims do.
Read article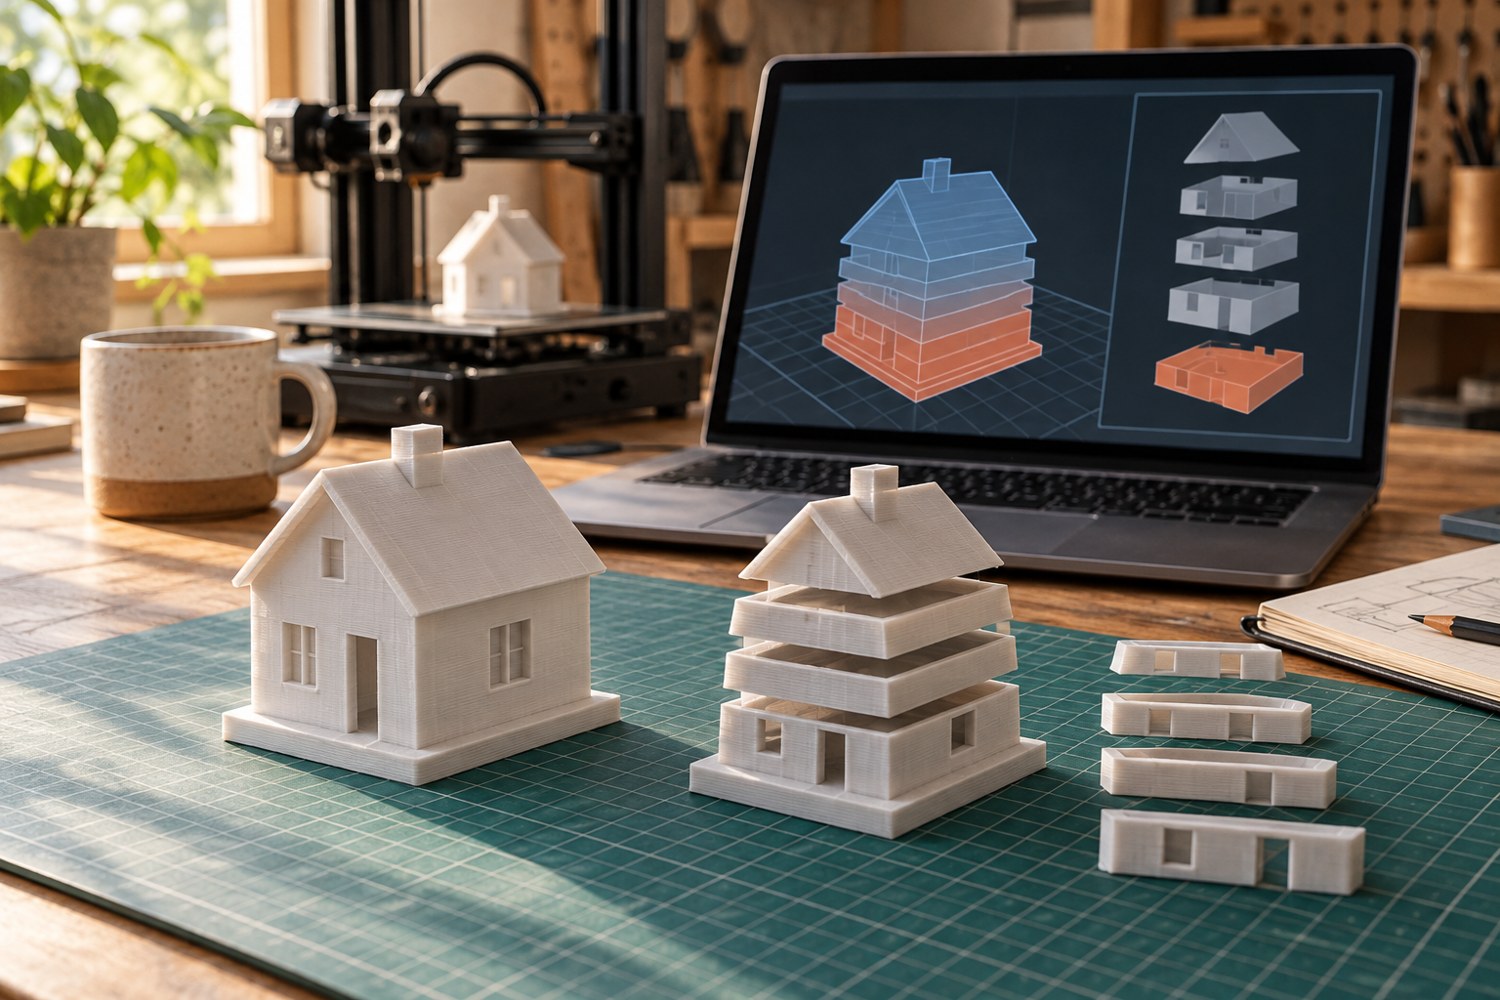
Read a sliced preview before starting a print
Read the toolpaths, first layer and delicate features before a file reaches the printer.
Read article