Compare nozzle sizes for terrain and small details
Match nozzle choice to the smallest feature that matters, not simply to the overall model size.
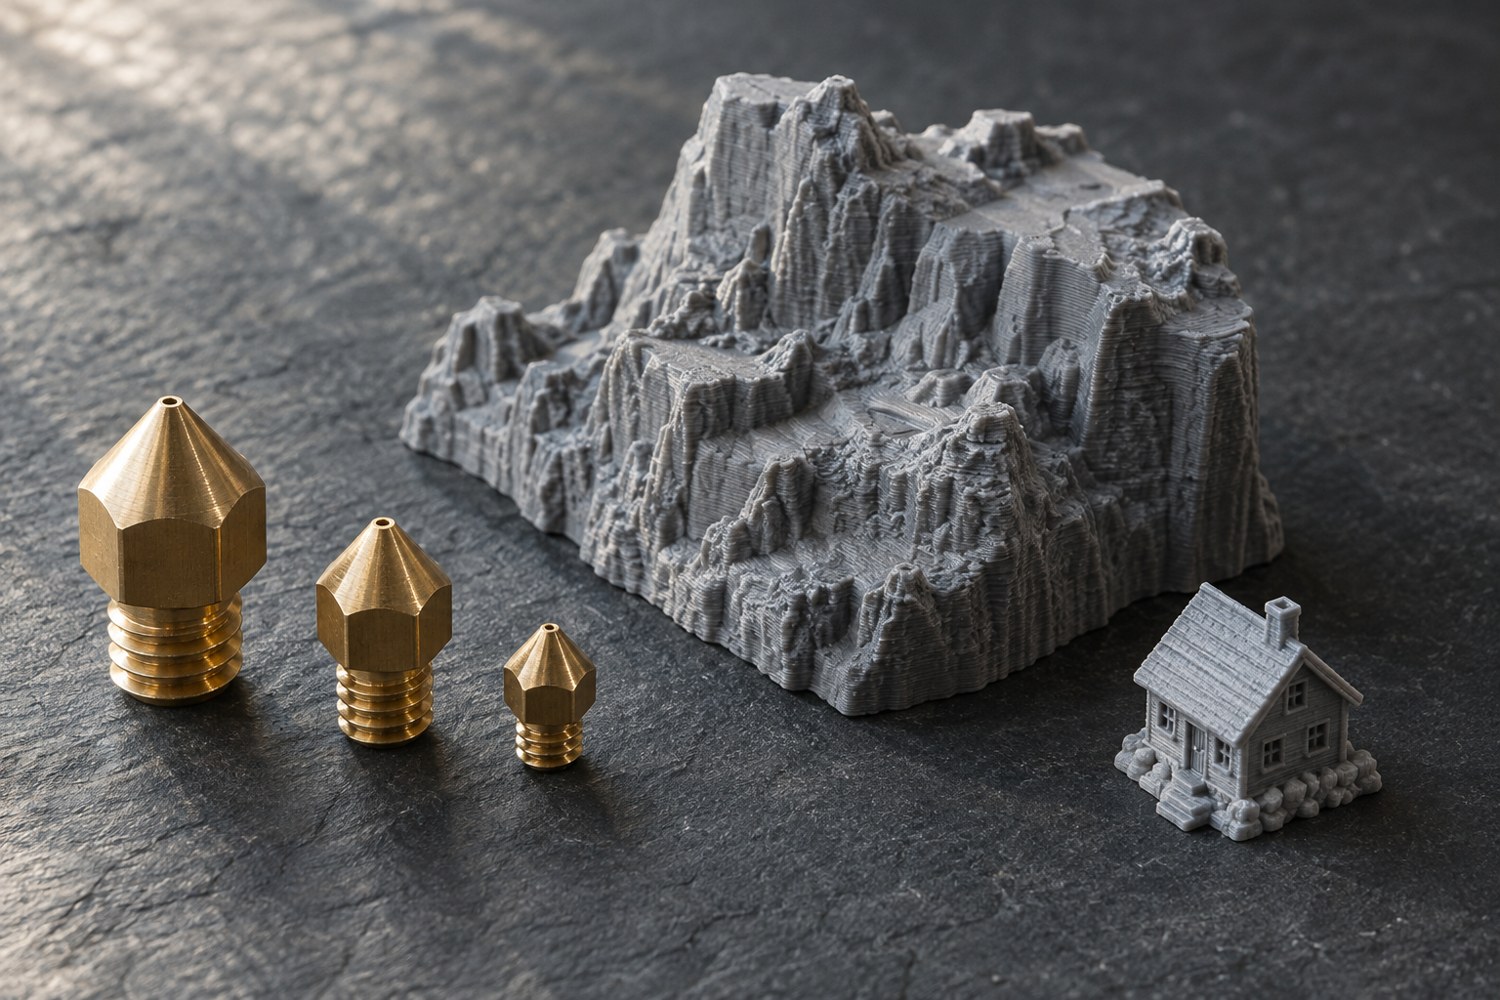
A large island base can contain very small details, while a tiny plain plinth may need almost none. Choosing a nozzle by the outside dimensions alone misses that distinction. List the narrowest features you want to preserve: railings, raised lettering, roof edges, shallow grooves or a small locating pin. Then separate those from broad surfaces that could tolerate coarser paths.
Nozzle diameter is one part of the extrusion setup, not an independent quality dial. A different diameter needs a suitable profile and compatible hardware. Prusa's nozzle documentation also distinguishes material compatibility and abrasion resistance. Check the exact printer and hotend system before buying; a nozzle that looks similar in a photograph may not be a replacement for yours.
Compare a representative corner
Select a small part of the terrain that includes both a flat region and the critical detail. Slice it using supported profiles for the candidate nozzles. Inspect whether the detail remains in the preview and how the surrounding walls are formed. A tiny engraved label that disappears has answered a more useful question than a whole model's estimated time.
Consider whether changing the model would be simpler. Increasing a railing's thickness, printing a sign separately or omitting a feature invisible at the final viewing distance may avoid a hardware change. Do not scale the entire scene merely to rescue one detail unless a new overall scale is acceptable; doorways, buildings and miniature figures need to remain consistent.
If a physical comparison is needed, follow the printer's exact nozzle replacement procedure. Some systems use different installation methods and temperature requirements, so do not combine instructions from unrelated hotends. Update the relevant machine and slicer settings and perform the manufacturer's required checks before printing the comparison.
Include finishing time
Judge the samples after the planned primer or texture treatment as well as before it. A coarse layer pattern on a rock face may be absorbed into the intended texture, while a narrow architectural edge remains conspicuous. Conversely, a very fine printed texture can disappear under an opaque coating. The useful detail is the detail that survives the complete workflow.
Compare total effort: changing hardware, preparing profiles, printing, removing supports and finishing. A faster large nozzle is less helpful if the object then needs extensive repairs around tiny windows. A smaller nozzle is less helpful if its extra detail cannot be seen in the finished scene. Keep the comparison tied to a particular project rather than ranking one size as universally superior.
For a mixed project, separate the large landforms from the detailed buildings when the design permits. Different pieces can then be produced with different setups and assembled on a common base. Document the scale and locating dimensions before doing so. The result is a planned division of work, with nozzle choice following the geometry rather than forcing every component into one compromise.
Make the sample large enough to include a transition between detail and plain material. A tiny isolated railing can look acceptable while the same railing beside a thick wall receives a different sequence of paths and cooling. Preserve the relationship that matters to the scene. Label which face was upward and keep a screenshot of the corresponding preview, so a later comparison does not confuse a nozzle change with an orientation change.
If two samples both meet the visual requirement, choose using the practical constraints that remain: how often hardware must be changed, which materials are already documented and how the components will be finished. Those considerations can justify keeping a familiar setup without claiming it produces the finest possible detail.
Another detail to explore
Choose a first 3D printer around the objects you want to make
Start with three objects, their dimensions and the space available for making them. Those decisions narrow the printer search before speed claims do.
Read article
Read a sliced preview before starting a print
Read the toolpaths, first layer and delicate features before a file reaches the printer.
Read article