Build a project portfolio that shows the making process
Select process images that explain decisions, revisions and construction rather than presenting an unstructured record of every work session.
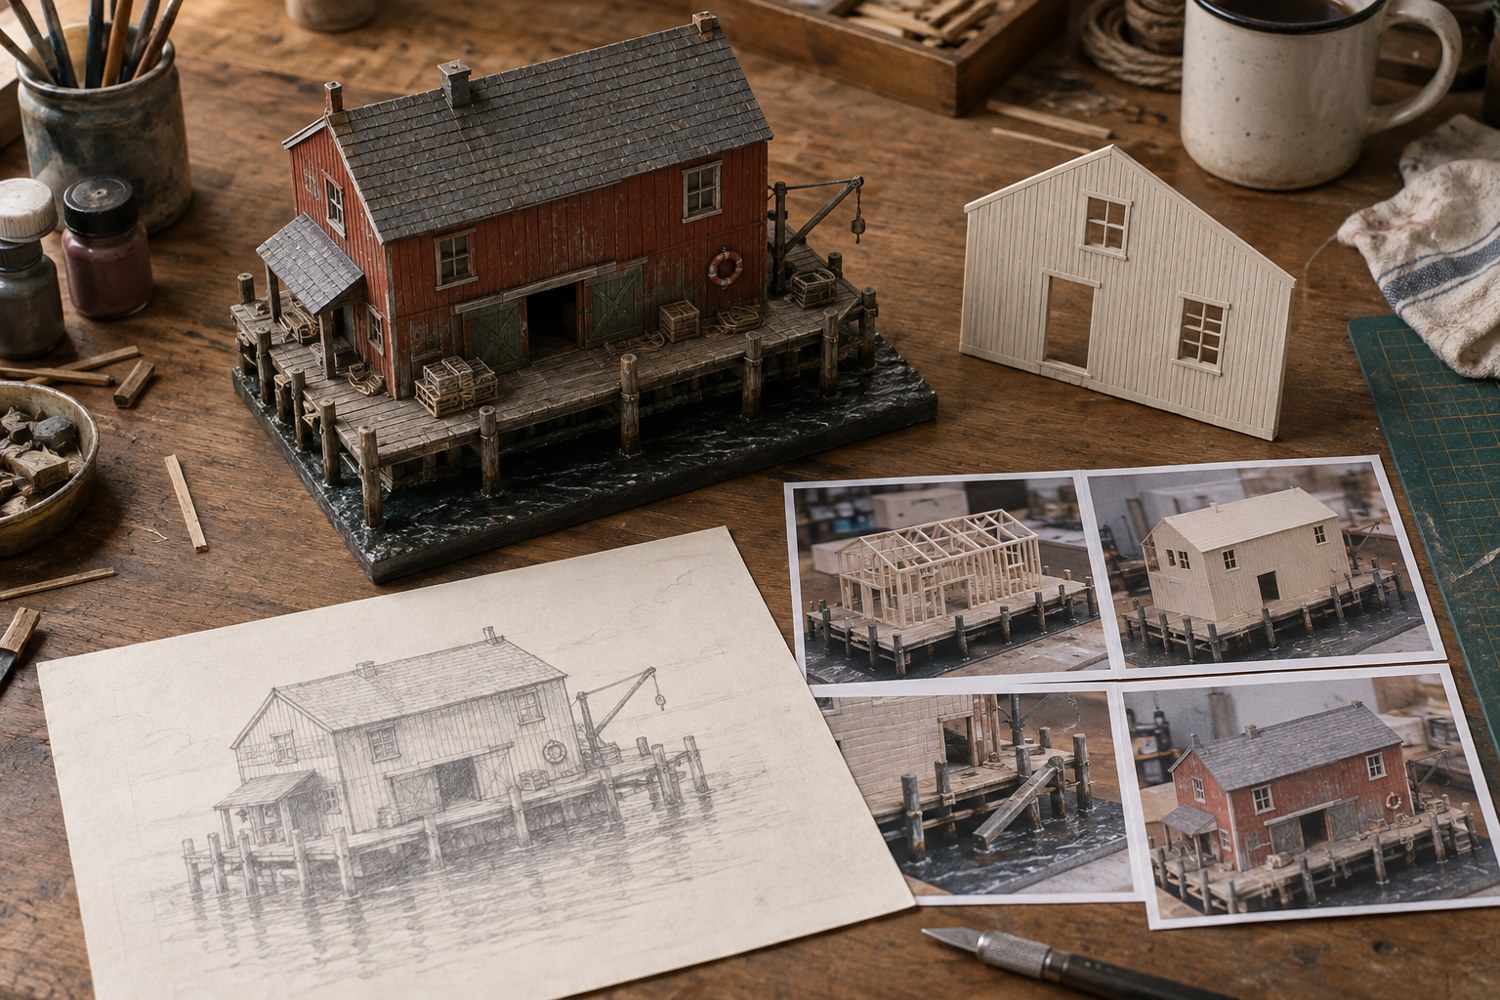
A project portfolio should explain how the model became what it is. Start with a finished overview, then choose process images that answer meaningful questions: what the project required, how the main shape was established, which fit was tested and what changed during finishing. The order can follow the build without including every photograph you took.
Keep original images in a dated project folder. Make edited copies for presentation and retain the originals so captions and colours can be checked later. Use filenames that identify the stage or component, rather than relying on a sequence of camera numbers alone.
Show decisions with comparable views
A before-and-after pair is useful when the framing makes the change easy to see. Photograph a revised join from the same angle as the original problem. Include a scale reference or dimensions where they explain the decision. Avoid comparing a harshly lit unfinished model with a softly lit final image and implying that all the improvement came from the modification.
Include one or two unsuccessful approaches if they explain a real choice. Describe what happened without inventing measurements or claiming a controlled test that was not performed. A clear note that a doorway blocked brush access is more useful than saying the first version was bad.
Distinguish your work from purchased kits, downloaded models and commissioned components. Identify the parts you designed, printed, assembled or painted accurately. Check permissions before including third-party artwork, files or images. A portfolio can show a personal build without claiming ownership of every underlying design.
Keep captions specific and short enough to sit beside the images. State the material, stage and reason for the change when relevant. Do not repeat the same broad project description under every frame. If an image is a digital render or an illustrative mock-up, label it clearly rather than presenting it as a photograph of a completed object.
End with a small set of finished views that show the model honestly, including its base and any removable parts. Add dimensions and completion status. If the project remains unfinished, say which stage is complete and what remains. A useful portfolio lets another person understand the making process and the final object without needing access to your private notes or guessing which images depict the same revision.
Choose an honest level of detail for the audience
A portfolio for another maker may need joint photographs, dimensions and material choices. A general viewer may benefit more from a clear sequence of rough shape, assembly and finished scene. You can prepare both from the same project record without pretending that a shorter presentation is the complete technical documentation.
Use image pairs where a decision needs explanation. A rough cardboard harbour layout beside the final model can show how the empty water area was preserved. A support test beside a clean printed part can explain why orientation changed, provided the images actually belong to that documented process. Avoid staging a retrospective test and presenting it as evidence from the original build.
Give unresolved limitations a precise description. If the roof is removable but the interior is unfinished, say that. If a digital design has not been printed, describe it as a design or render. These distinctions help a reader assess the work without requiring promotional claims about its quality. Keep the final portfolio focused on the project you can demonstrate, with optional technical notes available separately when they add useful context.
Another detail to explore
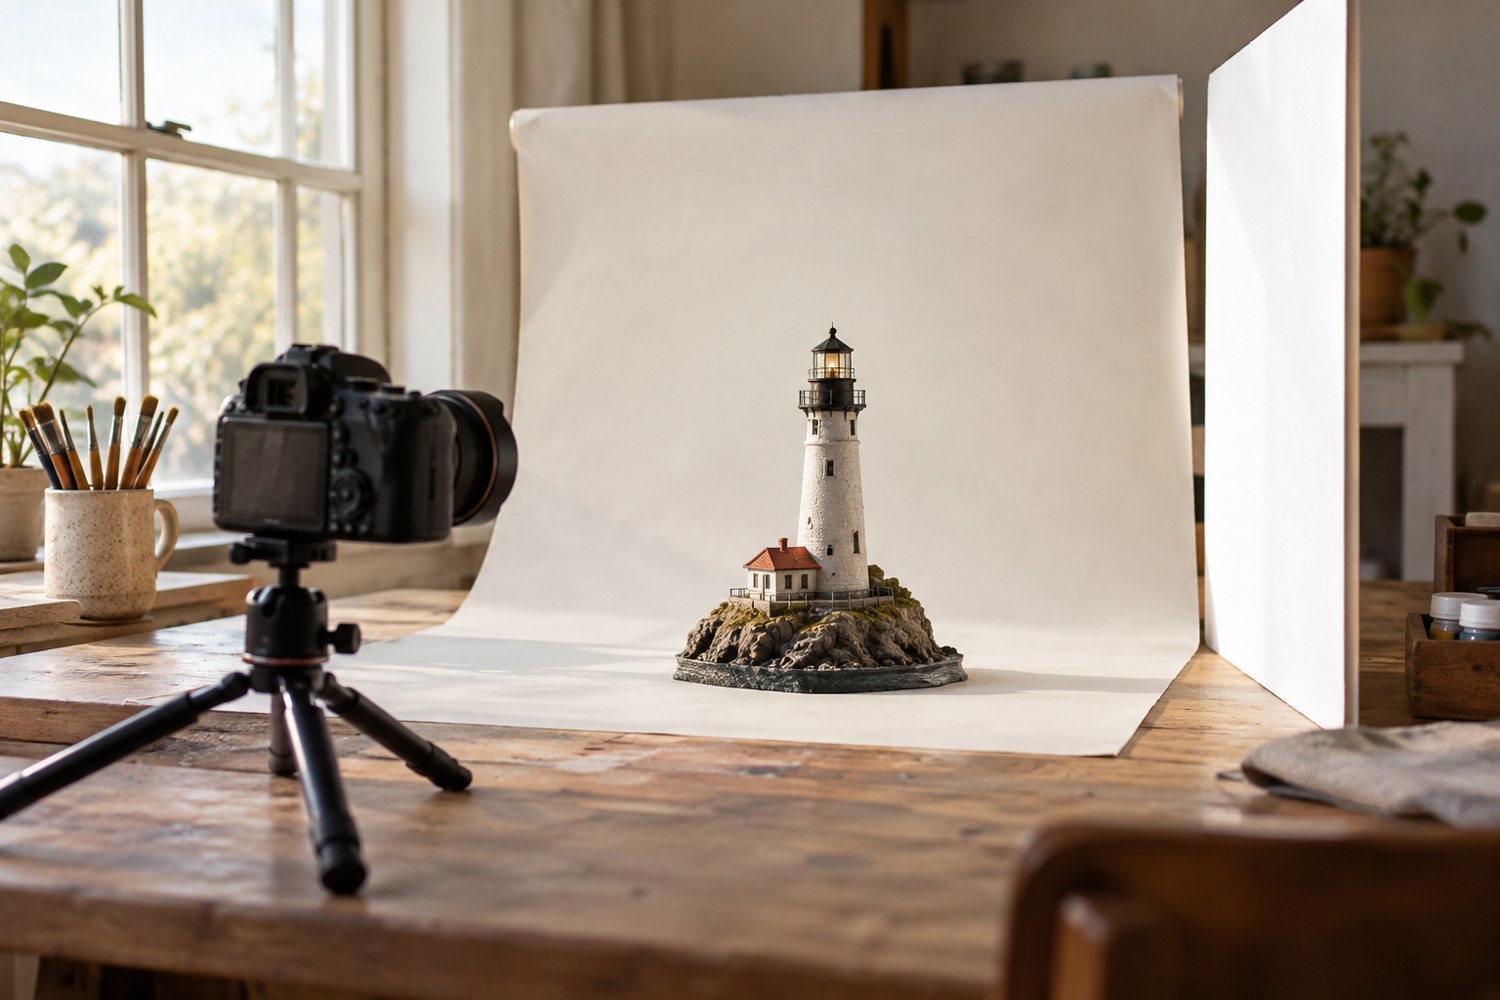
Photograph a miniature with a simple window-light setup
Use a stable model position, indirect window light and a simple reflector to make small forms readable in photographs.
Read article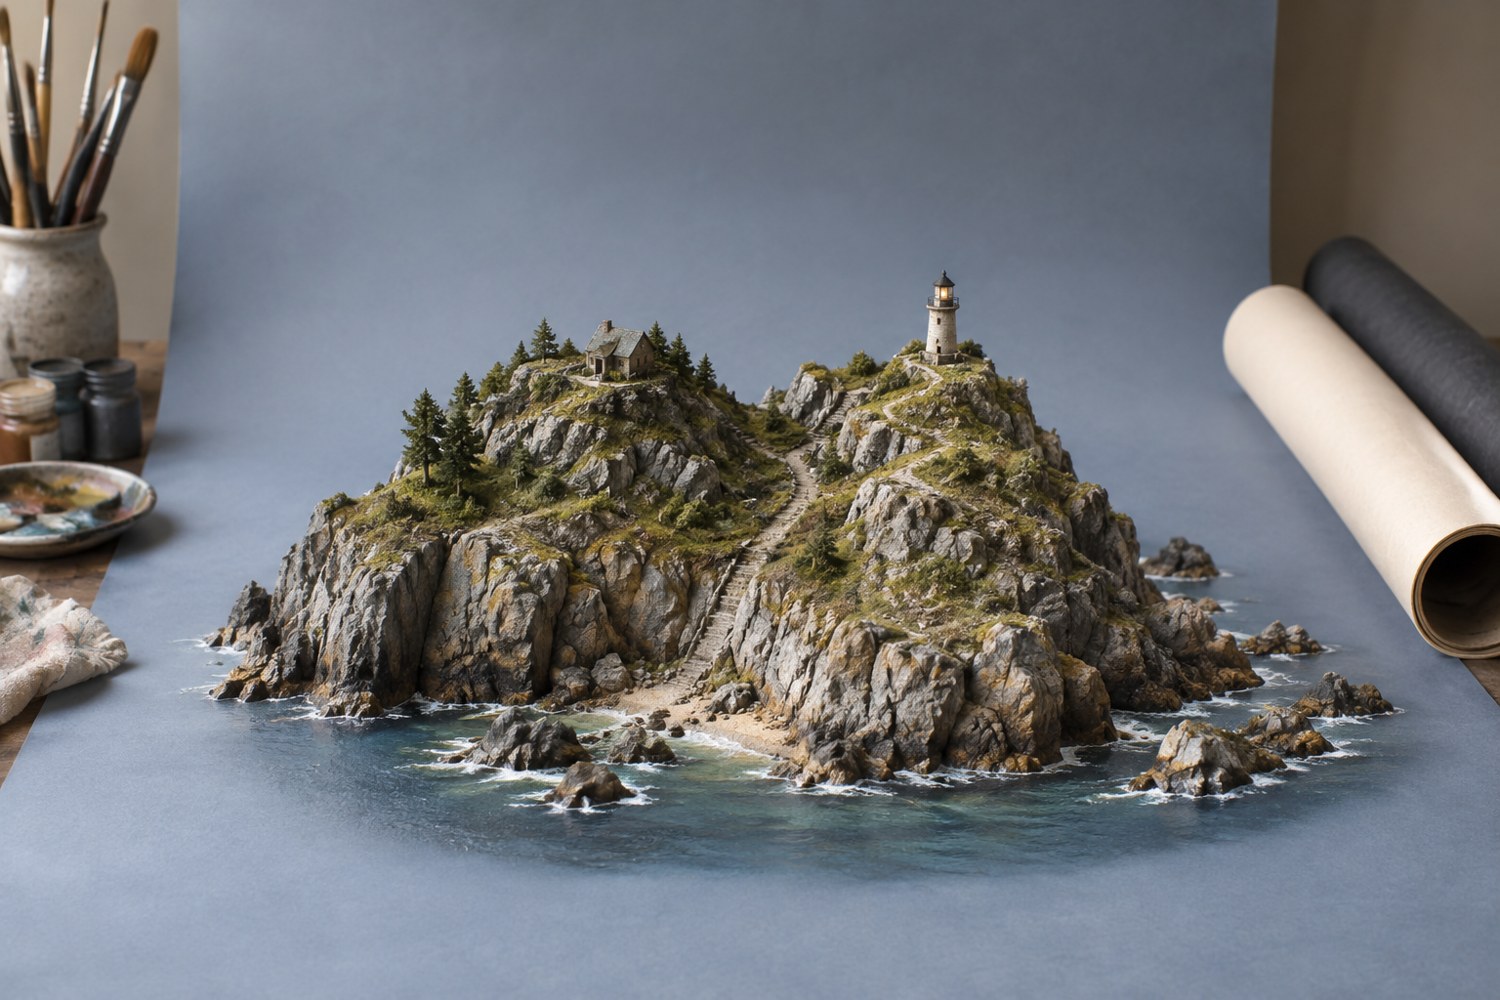
Choose a background for a terrain model
Choose a background that separates the model's silhouette and supports its colours without becoming a second subject.
Read article