Arrange several small parts on one build plate
Group small objects by their printing needs and leave space for the structures the slicer adds.
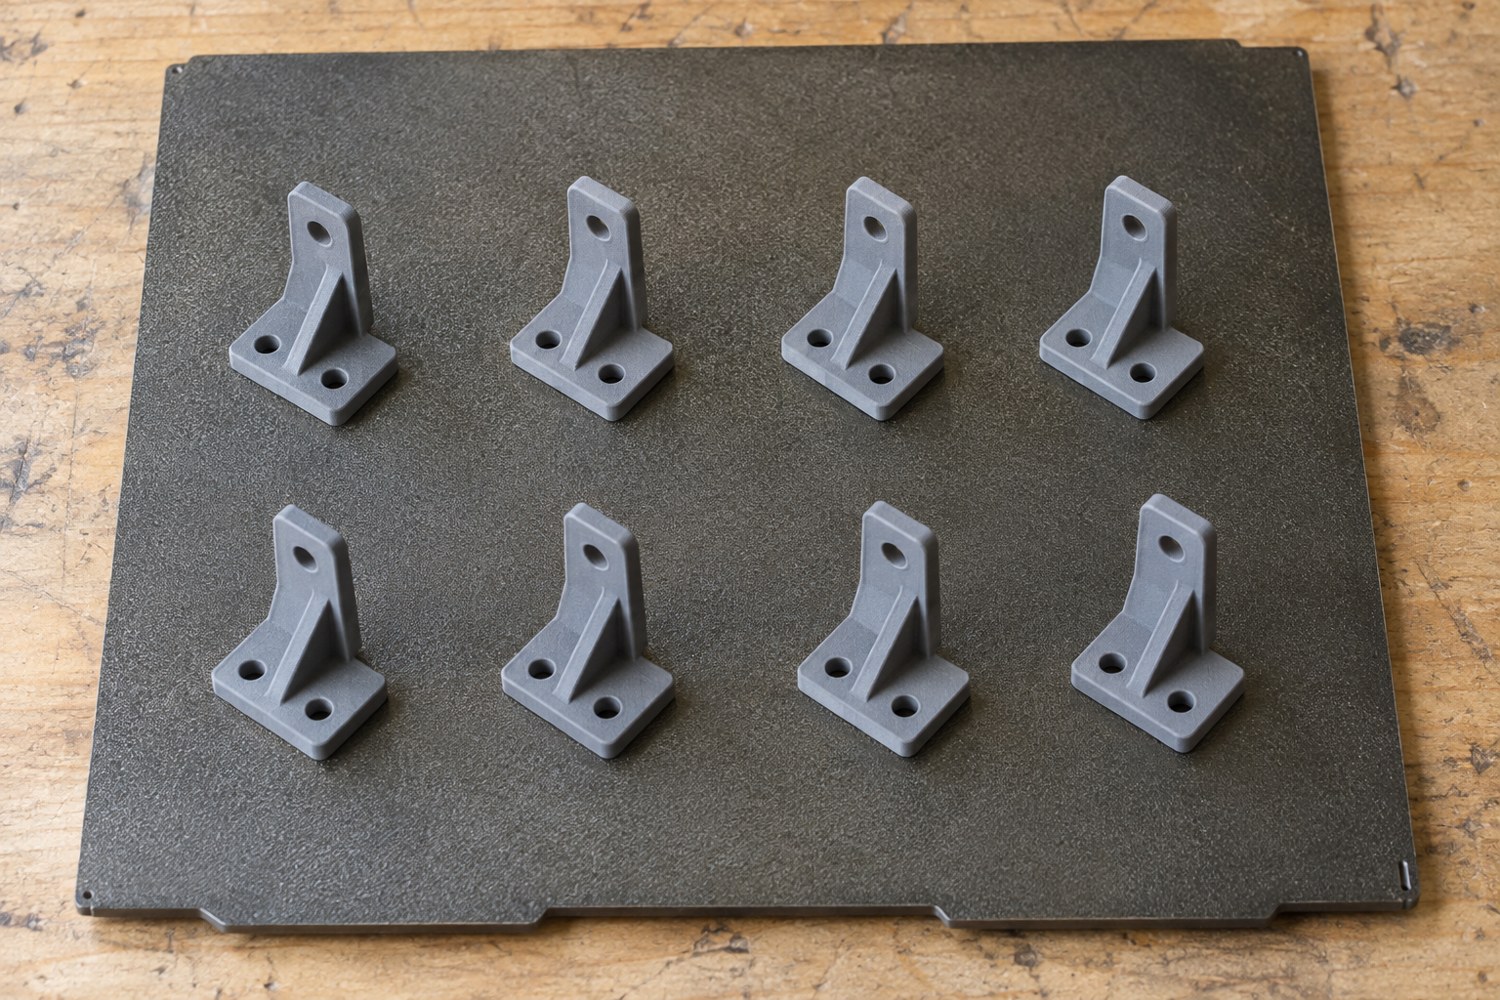
A plate filled with tiny parts can look efficient while hiding incompatible settings or difficult cleanup. Begin by grouping pieces that share the same material and a suitable profile. Then check whether their orientations, supports and layer choices can work together. A delicate sign and a thick plain base may be better as separate jobs even if both fit in the same rectangle.
Name each component before arranging it. Keep the expected quantity beside the name and account for mirrored or handed pieces. If a project needs two left brackets and two right brackets, four similar silhouettes are not enough. An assembly sketch can make a missing counterpart obvious before printing.
Allow room for brims, supports and any other generated structures. Inspect the sliced result, since the model's visible footprint is not necessarily the complete printed footprint. Avoid casually moving objects after a successful preview without slicing and checking again. A small shift can merge temporary structures or place a feature near a restricted edge.
Decide whether the machine will build all parts layer by layer or complete them sequentially. Sequential printing introduces toolhead clearance and collision concerns. Prusa's documentation explains that collision handling depends on printer support and defined clearance settings; do not assume that a neat arrangement of model footprints guarantees clearance for the whole moving assembly.
For an unfamiliar set, start with a small representative group. Check whether the objects remain attached and whether tiny details survive cleanup. Keeping a particularly fragile piece on its own plate may reduce the consequence of its failure. This is a judgement about the job, not a guarantee that any arrangement will isolate every failure.
Prepare a sorting tray before removing the finished parts. Label compartments according to the assembly rather than leaving a pile of similar pieces beside the printer. Compare the completed count with the project list and note any replacements needed. A successful batch is not simply a crowded plate that finished; it is a set of identifiable parts ready for the next stage.
Another detail to explore
Choose a first 3D printer around the objects you want to make
Start with three objects, their dimensions and the space available for making them. Those decisions narrow the printer search before speed claims do.
Read article
Read a sliced preview before starting a print
Read the toolpaths, first layer and delicate features before a file reaches the printer.
Read article