Use reference photographs without copying perspective errors
A reference photograph describes a view, not a ready-made set of dimensions. Separate visible shape from perspective before tracing it.
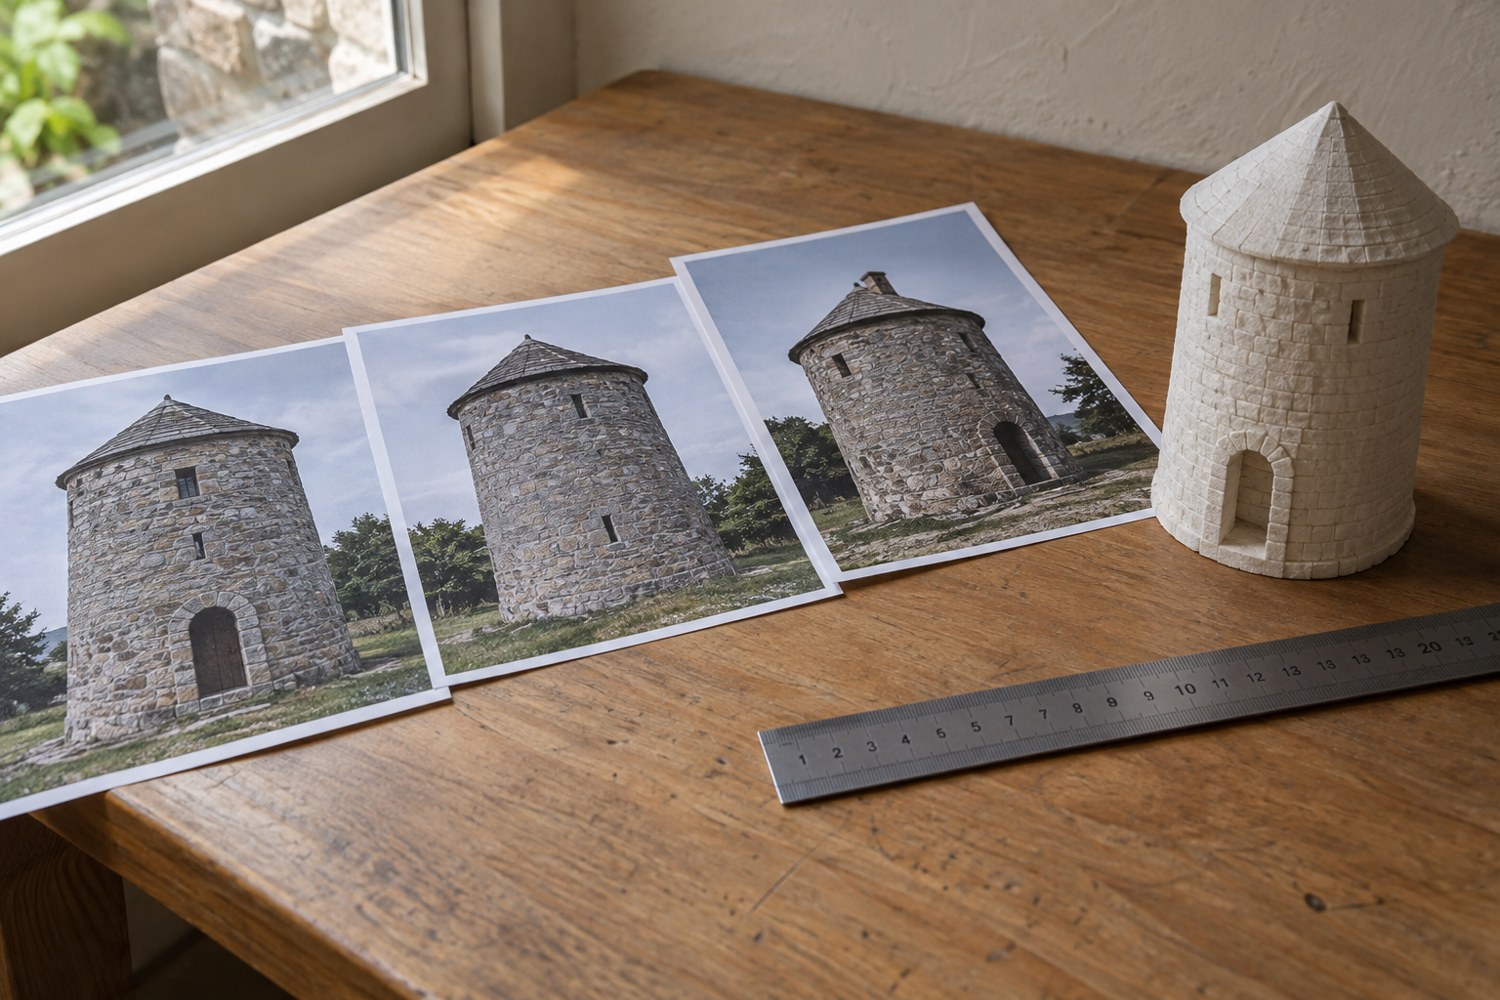
A building photographed from one corner can appear wider at the near end, and a circular opening can look oval when viewed at an angle. Tracing every visible edge literally will preserve the camera's view rather than reconstruct the object. Begin by deciding what the photograph can reliably tell you.
Use images you created or have permission to use for the intended purpose. Keep their source with your project notes. A photograph can be useful as private visual reference without being suitable for redistribution in a model package or public tutorial. Do not remove a watermark or assume that an image found through search is free to republish.
Find a stable reference measurement
If the subject is accessible, take direct measurements of the important dimensions. If it is not, look for a documented measurement from a reliable source. Mark uncertain proportions as estimates. A door that resembles a familiar size is not a measured scale reference.
Compare several views where possible. A front-facing image helps with the front outline, while a side view can reveal depth and roof slope. Use the photographs together rather than stretching one image until it seems to explain every dimension. Keep a simple orthographic sketch beside the images to record the relationships you believe are real.
Before tracing, identify the visual clues created by perspective: converging parallel lines, hidden edges and nearer features appearing larger. Draw the basic model from dimensions and use the photograph to guide the arrangement of visible details. For a stylised miniature, decide explicitly which proportions you are simplifying instead of introducing accidental distortion.
Test the silhouette in more than one view
Build a low-detail blockout and rotate it. A shape that matches the reference from one camera angle may look implausible from the side. Compare roof height, opening positions and the overall mass before adding small surface features. This is especially useful for scenery that will be viewed from several directions on a table.
Keep texture and geometry separate in your reasoning. A painted shadow in a photograph may look like a physical recess, while a real shallow relief may be almost invisible in flat light. If the evidence is unclear, use a simpler interpretation and note the uncertainty. The goal is a coherent model, not a claim that a single photograph supplied a complete measured survey.
Another detail to explore
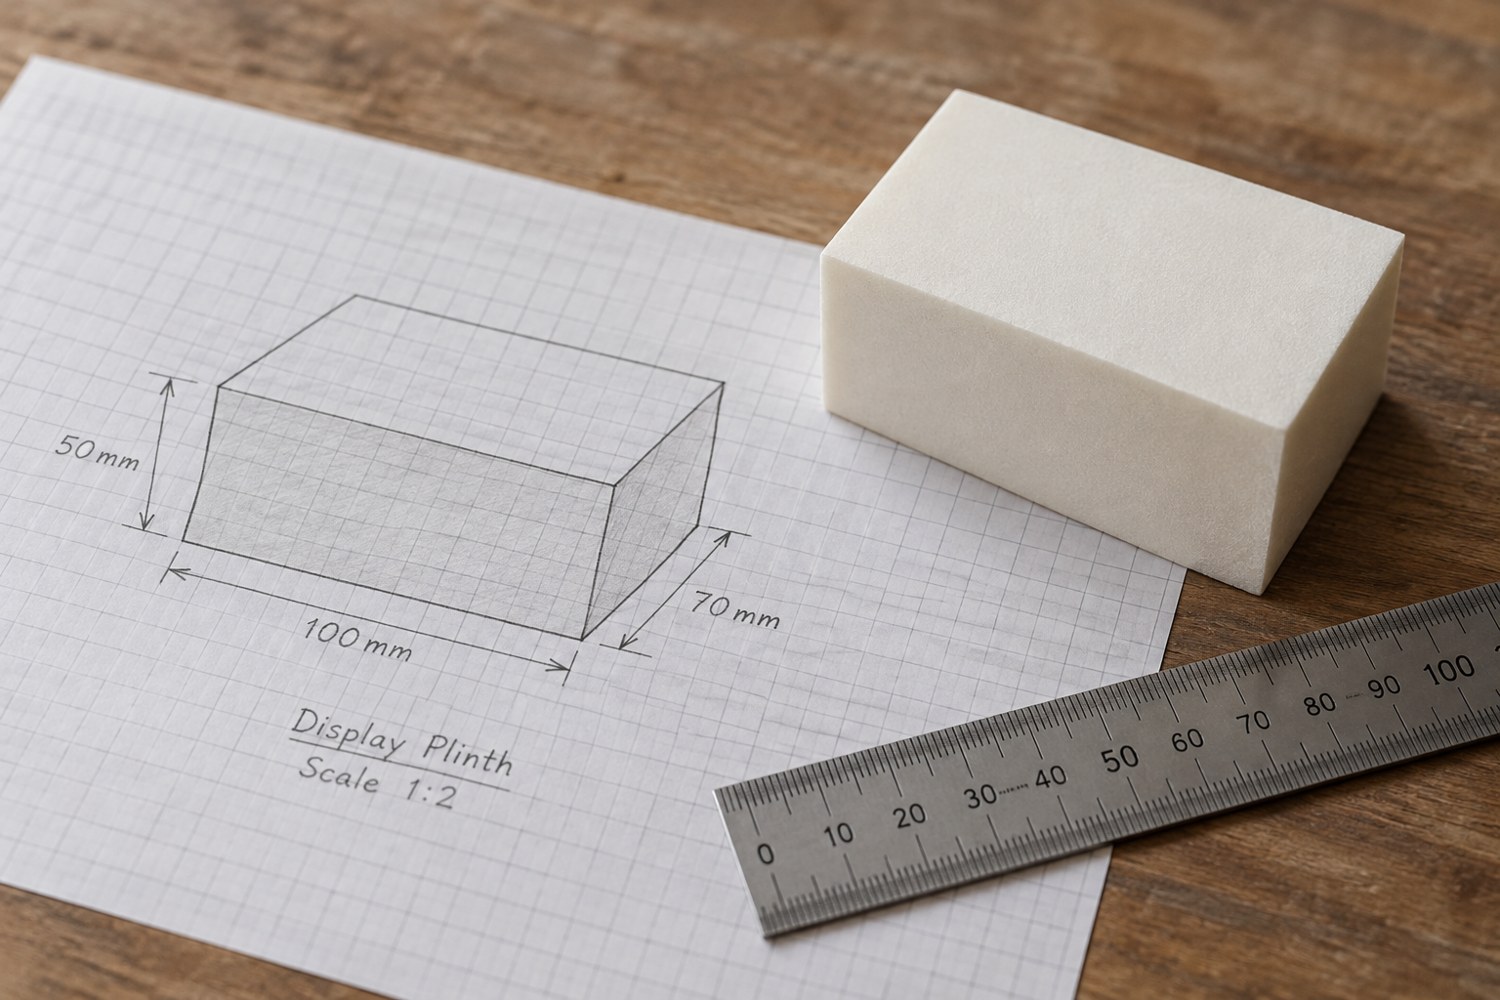
Start a model with dimensions instead of details
Build a short dimensional brief before adding bevels, textures or decorative features. It gives every later modelling decision a reference.
Read article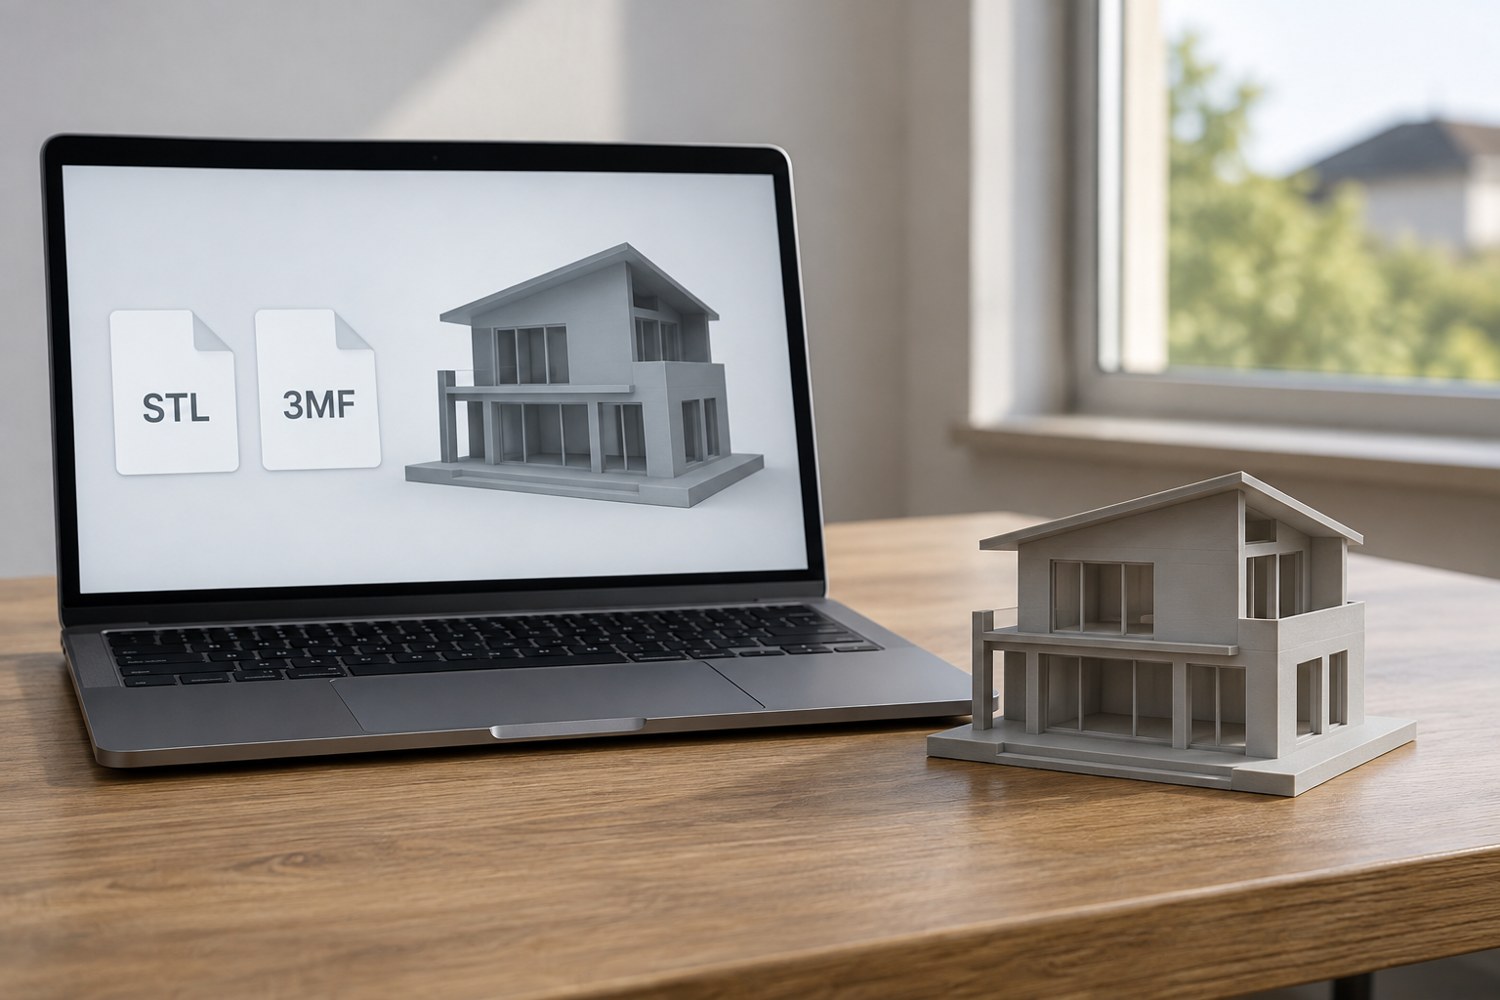
Understand STL and 3MF when sharing a print project
An STL mesh and a saved 3MF project can carry different information. Decide what a recipient needs before choosing the file to send.
Read article