Understand STL and 3MF when sharing a print project
An STL mesh and a saved 3MF project can carry different information. Decide what a recipient needs before choosing the file to send.
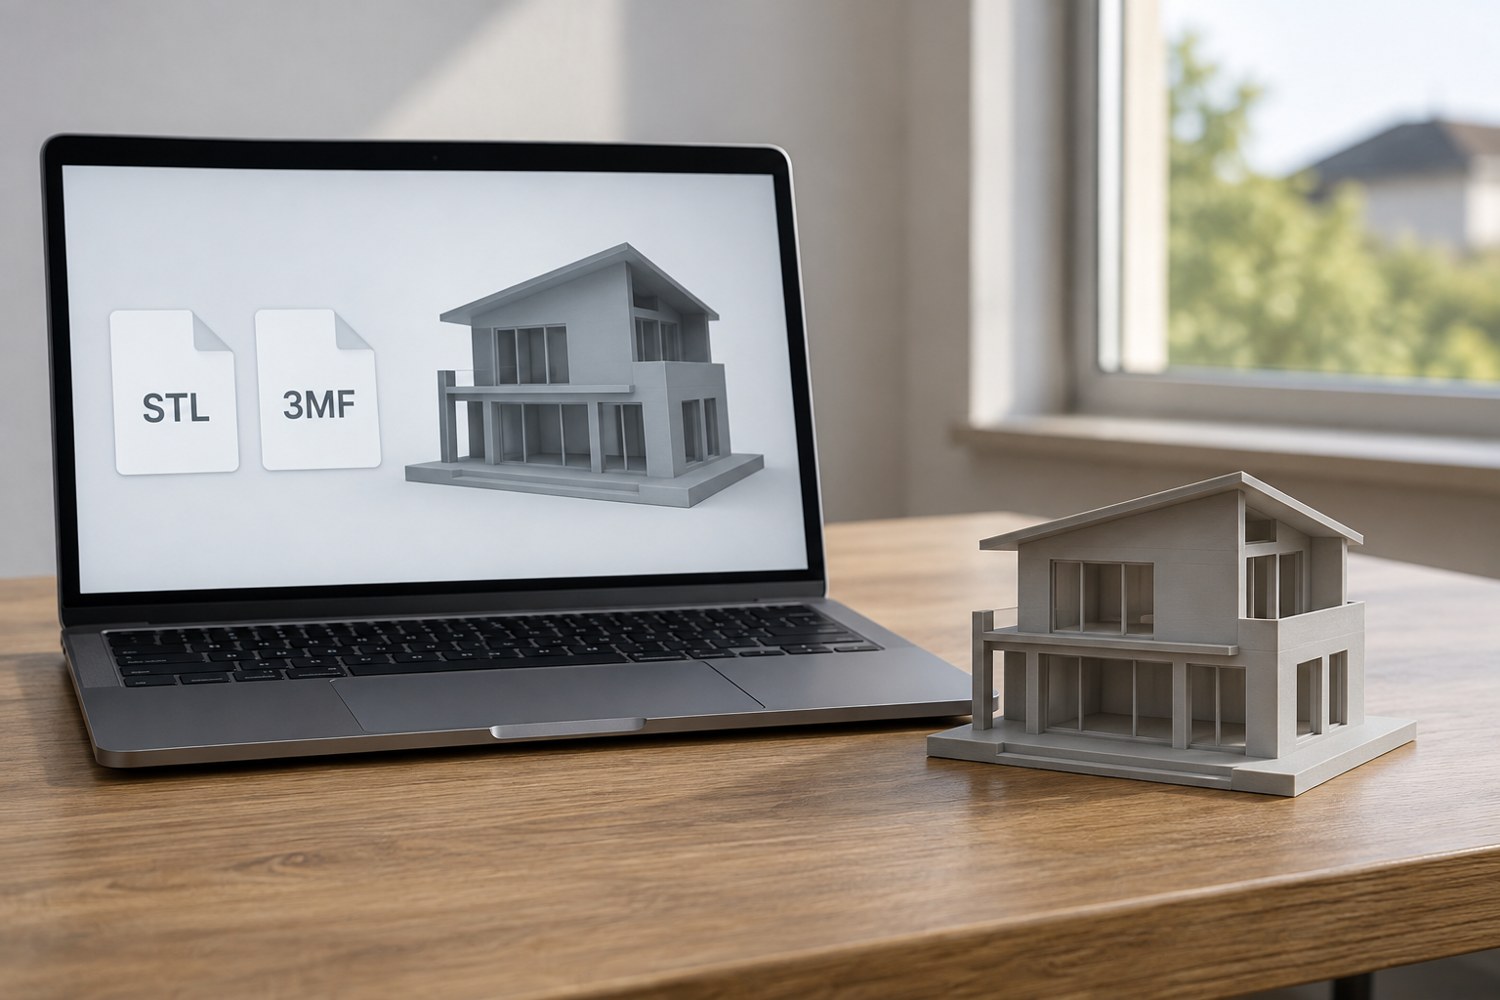
Sending a model is not always the same as sending a print setup. A person who only needs the shape may want a mesh. Someone reproducing a prepared plate may need object positions and software settings as well. Write down which of those jobs the file is meant to do before exporting it.
STL is commonly used to exchange a model's surface geometry. It should not be treated as a complete record of printer setup, material choice or a model's editing history. Prusa's explanation of 3MF describes a richer container that can preserve a scene and configuration in a slicer project. The information actually retained depends on the application and export path, so inspect the received file rather than relying on the extension alone.
Decide what should travel
For a simple geometry handover, include the intended dimensions and unit in a short note. State which side is the base and whether the model consists of separate pieces. A recipient can then compare the imported bounding dimensions with your note before preparing a print. Do not assume a familiar-looking object has arrived at the correct scale.
For a prepared project, identify the software and version used to save it, the intended machine profile and the material assumption. Keep these as a description of the setup, not an instruction to run it unchanged. The recipient still needs to confirm compatibility with their equipment. A project saved for one machine can contain settings that are unsuitable for another.
Separate the model licence from the software settings. Possessing a slicer project does not establish permission to redistribute the underlying design. Include the original model page and attribution requirements when applicable. If your changes are only to orientation or support placement, describe them accurately rather than presenting the geometry as a new design.
Reopen the export as a recipient would
Save your editable source first, then export to a clearly named delivery folder. Close or isolate the original scene and open the exported file in a fresh session. Check the number of objects, the overall size and the relationships between parts. A successful save message does not prove that the selected export contained everything you intended.
Look for accidental extras: a measuring cube, an unused duplicate or a hidden test object. Conversely, make sure a required lid or connector has not been omitted by a selection-only export. If the receiver only needs geometry, do not send a confusing folder of several nearly identical files without explaining which is current.
For example, a small harbour warehouse could be delivered as separate wall and roof meshes plus a saved slicer project showing one proposed arrangement. The note might identify the roof as removable and give the assembled footprint. That makes the two file types complementary: one provides geometry for a new setup, while the other records a particular preparation approach.
Keep the editable modelling file separately. Neither a mesh nor a slicer project necessarily preserves the sketches, parameters or modifier history you used to create the object. A small handover folder with explicit purpose is easier to use than an archive whose file names promise more information than the files actually contain.
Another detail to explore
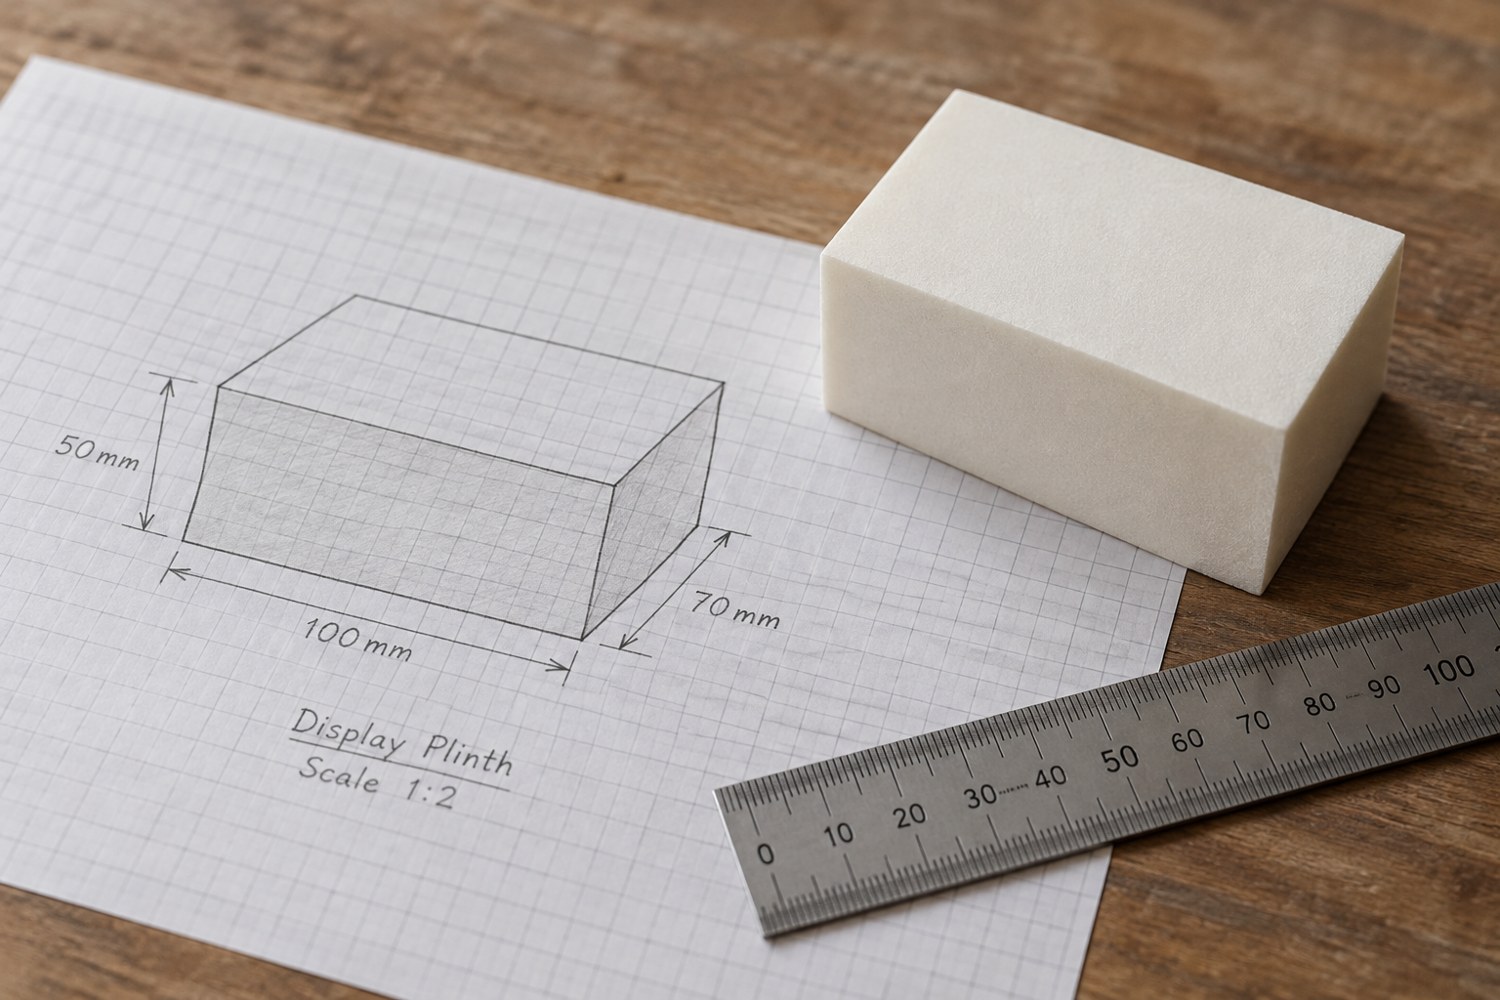
Start a model with dimensions instead of details
Build a short dimensional brief before adding bevels, textures or decorative features. It gives every later modelling decision a reference.
Read article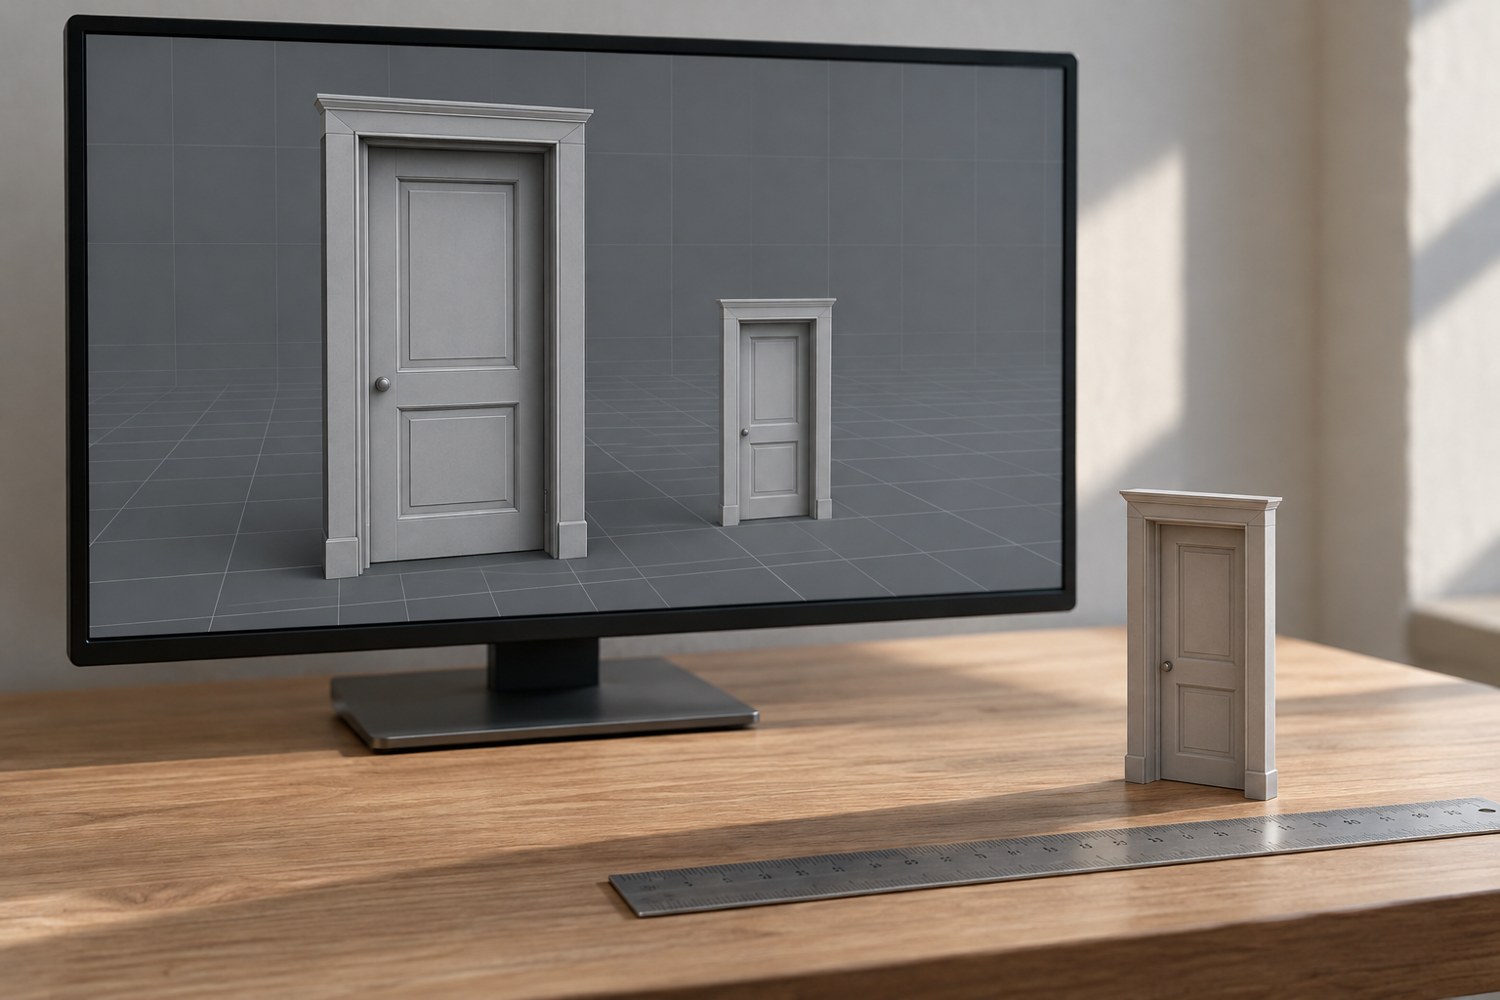
Check the scale of an imported model
Use a known dimension to check an imported model before judging its proportions or preparing it for printing.
Read article