Use cork to suggest rock layers
Arrange cork fragments around a consistent layer direction rather than stacking random chunks of texture.
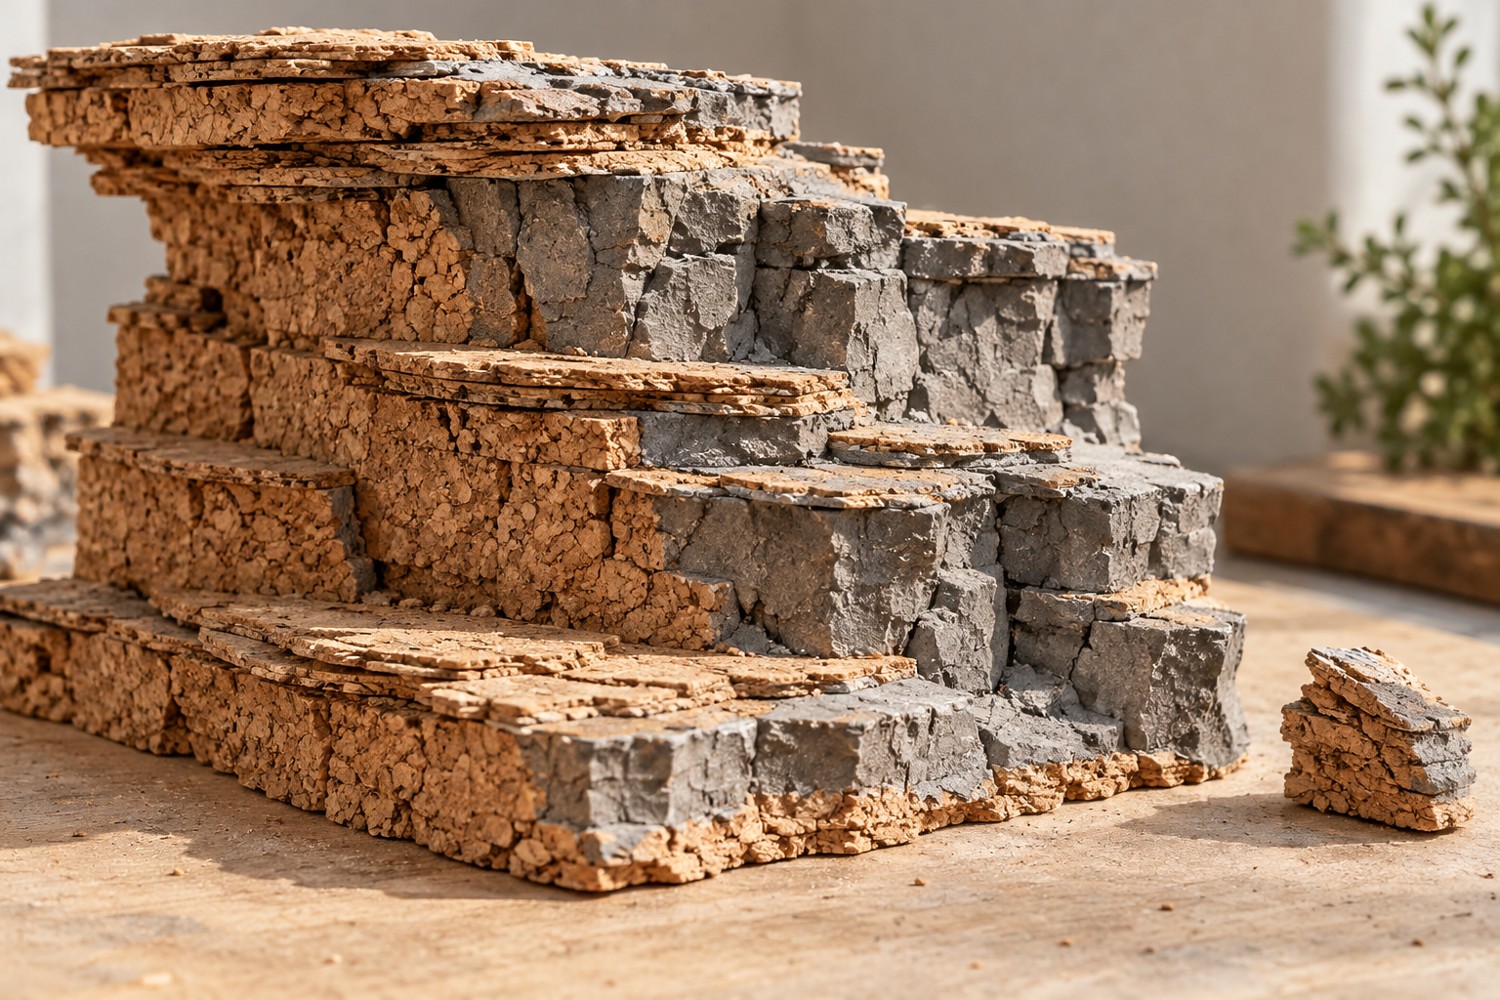
Cork already has a broken texture, but texture alone does not make a convincing rock face. Decide how the layers of your imagined rock formation run. They might be nearly horizontal or tilted across the slope. Carry that direction through the major pieces so the cliff reads as one formation rather than a pile of unrelated scraps.
Tear or select a few pieces with different outlines and place them dry on the base. Use the largest piece to establish the face. Add smaller fragments only where they extend a ledge, interrupt an edge or conceal a construction join. Keep some broad surfaces visible; covering everything with tiny pieces removes the distinction between a cliff and rubble.
Check the apparent thickness against the scene scale. A cork layer that looks modest beside your hand can become a huge geological band next to a small building. Put a figure, doorway or tree beside the arrangement before committing. You can suggest thinner layers with paint without physically adding another sheet.
Support the shape before disguising it
Make sure each piece rests on a supported area. An impressive overhang that depends on a tiny adhesive contact may not survive handling. Choose an adhesive compatible with the cork and base, following its product instructions. Trial the bond on scraps and allow it to develop before applying leverage to the arrangement.
Hide sheet-like edges selectively with compatible filler or ground texture. Do not bury the torn face that made the cork useful. A few smaller fragments at the foot of the cliff can connect it to the ground, but keep a path or shoreline clear if the scene requires access there.
Begin painting with a restrained set of related colours. Keep recesses readable and let a lighter pass catch selected raised edges. Try the sequence on a spare fragment first. If every high point becomes equally bright, the face can look chalky and lose its larger planes.
Look at the finished rock from the intended viewing height and rotate it under a light. Remove loose fragments before adding delicate vegetation. Place plants where the composition needs a transition or a pocket of soil, not evenly across every ledge. The result should have a few recognisable rock shapes at a distance and useful texture when viewed closer.
Another detail to explore
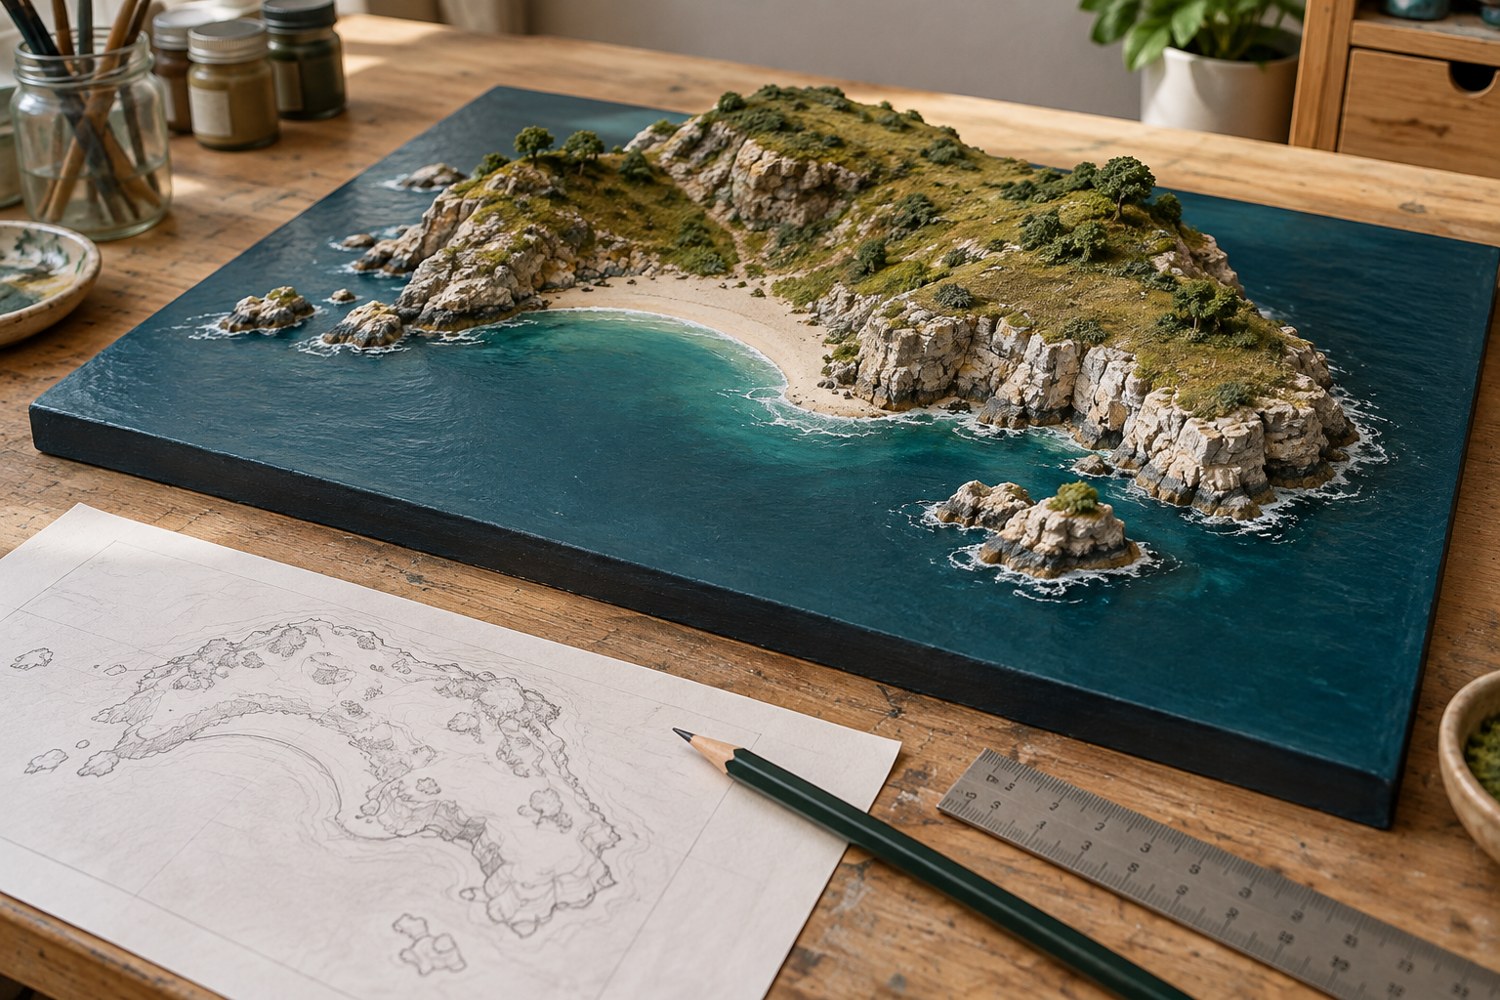
Plan an island diorama before building the coastline
Turn an island idea into a buildable composition by deciding the viewing angle, scale, shoreline and assembly order on paper first.
Read article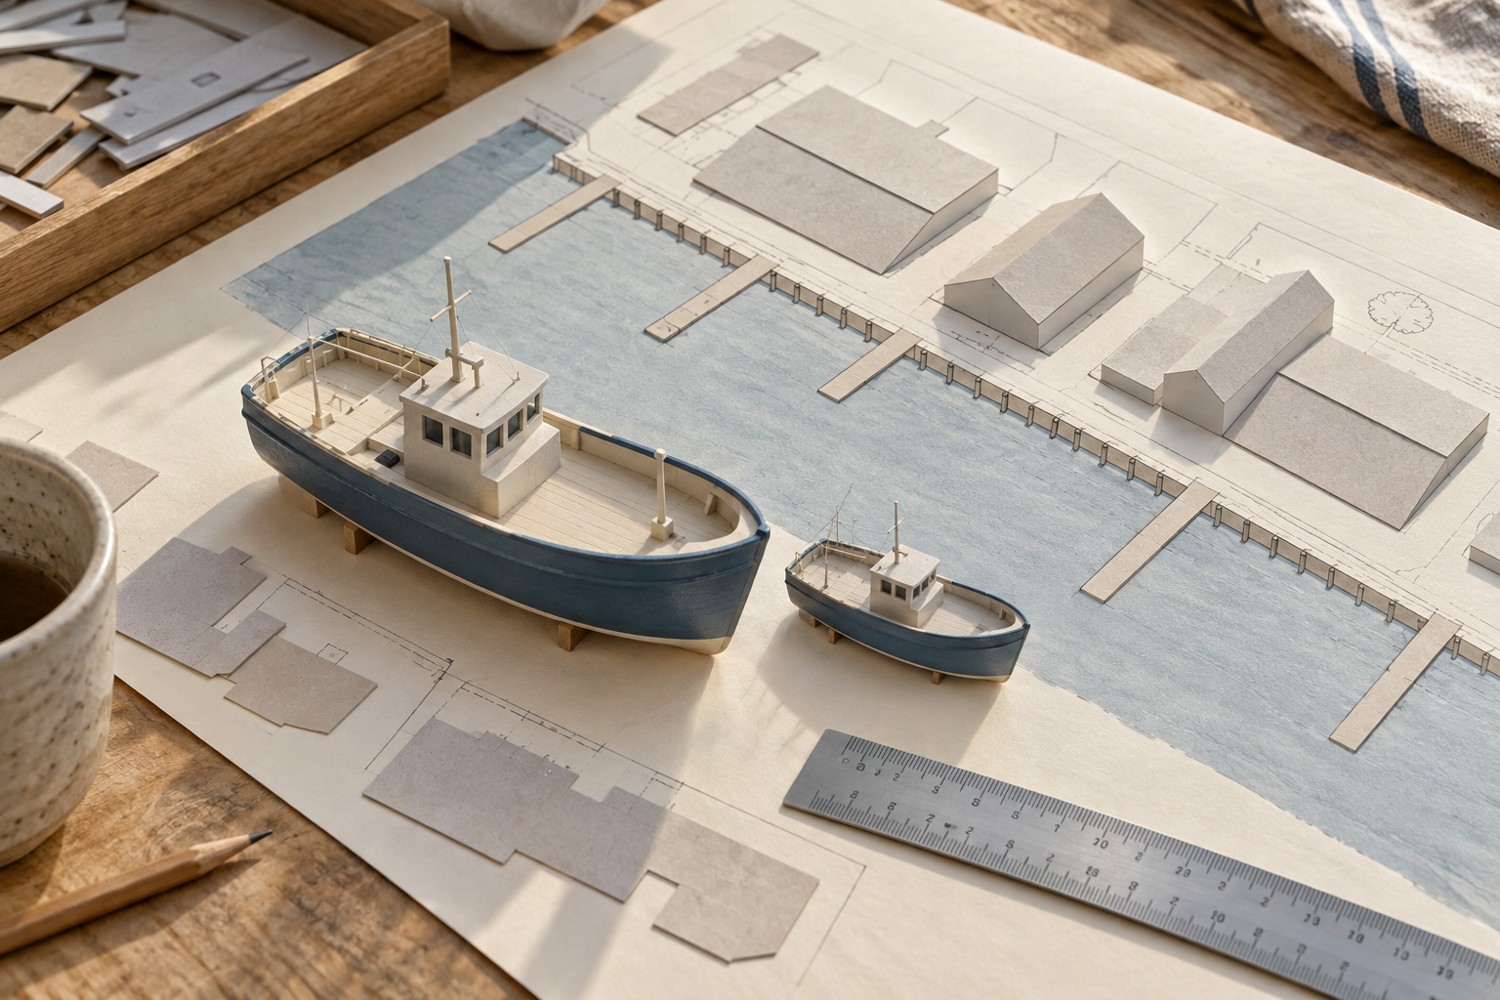
Choose a scale for a miniature harbour
Use the largest boat and the available footprint to choose a harbour scale before buying buildings and fittings.
Read article