Plan an island diorama before building the coastline
Turn an island idea into a buildable composition by deciding the viewing angle, scale, shoreline and assembly order on paper first.
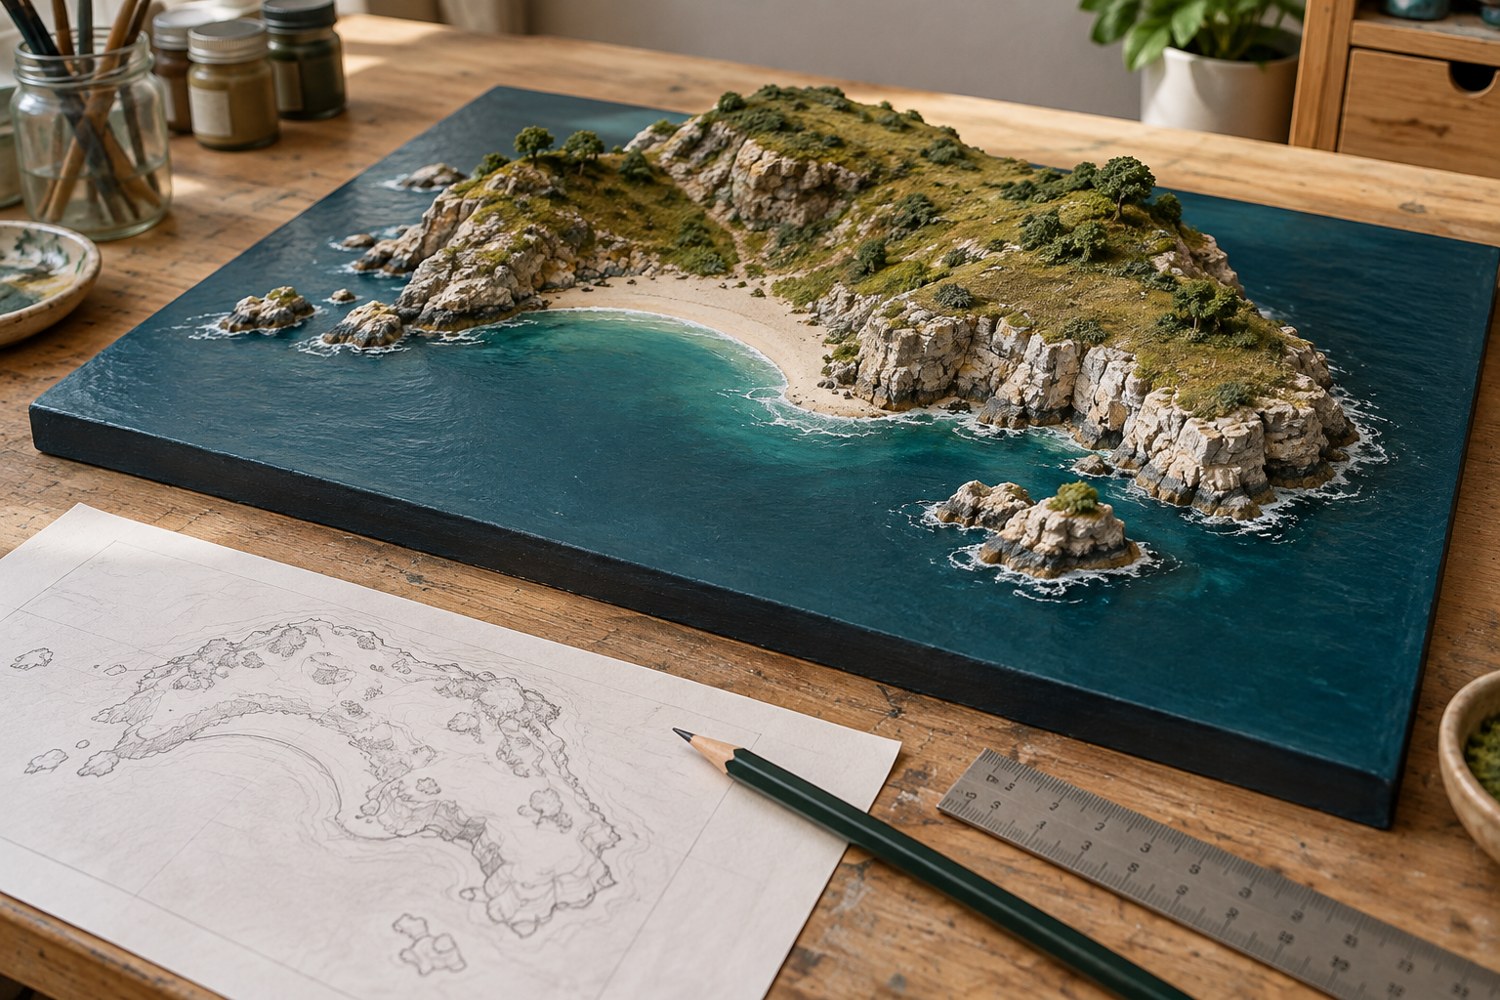
A small island can look crowded before a single building is attached. The coastline expands, the lighthouse demands a taller hill, and the boat no longer fits the harbour. Resolve those relationships with a full-size paper plan. The aim is not a beautiful drawing: it is a layout that leaves enough room to build, paint, move and view the finished scene.
Begin with the actual base outline, including its frame or display-cover lip. Mark a smaller working area inside it so rocks and trees cannot accidentally project into the cover. Choose one main viewing direction. A scene that must work from every side needs different arrangements from a shelf display with an unseen back.
Give the island a reason for its shape
Write a single sentence describing the scene: a sheltered fishing quay below a rocky headland, for example. That sentence establishes a useful contrast between a busy, low waterfront and an exposed, taller landform. It also prevents unrelated additions from taking over. A second harbour, castle and mountain railway may each be appealing, but together they ask a small base to explain too much.
Draw three rough coastline variations rather than refining the first outline. Try a crescent, an offset oval and a narrow headland. Leave visible water between the island and the base edge, particularly around the harbour entrance. If every rock touches the frame, the island may read as a cut section of mainland. Compare the silhouettes from your intended viewing position, not only from overhead.
Use objects to set the scale
Place paper footprints of the largest building and boat on the plan. Use their actual model dimensions, including roof overhangs and any bowsprit. A product described as a small boat can still dominate a miniature harbour. Where you are working to a stated scale, divide the full-size measurement by the scale denominator using the same units. A hypothetical 12-metre vessel at 1:200 occupies 60 millimetres before any display clearance.
Add a path from the landing point to the building. Make its bends visible and avoid forcing it straight up a cliff. A strip of paper is enough to test the route. If the path disappears behind a hill, decide where it returns and whether the viewer can understand the connection. The route is a compositional line as well as a suggestion of how the island is used.
Test height before making rock texture
Stand folded card or plain blocks on the drawing to represent hills and buildings. Photograph the arrangement at the finished viewing height. Check whether the land hides the main subject, whether the tower merges with a tree, and whether the harbour entrance remains visible. Change the height of a rough block now rather than cutting apart a textured cliff later.
Keep an accessible area around every object you expect to paint separately. A narrow gap that looks convincing can be impossible to reach with a brush after assembly. Mark removable buildings on the plan and decide where a locating feature could sit below their footprint. Any lifting point should be a solid base or foundation, not a railing, mast or roof ornament.
Decide how the water will be represented
A painted surface with a suitable clear finish can suggest water without a deep transparent pour. If you choose a poured scenic product instead, read that exact product’s instructions before setting the base depth or selecting sealers. Woodland Scenics, for example, provides different water products and preparation guidance; their names do not imply interchangeable application methods. Make a separate material sample before applying anything to the assembled coastline.
Finish the planning sheet with an assembly order: base and major landforms, shoreline trial, removable structures, ground colour, small vegetation and final loose details. Photograph the dry arrangement and mark reference positions underneath the pieces. Keep one corner of the paper plan available for changes. A buildable island is allowed to evolve, but those changes should preserve the space, access and main view you established at the start.
Another detail to explore
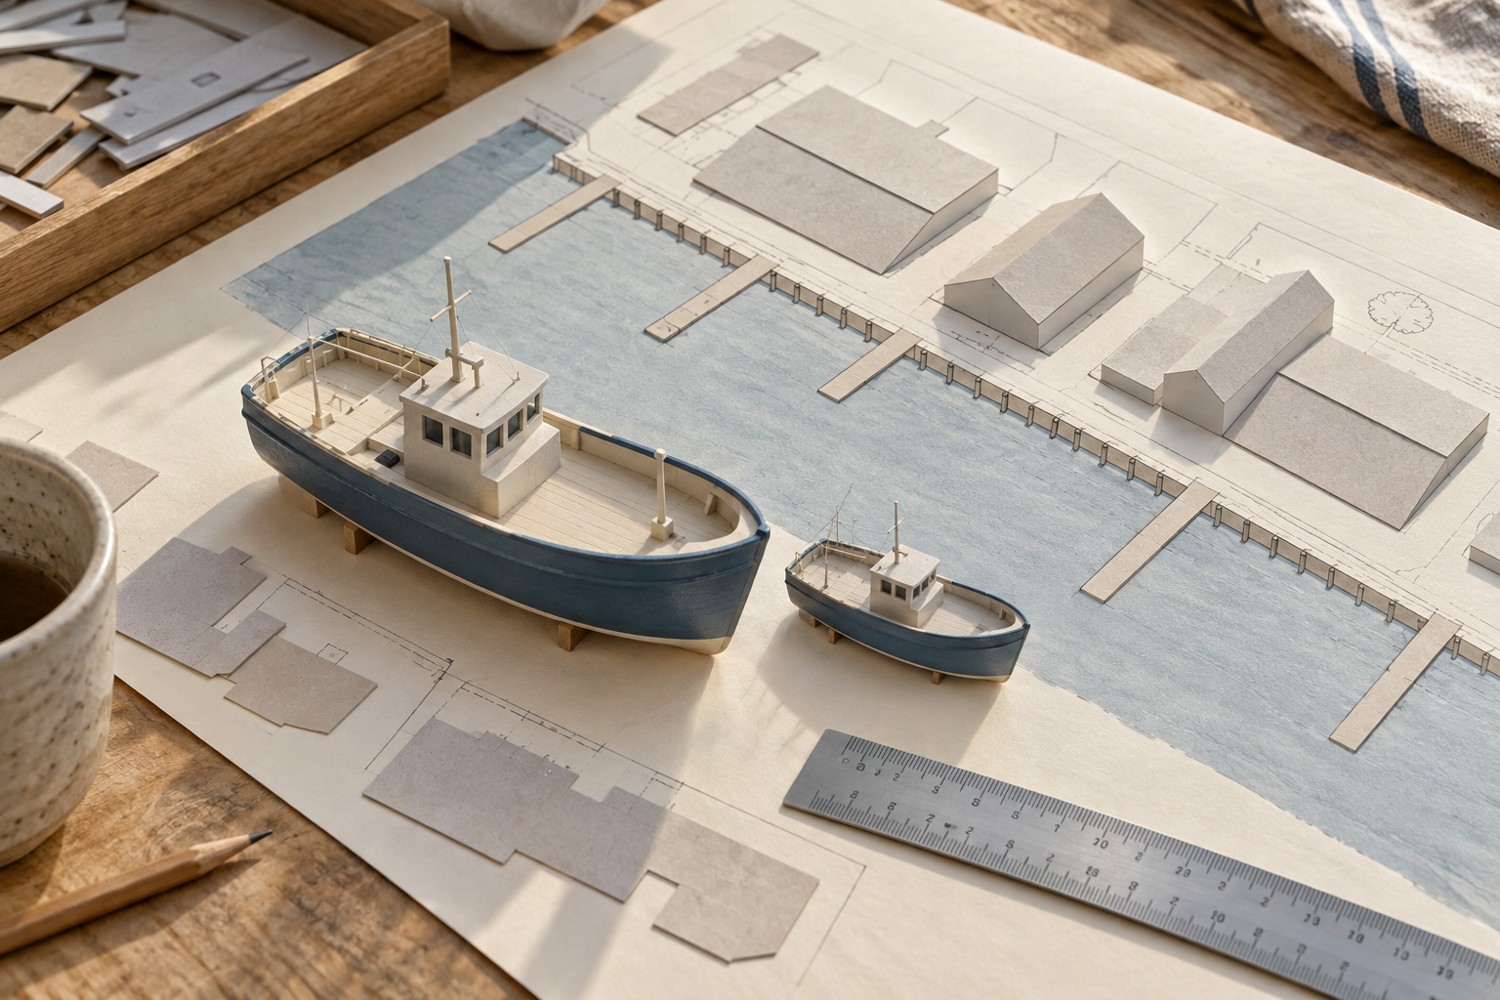
Choose a scale for a miniature harbour
Use the largest boat and the available footprint to choose a harbour scale before buying buildings and fittings.
Read article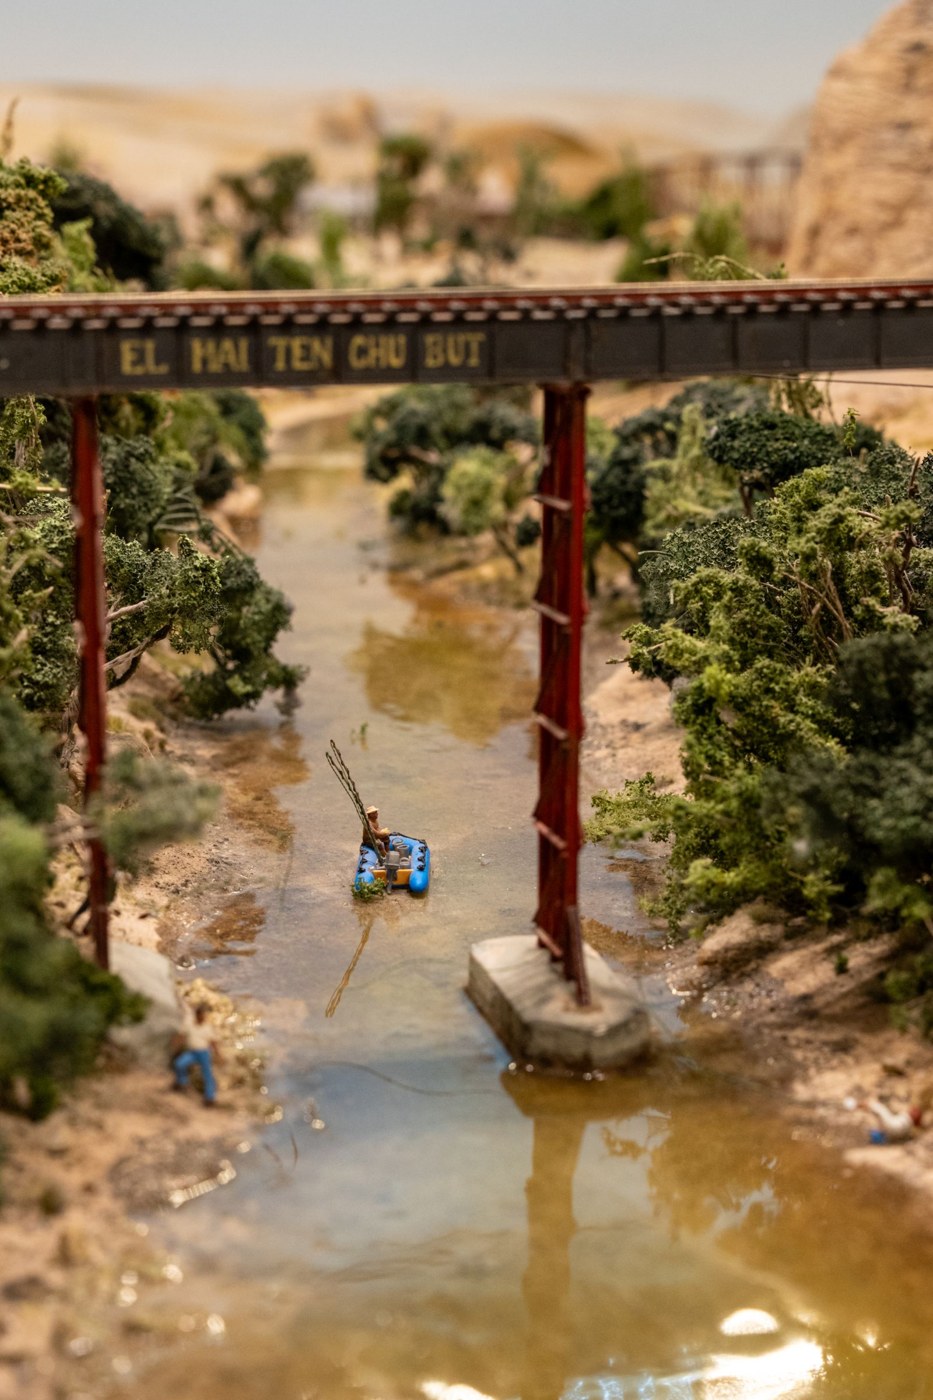
Build visual depth into a small landscape base
Separate foreground, middle distance and skyline with overlapping forms that remain clear from the intended viewing angle.
Read article