Repair a broken terrain detail with a planned joint
Identify the cause of a break and the load path before choosing a repair that may simply fail in the same place.
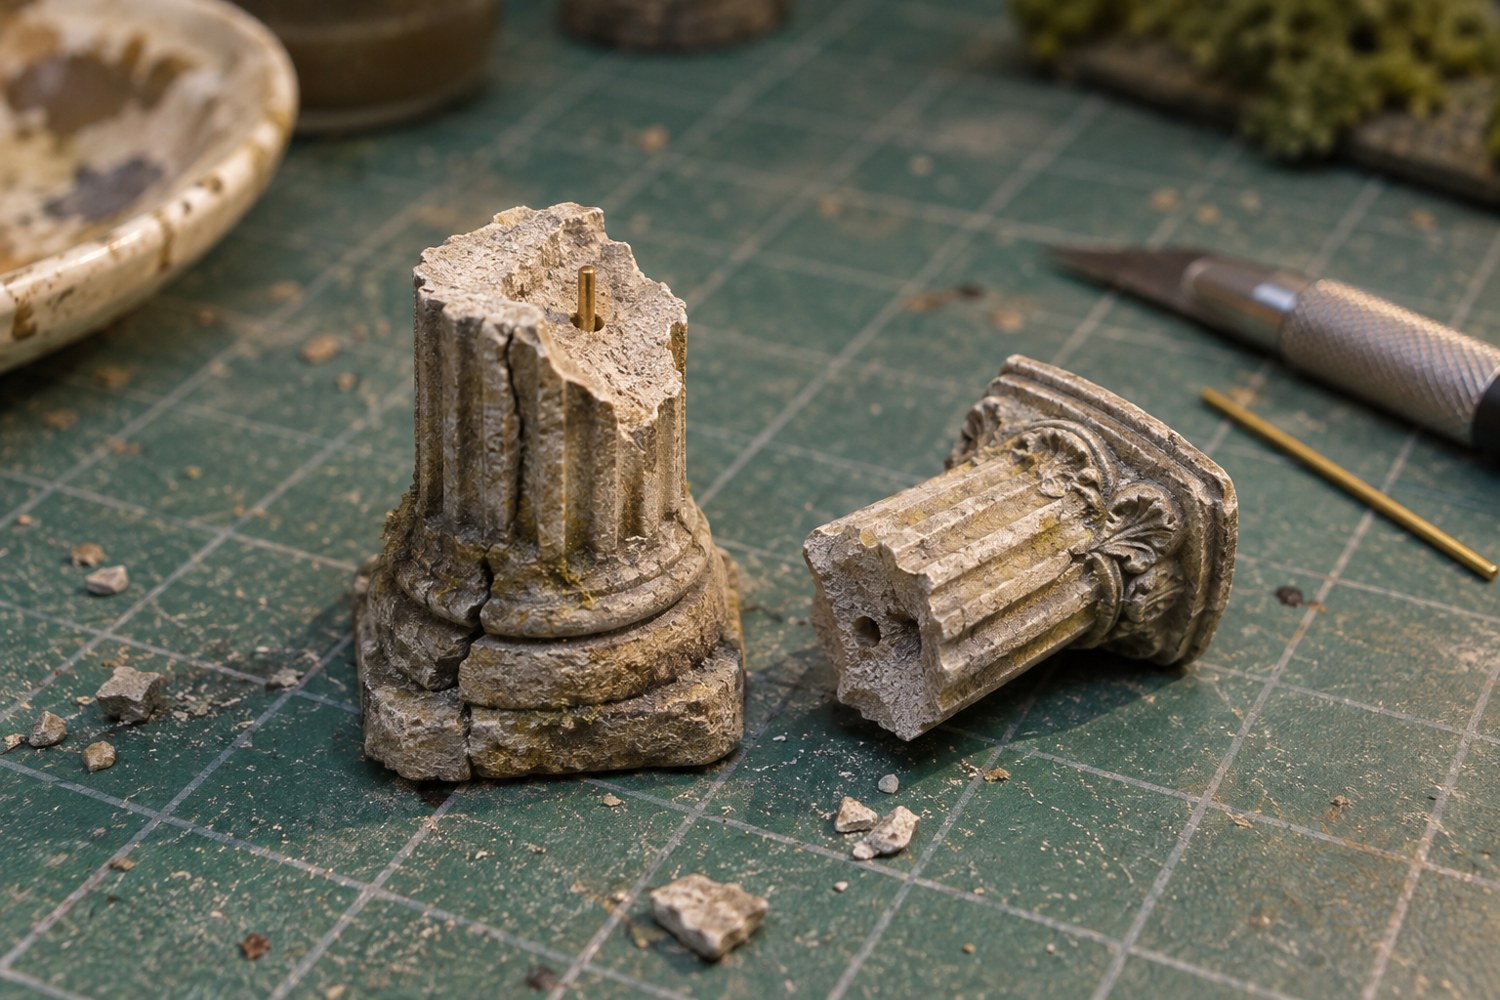
A broken terrain detail is not always a glue problem. A railing may have been used as a handle, a branch may have caught on packing, or a thin joint may have carried more weight than intended. Recover the loose parts and photograph the break before cleaning it. Understanding what failed helps you decide whether to restore, reinforce or simplify the detail.
Check whether material is missing. Two clean matching faces need a different approach from a crushed or incomplete connection. Dry-fit the fragments on a clear tray and compare the original alignment using photographs if available. Do not force a bent part back into position without checking the material's handling guidance.
Choose a joint you can support
Identify both materials and select a compatible adhesive or repair system according to its instructions. Remove loose contamination only with a method suitable for the surfaces. Avoid coating the entire area with glue in the hope that quantity will replace fit.
A tiny contact may benefit from a redesigned connection, but drilling or pinning is only appropriate where the geometry, material and tool access support it. Do not drill through a fragile part simply because reinforcement sounds stronger. A replacement piece with a wider hidden foot may be easier to handle and more reliable than an invasive repair.
Rehearse how the part will be held while the adhesive cures. Use supports against robust areas and check alignment from more than one direction. Keep pressure off nearby paint and scenery. Follow the full curing guidance before testing the repair under ordinary handling.
Restore the surface locally after the joint is stable. Use the project's colour notes or a sample to match the finish. A repair disguised with a new patch of rubble or vegetation should still leave intended moving parts and access routes clear.
Finally, change the condition that caused the break. Add a base grip, revise the storage support or make the vulnerable detail removable. Photograph the repaired part and note any revised handling instructions. If the original thin feature remains exposed to the same repeated contact, a visually perfect repair may only postpone another break. A small design change can preserve more of the model over time than repeatedly rebuilding the same weak point.
Decide when replacement is the cleaner repair
Some details are easier to remake than to join invisibly. A repeated fence post or simple printed bracket may have an accessible source file, spare casting or straightforward replacement shape. Compare the work needed to restore the broken surfaces with the work needed to replace the part while preserving the surrounding model.
Keep the failed piece as a dimensional reference until the replacement fits. Measure its relationship to neighbouring parts, not only its own length. A new post that matches the broken one but sits at a different angle can make an entire railing appear uneven. Dry-fit the replacement with its adjacent pieces before painting.
If the original file is available, revise only the weakness you have identified and retain a copy of the previous version. A thicker hidden foot or a less exposed attachment may help, but changing every dimension at once can create new fit problems. Label the replacement revision in the project notes so a future repair does not accidentally reproduce the same vulnerable part.
Another detail to explore
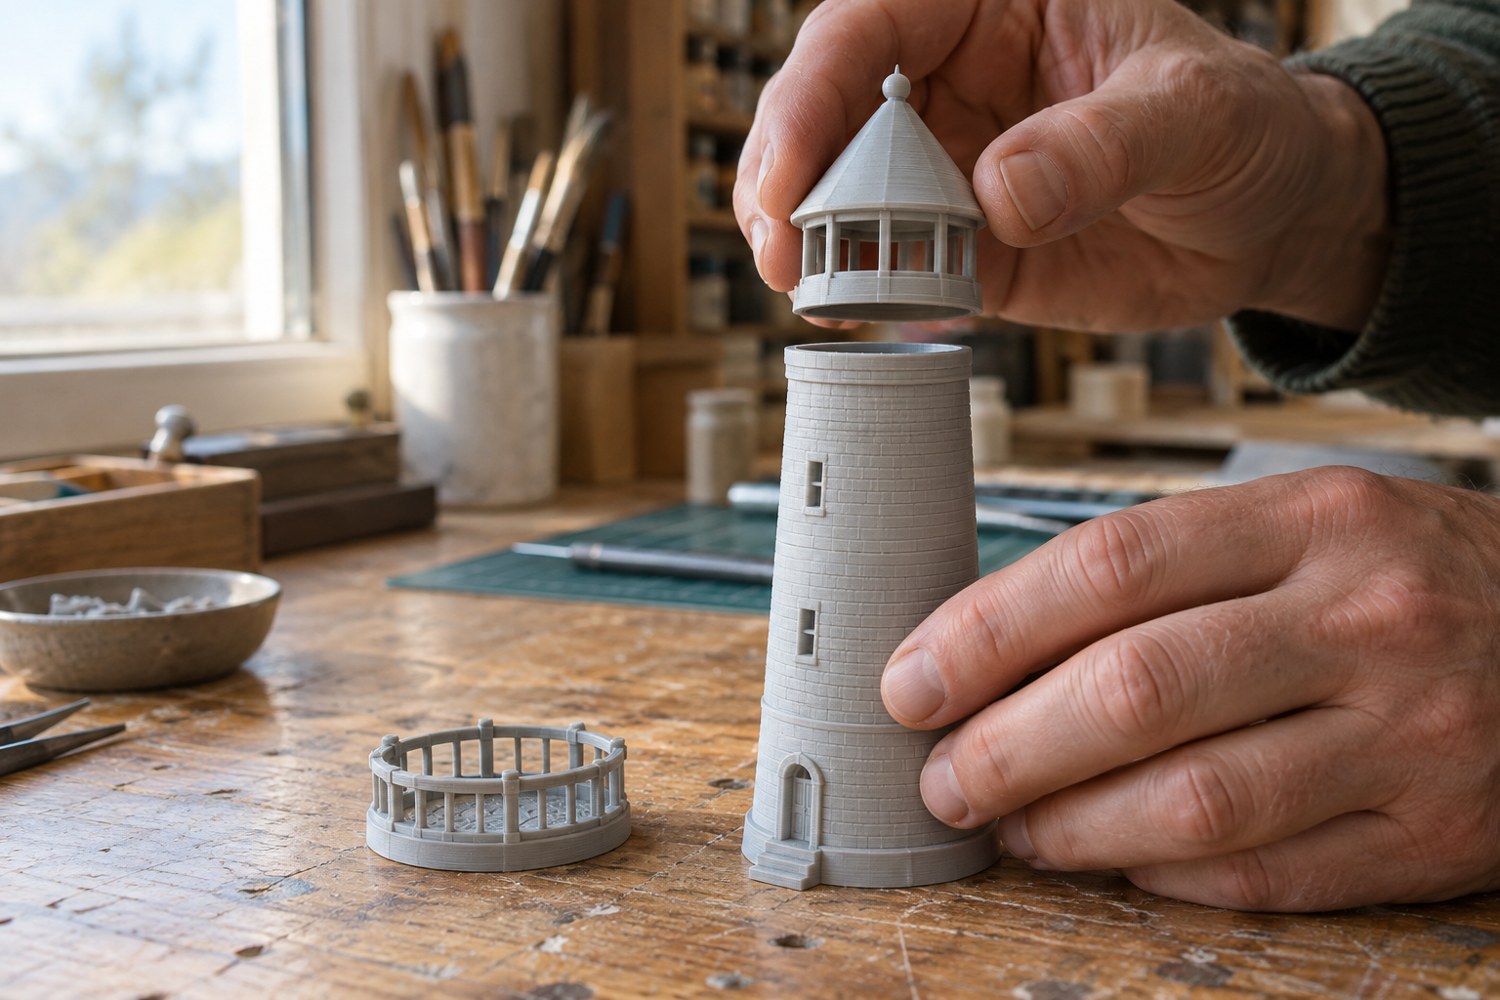
Dry-fit a printed model before reaching for glue
Check alignment, access and assembly order with temporary placement before an adhesive makes the decision permanent.
Read article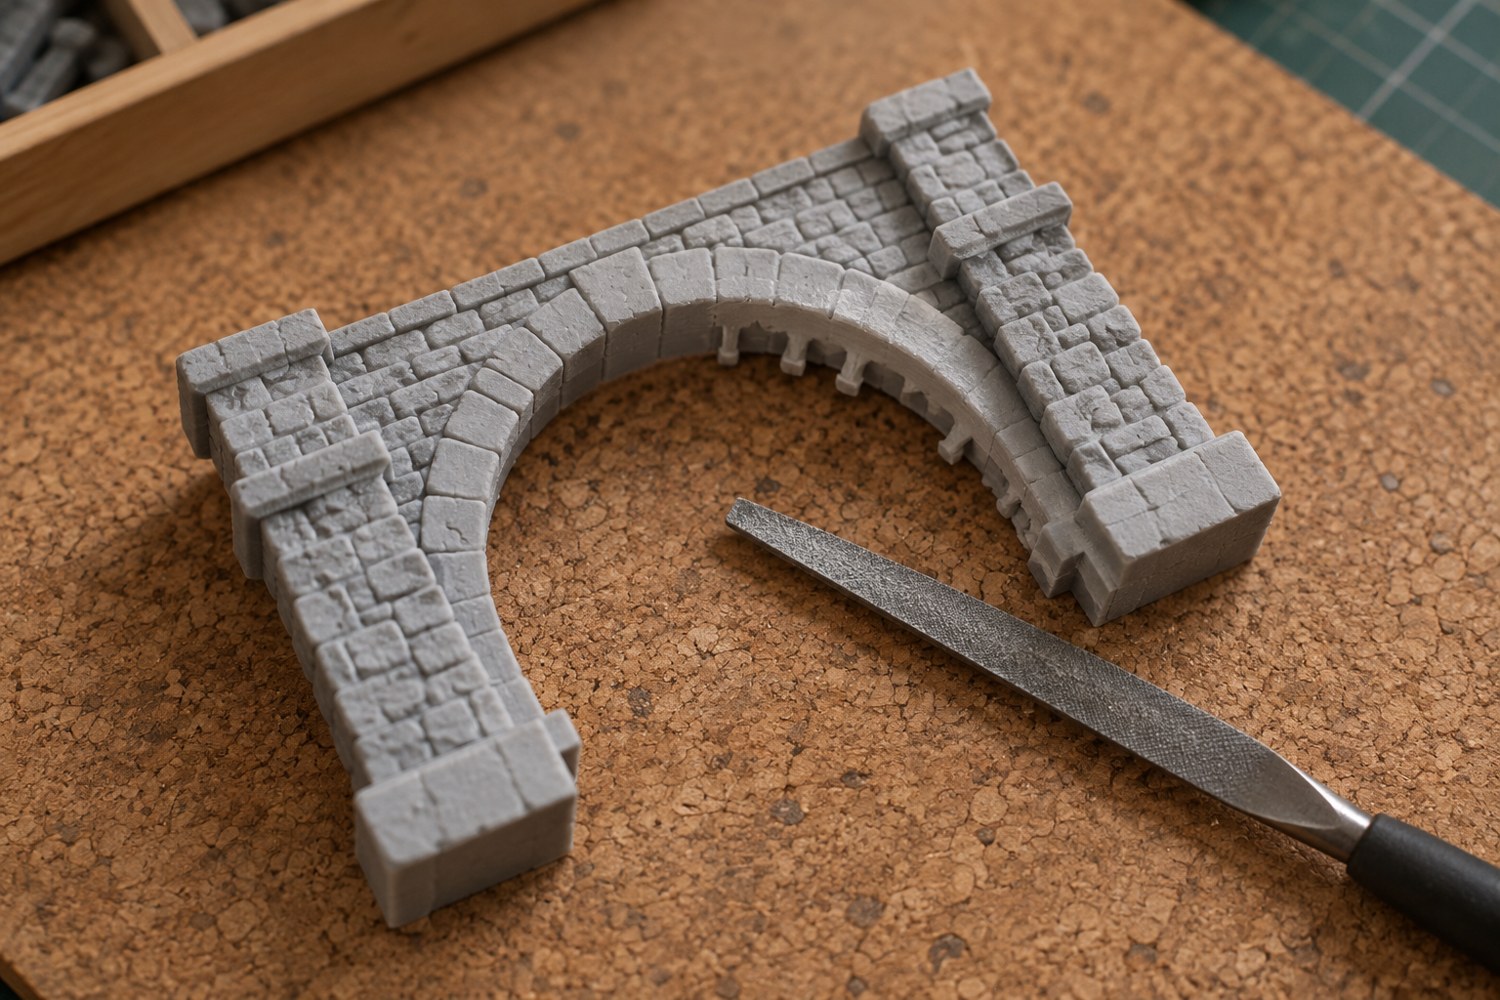
Remove support marks without flattening the model
Identify each support scar and protect the surrounding shape before removing material from a finished print.
Read article