Remove support marks without flattening the model
Identify each support scar and protect the surrounding shape before removing material from a finished print.
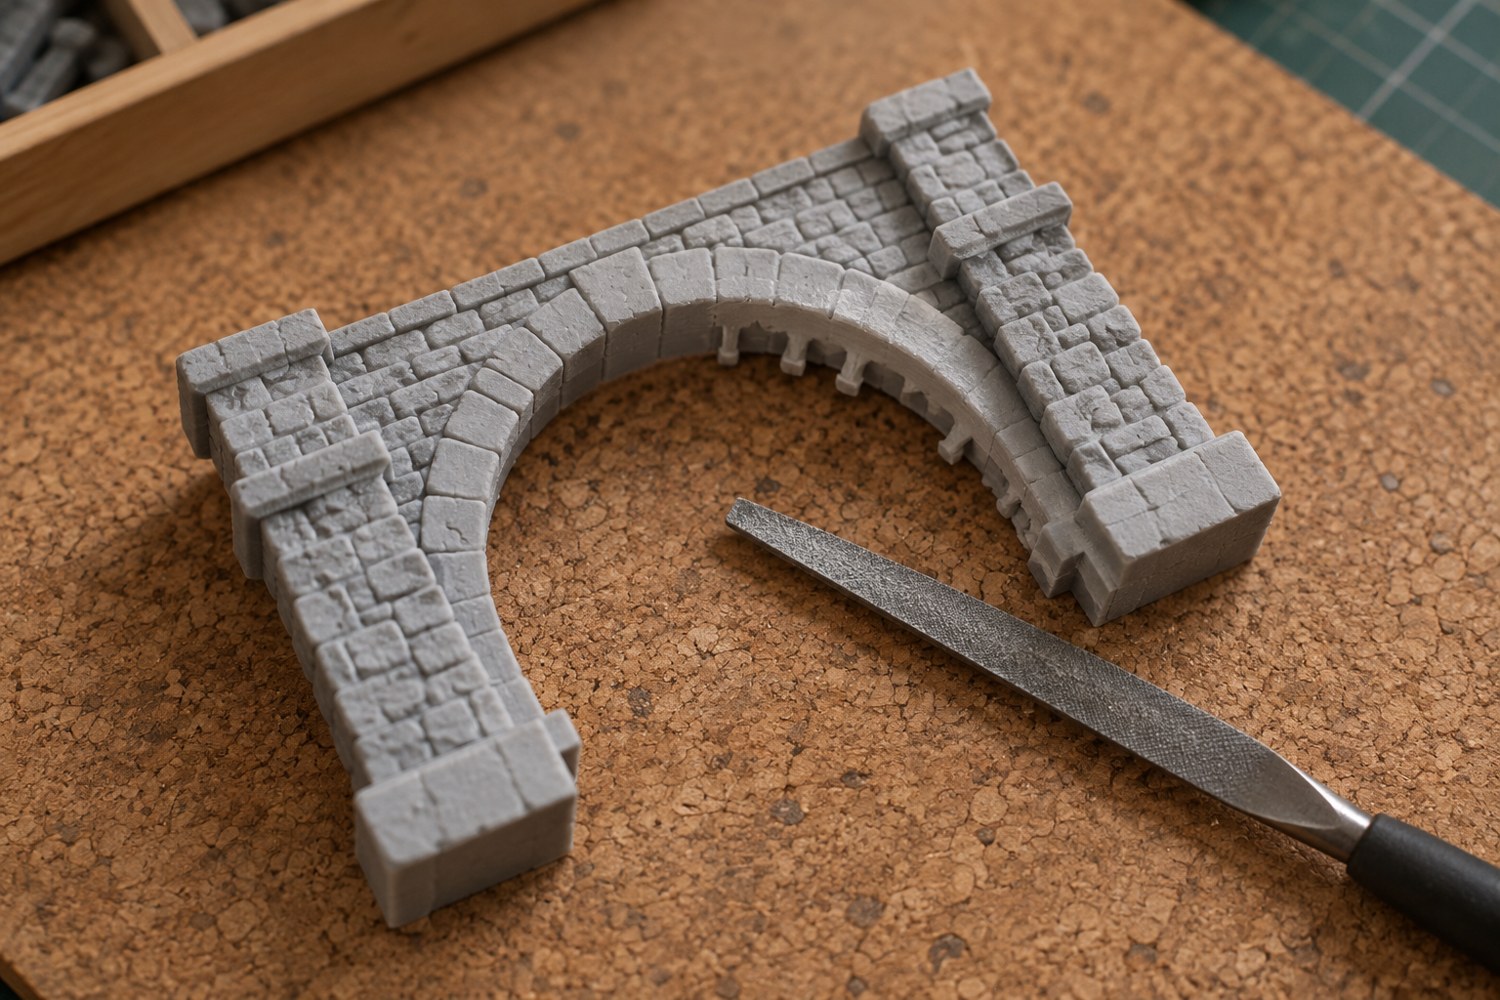
A support mark is a local defect. Treating the whole surrounding surface as a sanding area can erase the shape you wanted to preserve. Inspect the print under a side light and distinguish a raised remnant from a depression or torn edge. Removing material helps a raised point; it does not automatically fix a hollow.
Work only on material that has completed its required post-processing. A resin print needs the manufacturer's washing and curing workflow before normal finishing; this article concerns the geometry of the repair, not handling uncured resin. Follow the material and tool instructions for dust control, eye protection and cleanup rather than assuming every printed polymer can be treated identically.
Protect the reference shape
Choose an intact neighbouring feature as a reference. On a cylinder, watch the curve; on a panel, watch its plane and border. Support the model so it cannot flex while you work. If the only available grip is a thin detail, change the support arrangement before using a tool.
Remove a projecting remnant in small stages with a tool suited to the material and scale. Keep the cutting or abrasive action away from fingers and fragile features. Stop frequently and return the model to the same light. A shiny scar or colour change can look deeper than it is, so use the silhouette as well as surface appearance.
For a flat area, a small supported abrasive surface can help preserve the plane. For a curve, use a contact shape that follows it rather than creating a flat patch. Test on a spare print if the technique or material is unfamiliar. Start with the least removal that can solve the defect.
A depression may need a compatible filler rather than more sanding. Check the filler instructions and trial the paint sequence on spare material. Keep filler away from intentional grooves and joints. It should restore the local form, not blanket the surrounding detail.
When the scar is no longer prominent, clean the part using a method appropriate to its material. Inspect it under both side light and normal display light before repeating the process. A tiny mark invisible at viewing distance may not justify further risk to a delicate shape. If the defect comes from a repeatable support location, record it for a future print orientation or support-placement revision.
Another detail to explore
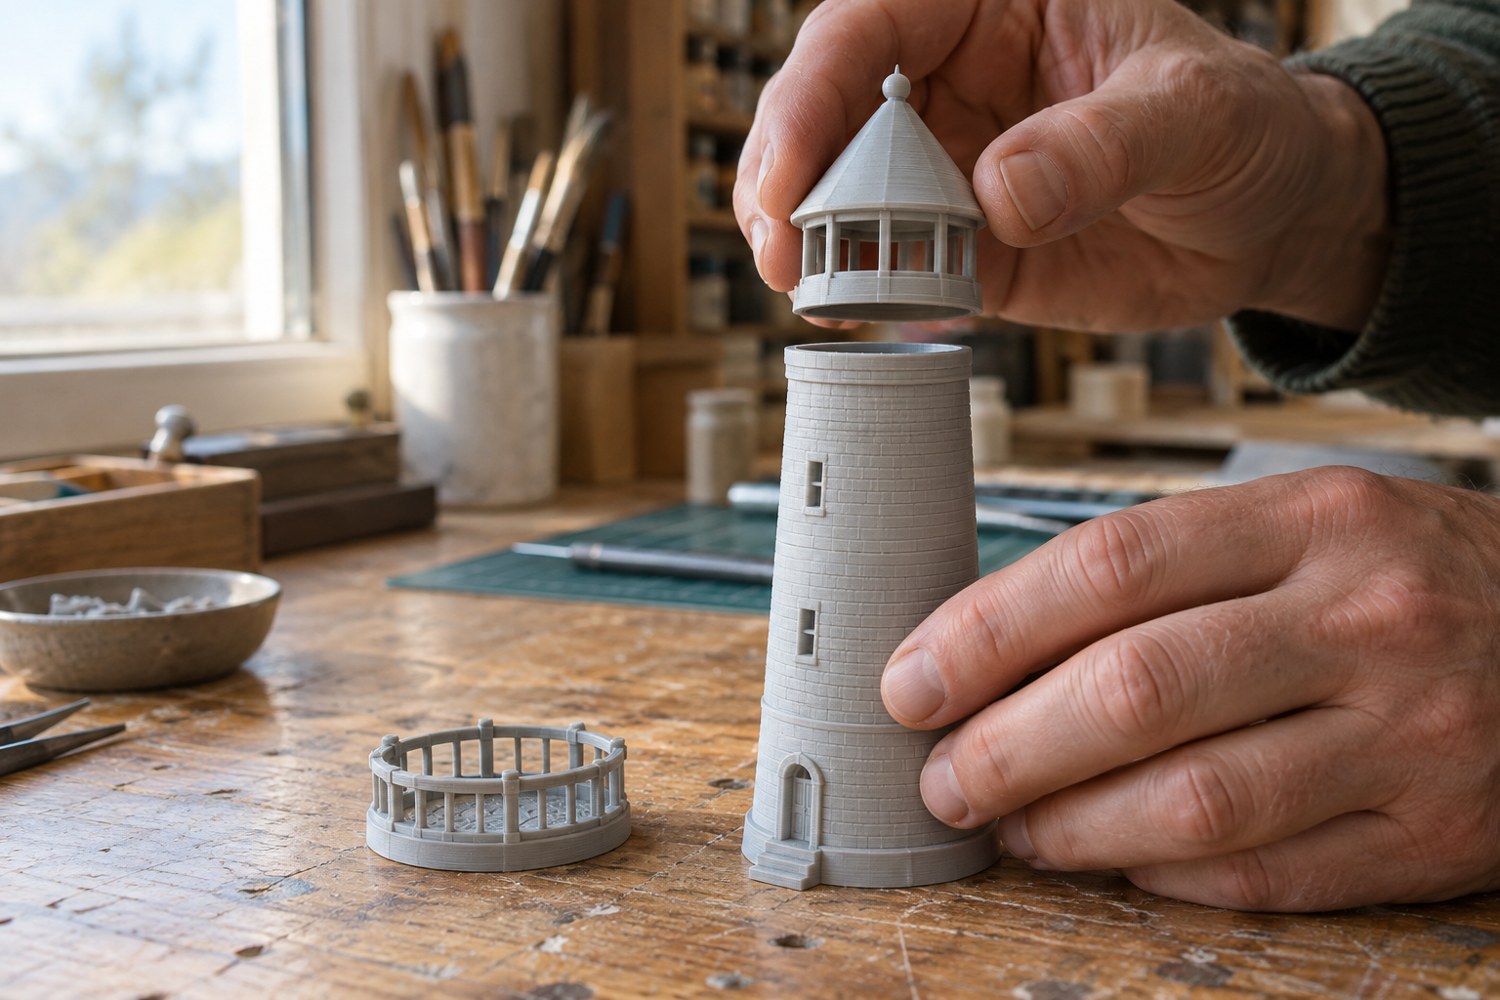
Dry-fit a printed model before reaching for glue
Check alignment, access and assembly order with temporary placement before an adhesive makes the decision permanent.
Read article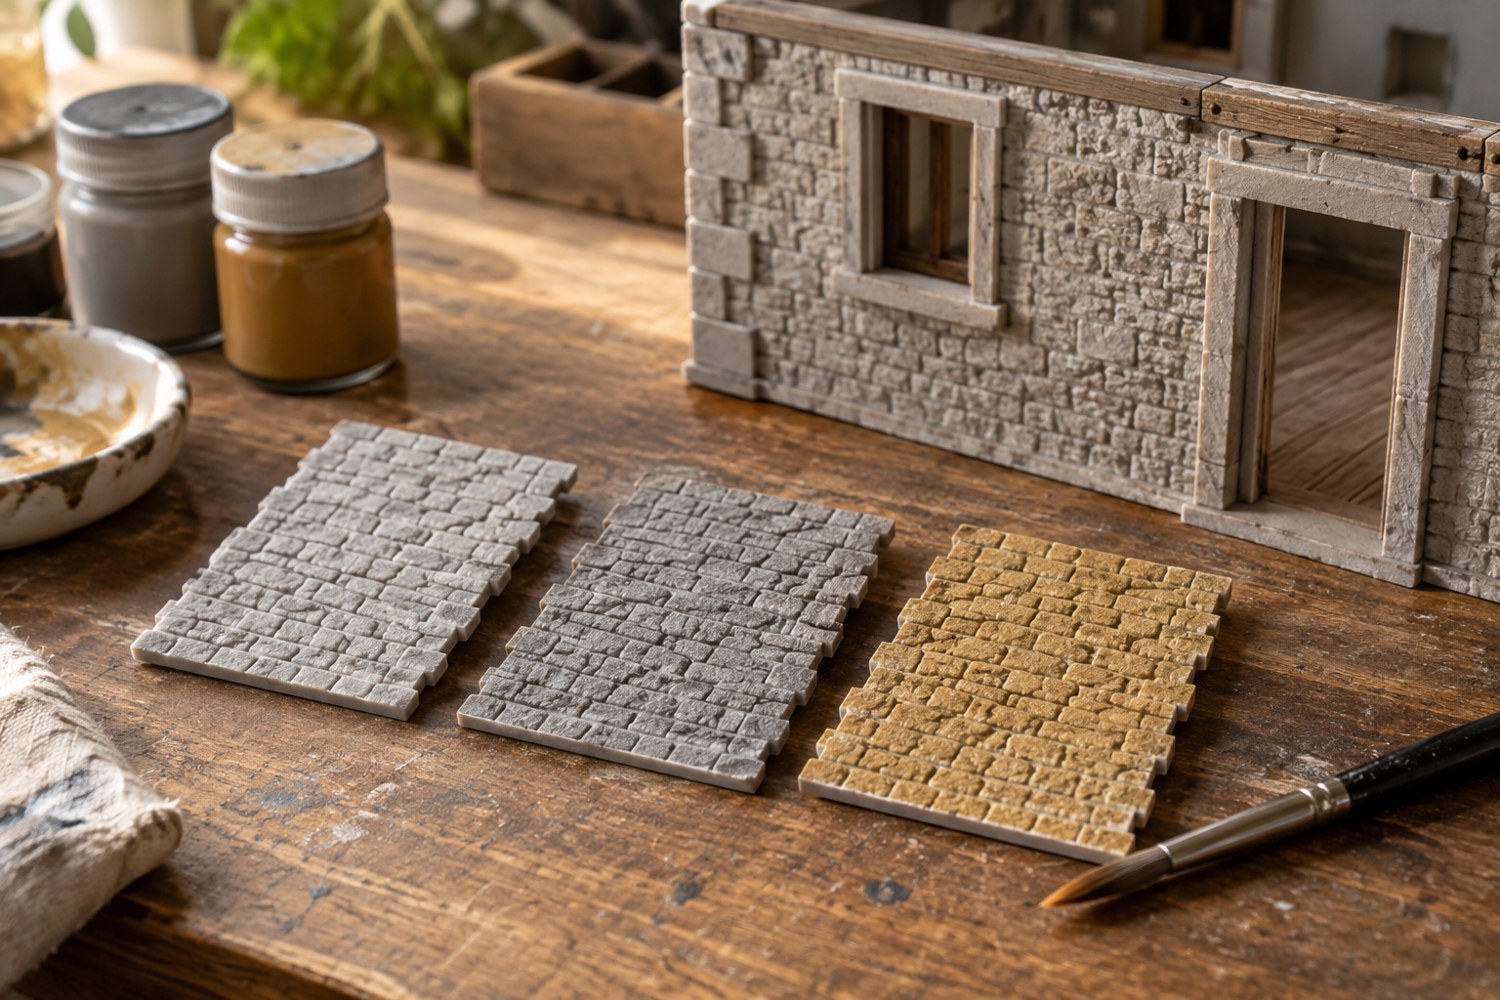
Plan a primer test on spare material
Test the complete primer and paint sequence on representative spare material before coating the model.
Read article