Prepare a terrain set for transport
Organise terrain by support needs and unloading order so the journey does not undo the work on its exposed details.
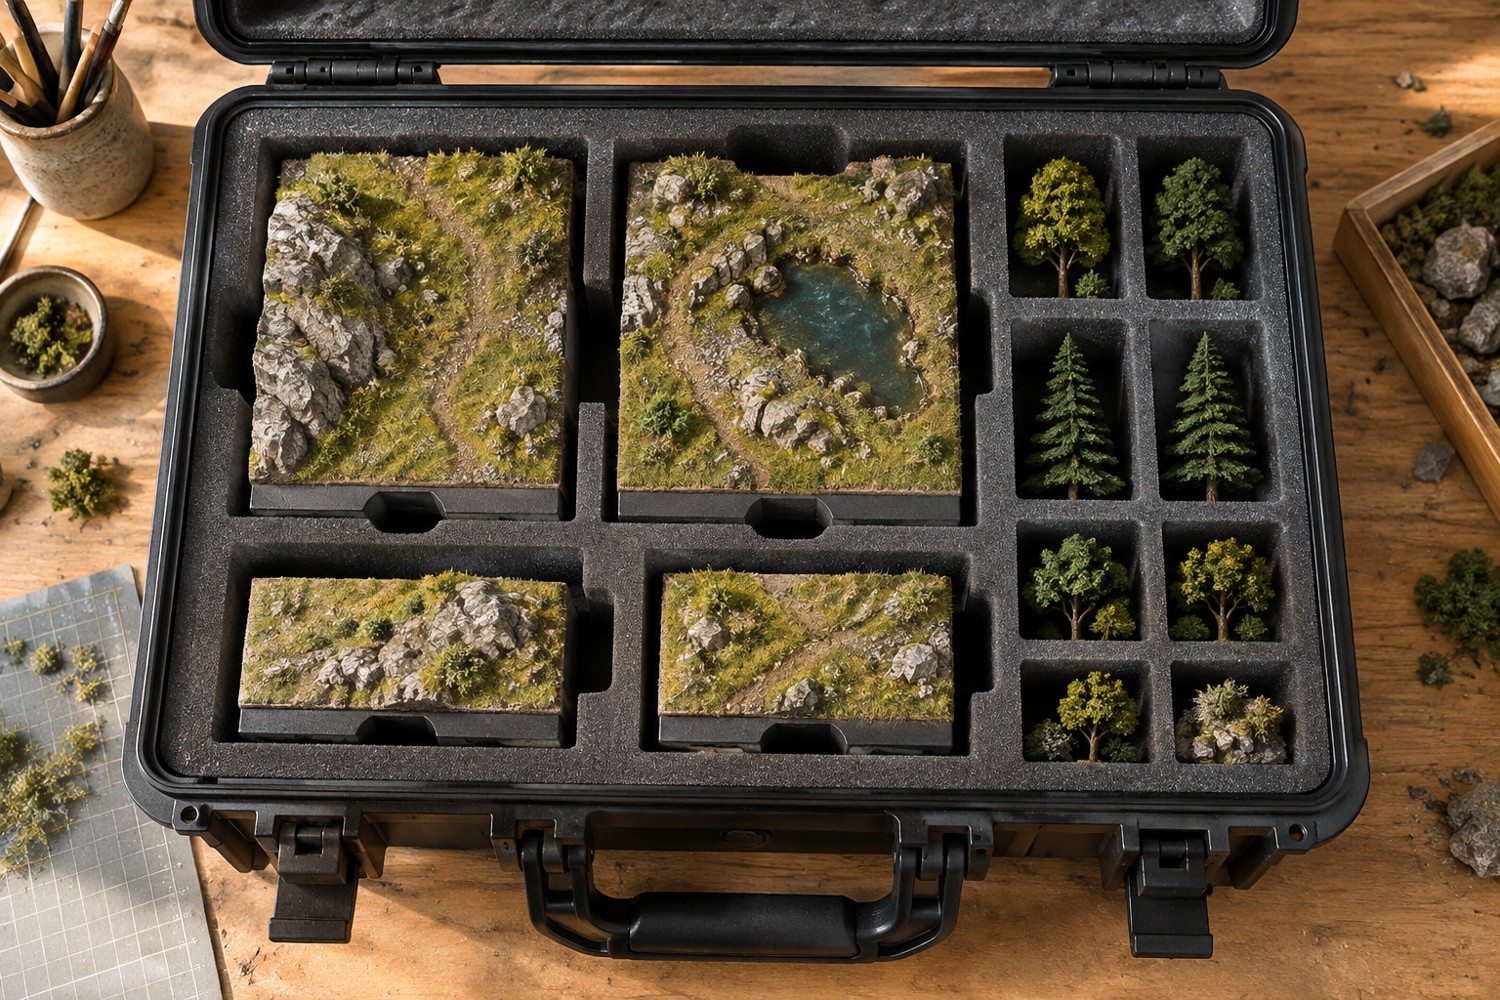
Packing a terrain set starts with identifying the parts that can take contact. A solid base, flat underside or reinforced wall may be suitable; trees, rails and roof ornaments usually are not. Lay the set out and mark removable pieces before selecting a box. A container chosen first can encourage an arrangement that fits tightly but supports the wrong surfaces.
Separate the largest bases from their loose details. Put small accessories in labelled compartments so they cannot migrate under a heavier piece. If the terrain is modular, record the underside labels and include a layout photograph. This reduces handling while searching for the right tile at the destination.
Restrain movement at the base
Use dividers or shaped supports that contact robust areas. Do not rely on a pile of loose packing around delicate scenery to stop a heavy base sliding. Check the packing material against the finish before prolonged contact, especially if the paint or scenic product has only recently been applied. Follow the finish manufacturer's handling and curing guidance.
Leave clearance above the tallest feature and account for lid flex. An empty box can appear generous until the lid is closed or another item is placed on top. Do not stack loads on a terrain case unless the case is designed for them.
Plan the unloading sequence. The first accessible piece should have a clear grip, and removing it should not destabilise the rest. Avoid hiding a heavy terrain tile underneath several fragile structures. A short written order inside the lid can help someone else unpack without guessing.
Test the arrangement with the box on a clear table. Close it gently, reopen it and inspect for pressure marks or shifted pieces. Then move it a short distance and check again. A local carrying test does not prove a package is suitable for postal shipping or rough transport; those conditions need a different level of packaging.
At the destination, put the closed box on a stable surface before opening it. Keep the packing pieces together and photograph their positions if they are not obvious. Inspect the terrain before assembly so a loose detail is found while it can still be recovered from the box. Repair or secure it before placing the model where it could fall into a larger layout.
Choose a repair kit that matches the journey
For a local event, bring a small set of project-specific spare parts and notes rather than an open collection of chemicals and tools. A replacement tree, spare locating peg or labelled paint swatch may solve more than a generic emergency glue. If carrying adhesives or other products, follow their transport, storage and venue rules and keep them closed in appropriate containers.
Include a clean tray or sheet on which to inspect the terrain. Small broken details are easier to recover from a clear surface than from a patterned table or floor. Keep a photograph of the complete set available so you can check whether a missing item is still in its compartment.
Do not make a rushed repair solely to restore appearance before use. A joint that has not completed its curing time may fail again and damage more of the scene. Where possible, leave the vulnerable detail off and use the terrain in a reduced configuration. Record the repair needed and address it in the workspace after the journey.
Another detail to explore
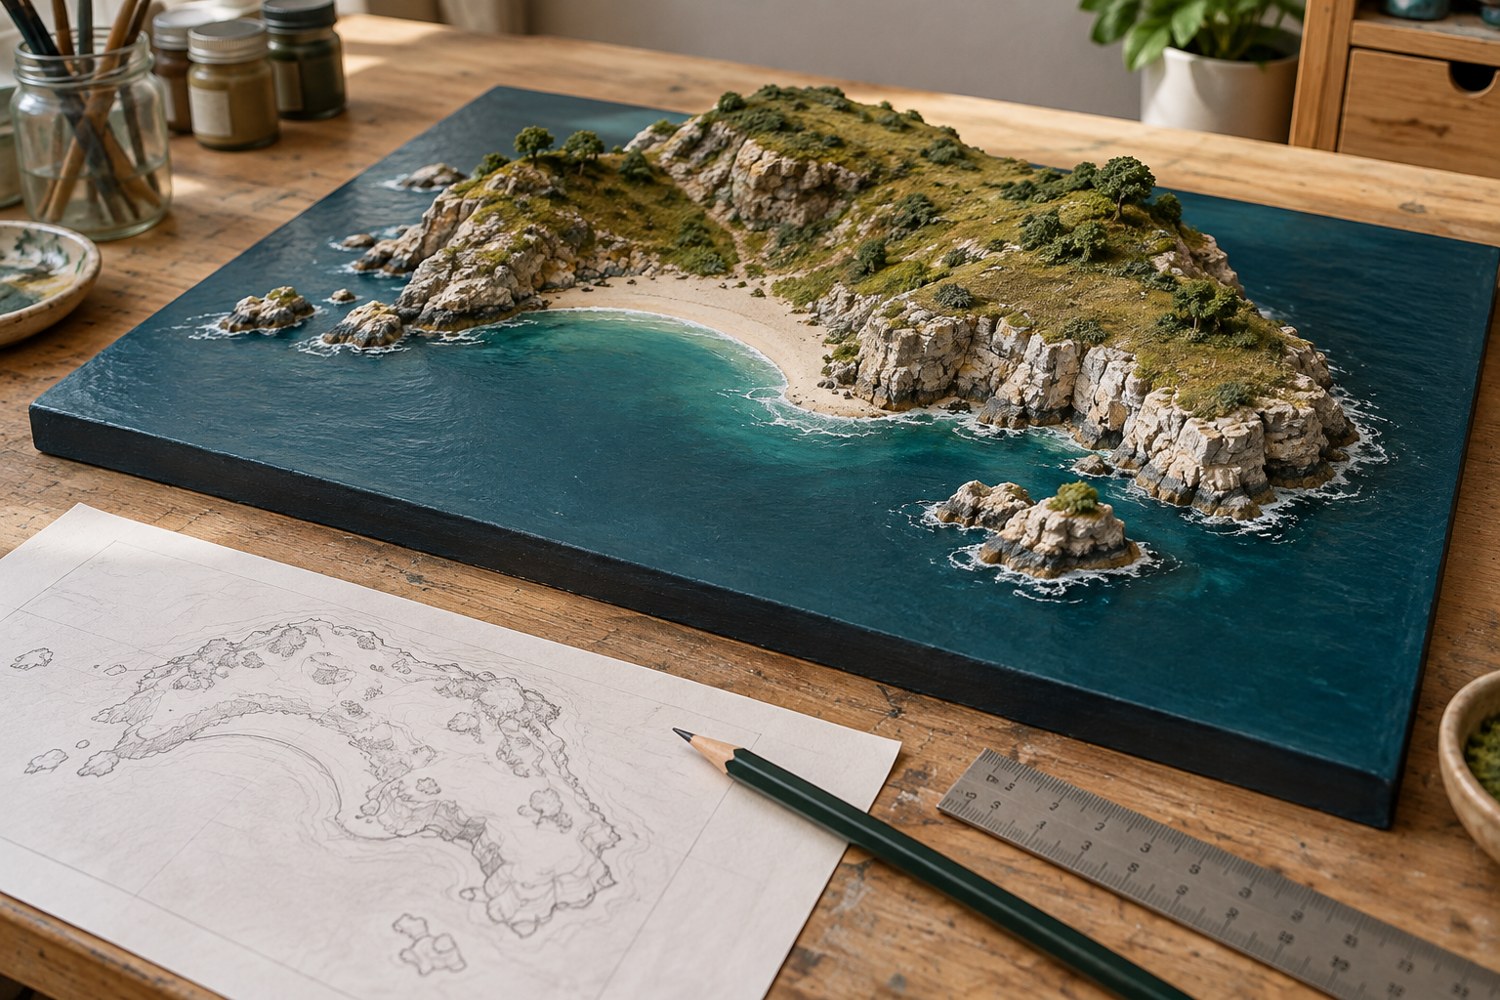
Plan an island diorama before building the coastline
Turn an island idea into a buildable composition by deciding the viewing angle, scale, shoreline and assembly order on paper first.
Read article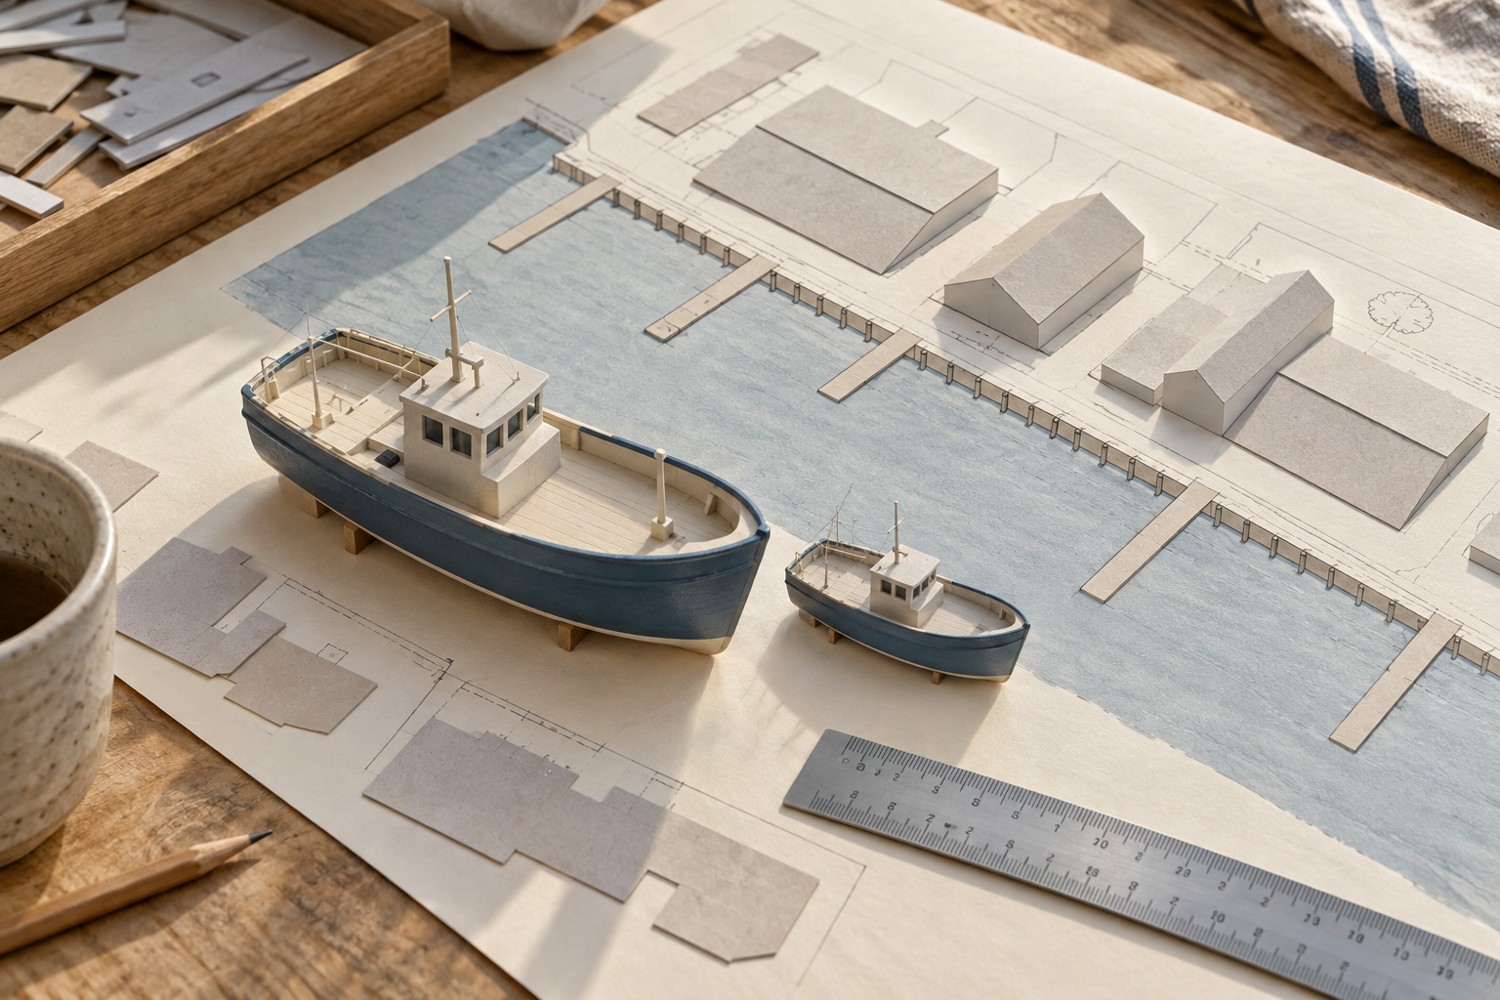
Choose a scale for a miniature harbour
Use the largest boat and the available footprint to choose a harbour scale before buying buildings and fittings.
Read article