Plan a workbench around ventilation and cleanup
Lay out printing, dusty work and chemical handling around the controls each task requires.
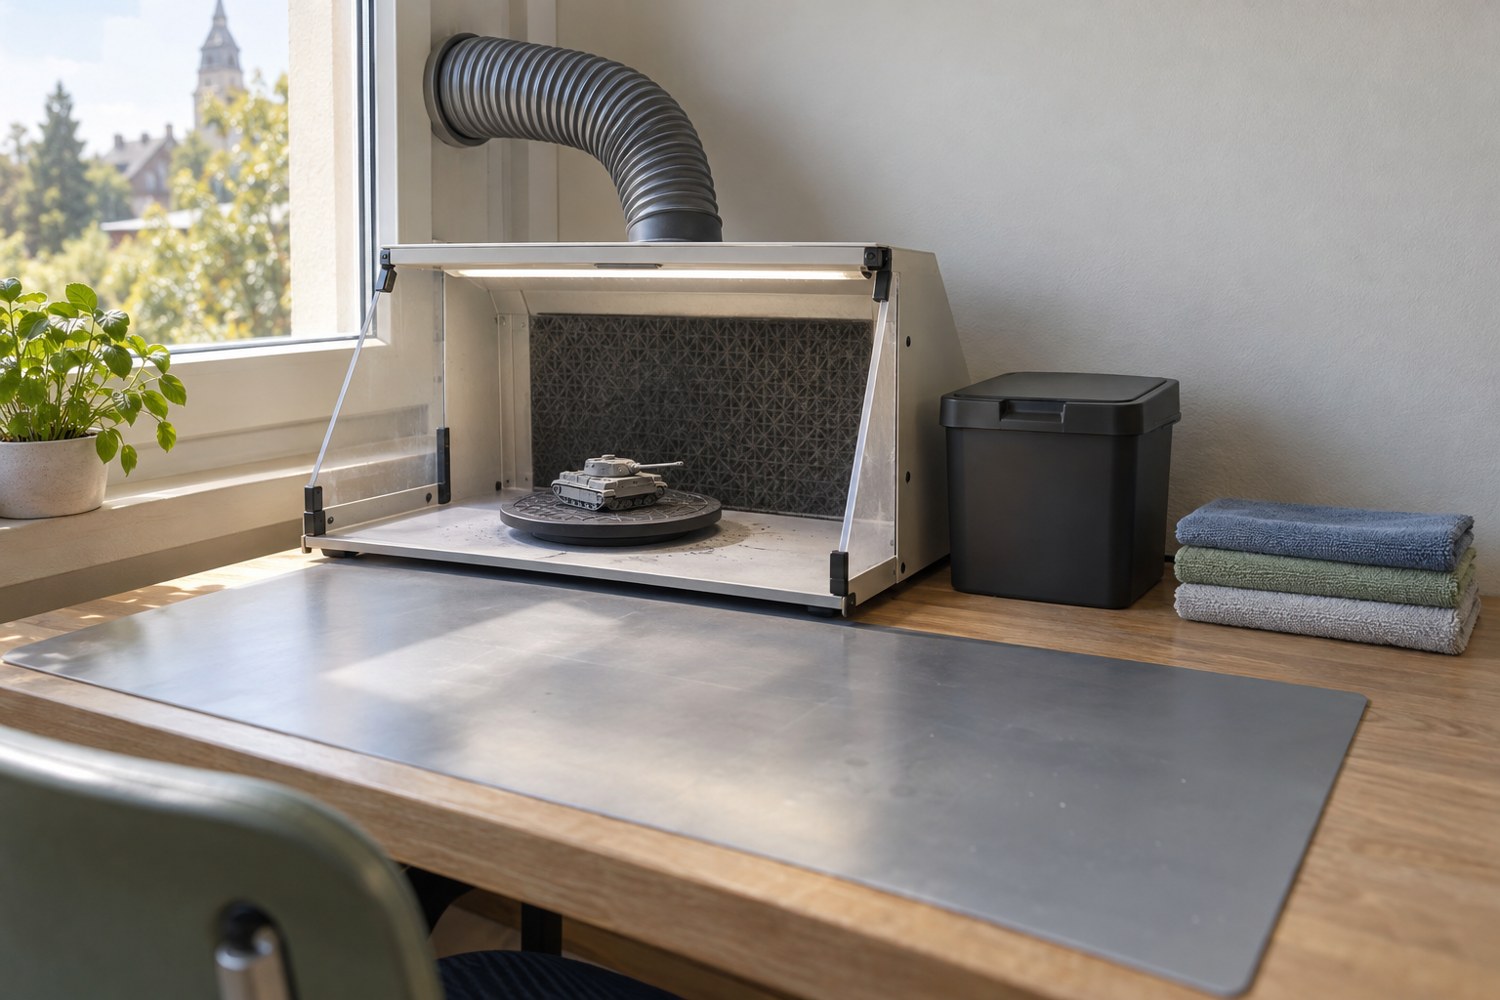
A model-making workbench often accumulates activities that were never planned together: printing, sanding, gluing and painting. Begin by listing the tasks and materials rather than buying a fan or enclosure first. The controls needed for a filament printer, a resin wash process and sanding dust are not automatically the same.
Consult the equipment instructions and safety data sheets for the actual products. NIOSH's guidance for makerspaces emphasises controlling exposures across 3D printing work, including related activities. Use that whole-workflow view when deciding what belongs in the room. A tidy arrangement can still be unsuitable if contaminants are moved towards another person or if a necessary cleanup task has no safe place.
Map the movement of work and people
Draw the bench with the printer, finishing area and storage. Add the normal walking route, door openings and access to controls. Keep frequently used clean items away from dusty or chemical work. If the same surface must serve several purposes, define the cleanup and changeover before switching tasks instead of assuming that a sheet of paper makes it a new workspace.
Plan ventilation using the requirements of the process and the building. Source capture, suitable exhaust and appropriate filtration may form part of a solution, but their effectiveness depends on the actual arrangement. A small fan that merely moves air around the desk is not proof of exposure control. Where the requirements are uncertain, obtain competent advice rather than assigning an arbitrary air-change number to every room.
Keep airflow decisions compatible with the machine's operating conditions. Do not block ventilation to improve a print, and do not aim an improvised strong draft at equipment without checking its instructions. The objective is an arrangement that supports both the process and the people using the area, not a trade in which one is ignored.
Make cleanup a normal stage
Provide suitable places for offcuts, dust, used wipes and chemical residues. Keep waste streams identified and follow product and local disposal requirements. Avoid sweeping fine debris into the air or blowing it off parts across the room. Choose cleanup methods and equipment appropriate to the material and hazard rather than repurposing any household appliance that happens to be nearby.
Arrange tools so that clean and contaminated handles do not migrate between tasks. A dedicated tray can keep resin tools together, while a separate finishing tray can keep abrasive dust away from paint mixing. These organisational measures support the required controls; they do not replace ventilation or protective equipment specified for the task.
At the end of a session, restore the bench to a defined condition: equipment in its instructed shutdown state, containers closed, residues collected and access paths clear. Keep a brief note of any unresolved spill, damaged tool or exhausted consumable rather than leaving it for the next person to discover. A workable bench is one that can be returned to a known condition, with enough space and time reserved for that return.
Use a simple changeover checklist when the bench has more than one purpose. Identify what must be removed, what must be cleaned, which containers must be closed and where the next task's tools will sit. For example, the move from abrasive finishing to paint mixing should include dealing with residues before opening the paint. The checklist should describe your actual bench, not a long generic list that is ignored because most items do not apply.
Review the arrangement after the first few sessions. Note awkward reaches, repeatedly moved objects and supplies that are hard to access while wearing the required protective equipment. These observations can improve the layout without changing the underlying safety requirements. A bench plan should remain editable as the kinds of work change.
Another detail to explore
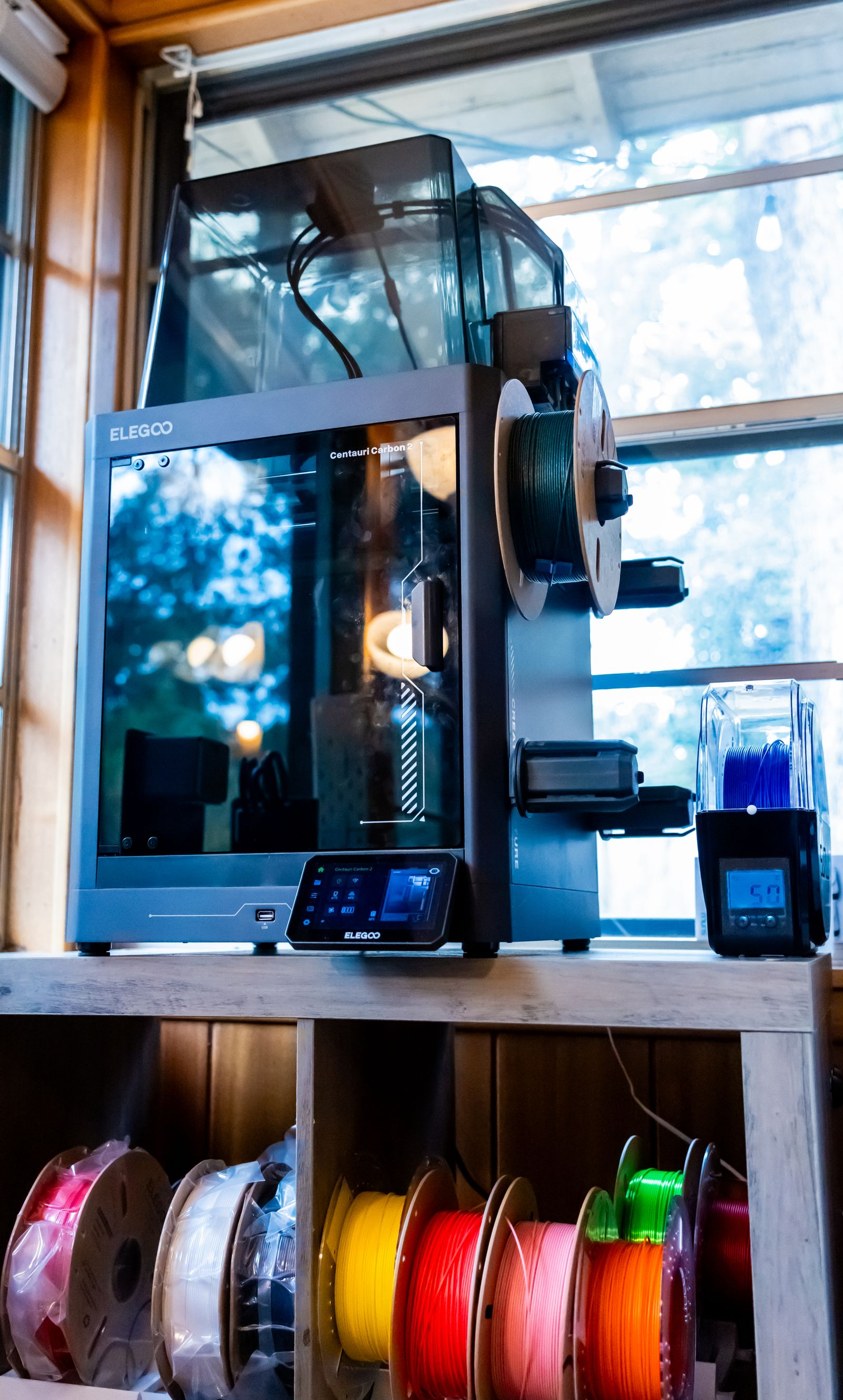
Store filament with a label you can actually use
Keep material identity, opening date and profile information with the spool through storage and use.
Read article
Choose between PLA and PETG for an indoor model
Choose material around handling, shape and finishing rather than treating one polymer as a universal upgrade.
Read article