Mask a straight edge on a small model
Plan the paint boundary, test the tape and control the paint load before masking a small straight edge.
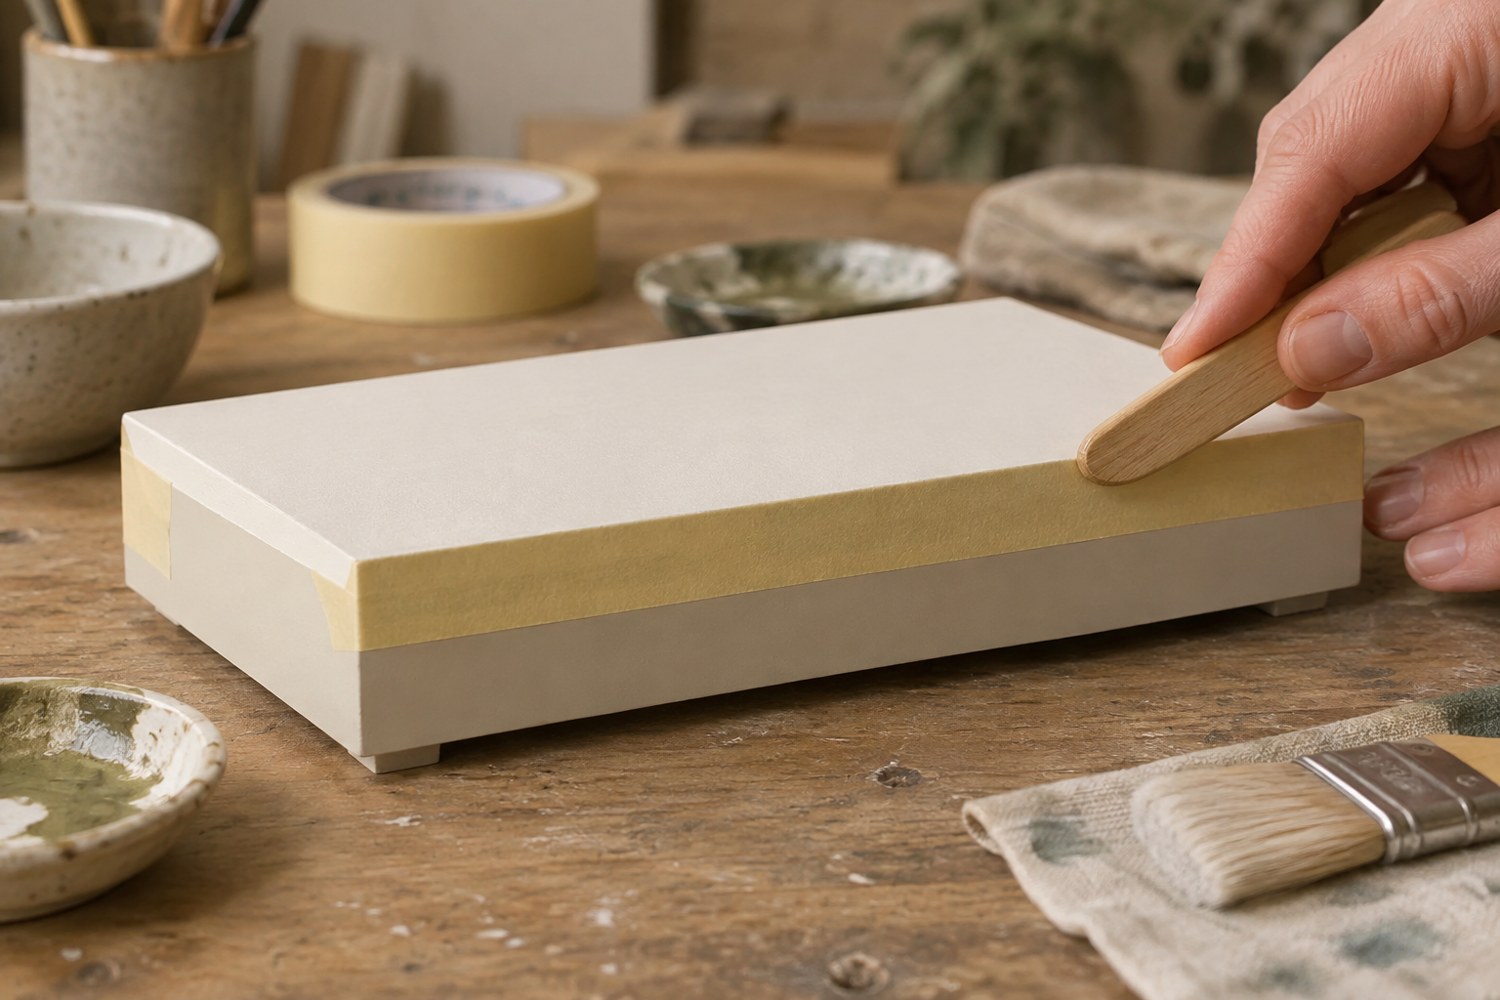
A straight painted edge begins with a stable surface and a clear reference line. Decide whether the boundary follows a panel, a measured stripe or an architectural feature. Mark the intended position on a drawing or with removable references rather than scratching a guide into the finished paint.
Let the underlying coat reach the handling condition recommended by its manufacturer before applying tape. A dry-looking surface may still be vulnerable to pressure or removal. Test the chosen tape on a spare piece with the same paint sequence. Tamiya's modelling guide describes dedicated masking tape and different widths; that does not establish compatibility with every finish, so the project sample still matters.
Use the edge of the tape deliberately
Choose a tape width that follows the required line without excess material bunching around nearby features. Position it using the same reference at both ends. On a small model, a stripe can appear straight from above while sitting at a slight angle to the actual panel.
Press the paint boundary down carefully without crushing raised detail. Check corners and recesses where the tape may bridge rather than contact the surface. If the line crosses a complex shape, divide the masking into manageable sections instead of stretching a strip until it changes shape.
Use a controlled paint application appropriate to the product. A large wet load at the tape edge is harder to manage than thin, deliberate coverage. Follow the paint manufacturer's application and removal guidance, and keep spraying precautions specific to the product and workspace if spraying is involved.
Remove the tape with a slow, controlled motion after the appropriate interval. Support the model and avoid pulling across fragile details. If resistance or lifting appears, stop and assess the cause rather than continuing quickly. Use the sample to establish a sequence before attempting an important visible stripe.
Inspect the line after the coating is ready for further work. Small corrections can be made with the adjacent colour and a controlled brush, but avoid chasing a wet edge repeatedly. Keep the masking notes with the paint record if the same boundary will be repeated across several models. Consistency comes from the reference, surface preparation and sequence together, not from tape alone.
Another detail to explore
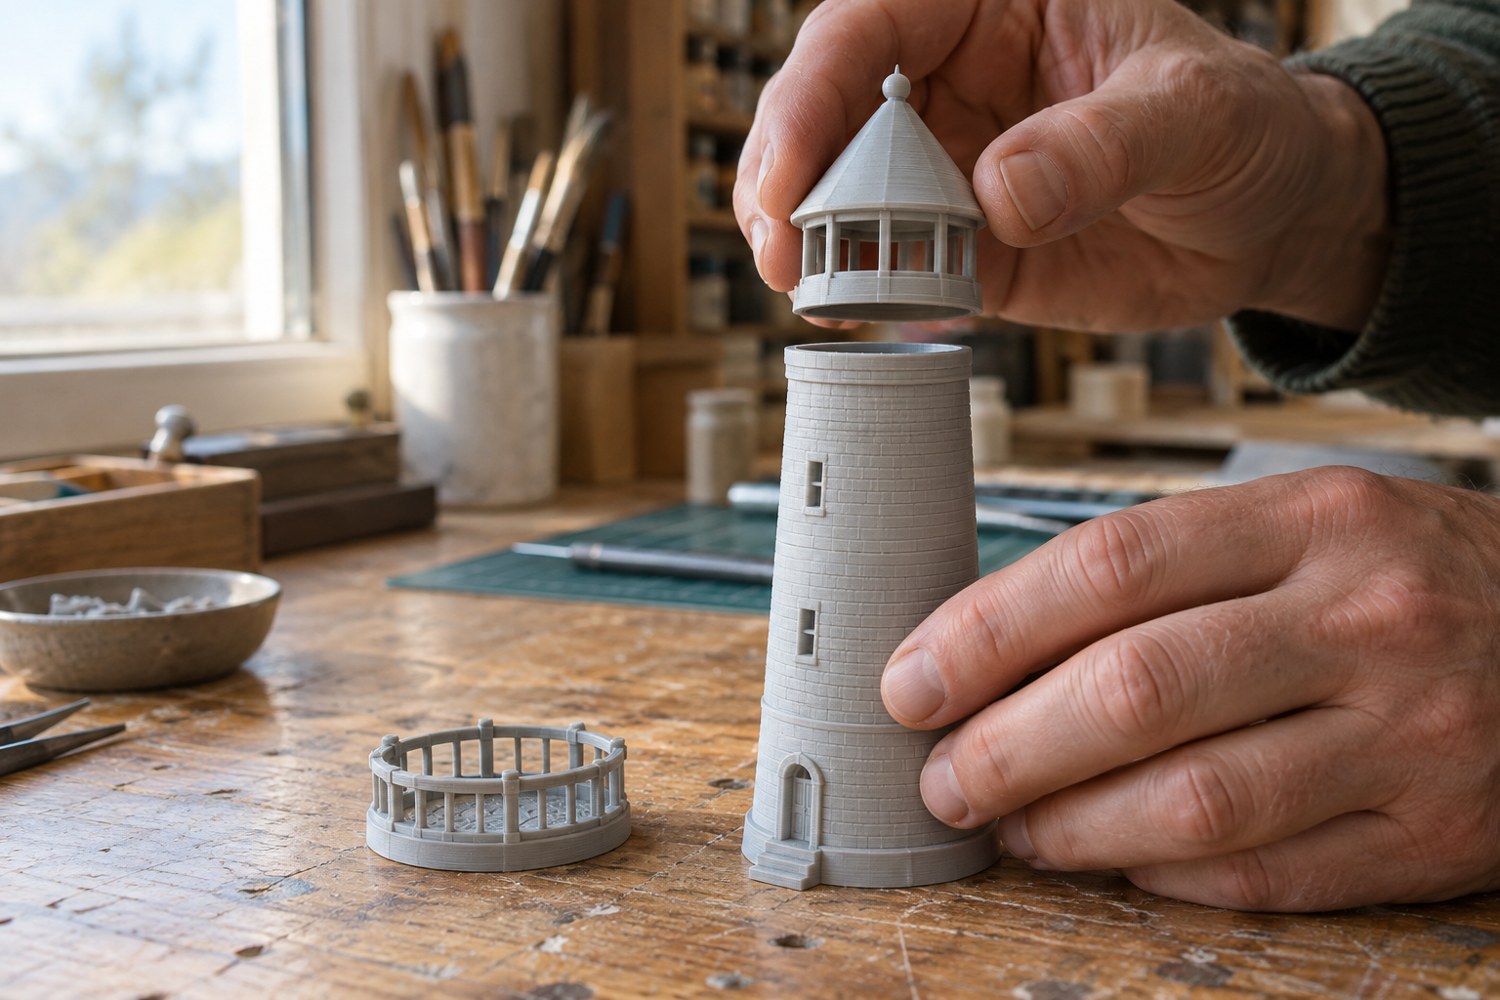
Dry-fit a printed model before reaching for glue
Check alignment, access and assembly order with temporary placement before an adhesive makes the decision permanent.
Read article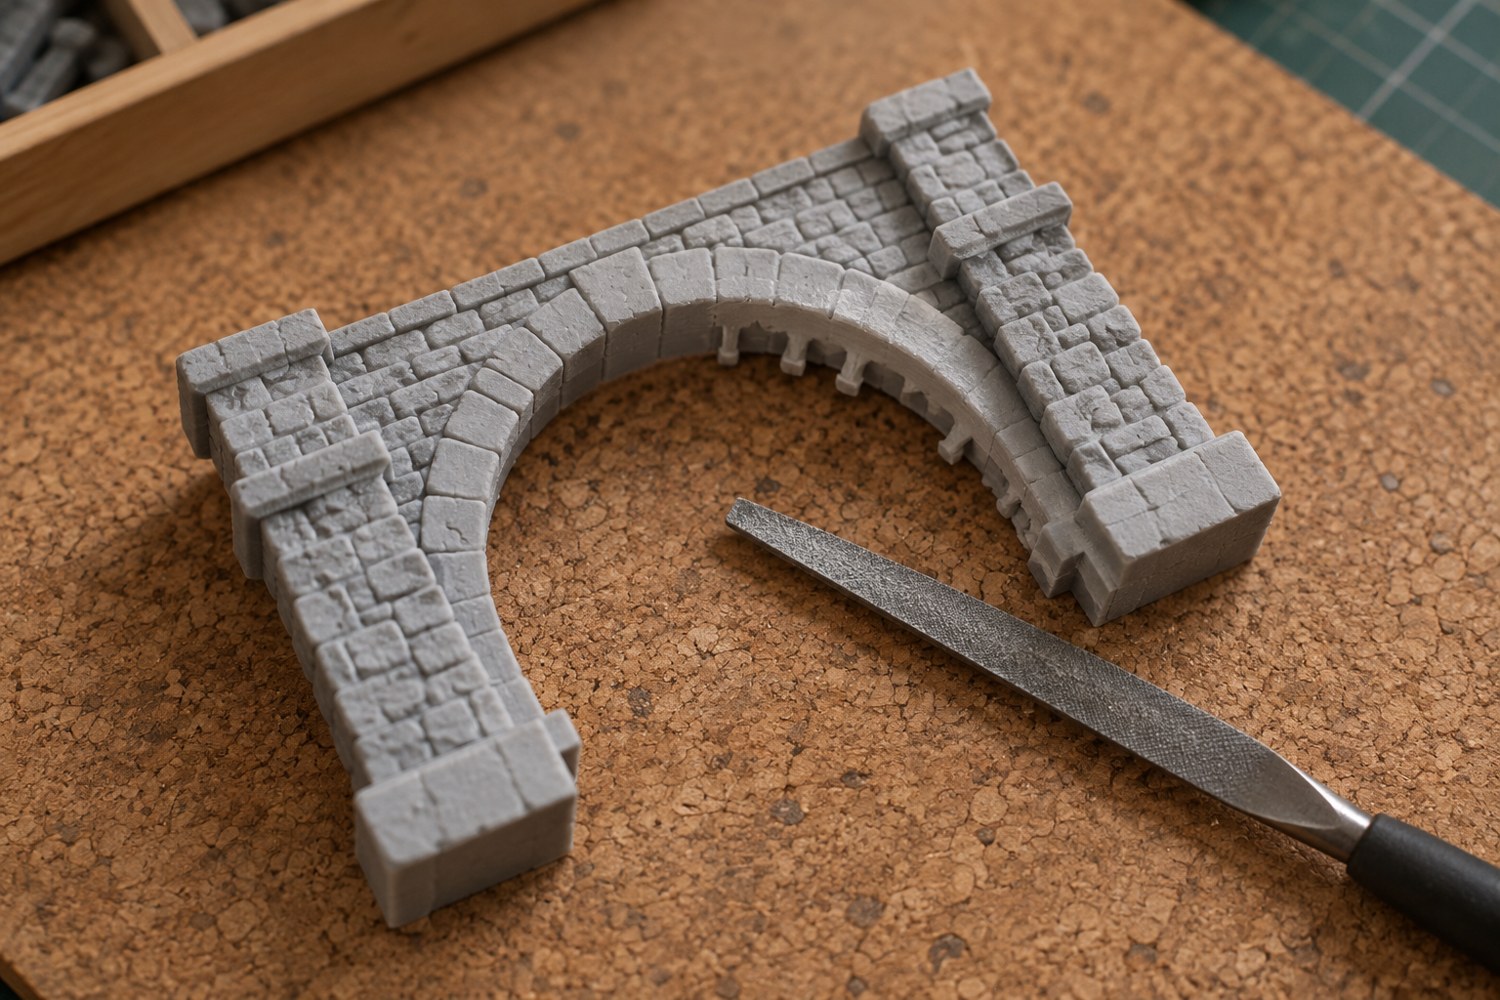
Remove support marks without flattening the model
Identify each support scar and protect the surrounding shape before removing material from a finished print.
Read article