Make an assembly sequence for a complex kit
Map the order of joints, painting access and trapped parts before committing to a complex model assembly.
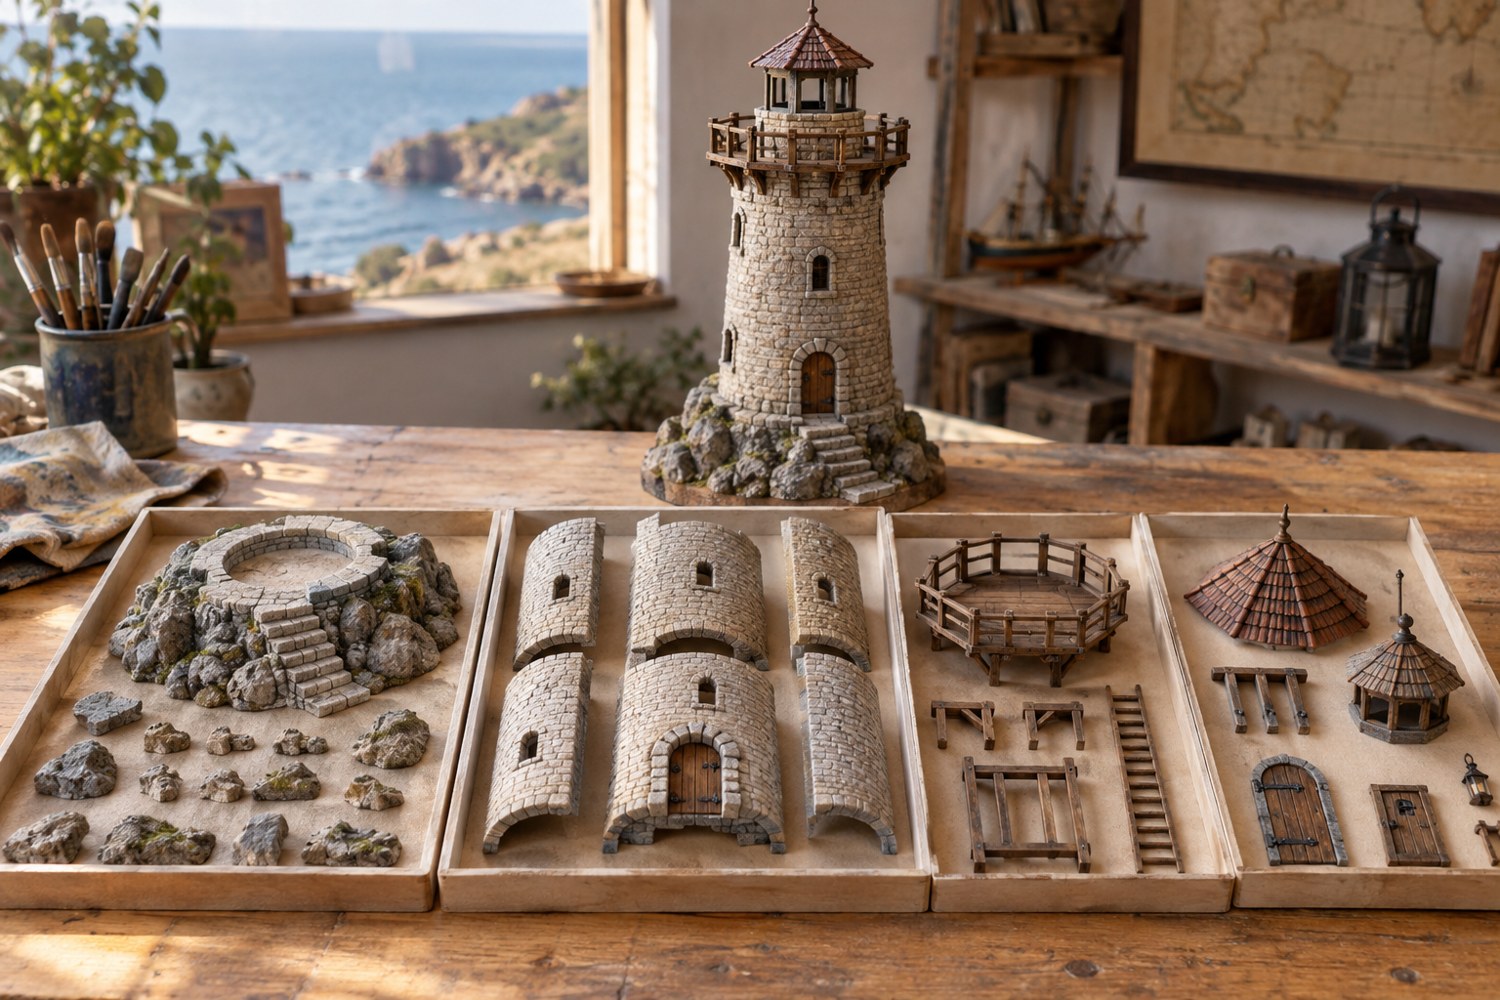
A complex kit becomes easier to manage when the assembly sequence reflects dependencies. Some parts must be installed before an opening closes; others are safer to attach after the main structure is stable. Spread the components in a clear area and identify those relationships before treating the instruction order as a set of isolated steps.
Read the kit instructions fully, including any alternative versions. Mark the choices that affect later parts. Keep the manufacturer's sequence where it is required for fit or function, and distinguish any personal painting-order changes from the official instructions. Do not discover halfway through that two optional variants share a part you have already used.
Build groups that can stand on their own
Identify subassemblies such as a wall section, roof or deck. Each should be small enough to handle and stable enough to set down. Dry-fit the group and check its connection to the next group. A subassembly that looks complete but blocks a later insertion is too ambitious.
Photograph hidden orientation details before they disappear. Use a labelled tray for each group, with small parts separated from larger pieces. Keep left and right variants identifiable. A tiny pencil mark on an appropriate hidden surface can help, but avoid markings that contaminate a bonding area or remain visible through the finish.
Create a short dependency note for awkward steps: glazing before roof, interior paint before wall closure, base attachment before fragile rails. This is more useful than rewriting every instruction. Add the required waiting periods for adhesives and coatings so you do not move directly from a secure-looking joint to a load it cannot yet carry.
Rehearse access with your tools
Place the major groups together without adhesive and try the final insertion motions. Check where fingers, tweezers or supports need to go. If a decorative part blocks the grip, delay it where the kit design permits. Never rely on a brittle ornament to hold a heavy assembly in alignment.
Plan painting access at the same time. Some recesses can be painted before closure, while visible joins may need finishing after assembly. Mark bonding surfaces that should remain free of coating according to the adhesive instructions. A neat painted interior is not useful if its coating prevents a required joint from working.
Keep a stopping point available at the end of each session. The model should rest on a secure base or support, with loose parts accounted for and no fragile assembly balancing in place. Write the next action on a card so you do not resume by guessing which joints are already complete.
Before attaching the last delicate details, inspect the main alignment under normal display light. Correcting a leaning wall or uneven deck becomes much harder once it is surrounded by rails, cables and vegetation. Reserve those finishing pieces for the stage when the model can be lifted and turned using its intended solid handling points.
Use a dependency sketch for the final closure
Draw a few boxes representing the major subassemblies and connect them with arrows where one must precede another. Keep this sketch small enough to read at the bench. Its value is in exposing trapped parts: glazing behind a wall, an interior panel below a roof or a fastener accessible only before a deck is installed.
Highlight the irreversible closure step. Before taking it, compare the actual model with the sketch and check that all concealed work is complete. Include a photograph of the interior if it will no longer be visible. This is particularly useful when the model contains a removable mechanism or wiring that may need later identification.
Leave an inspection pause after joining the main groups and before adding cosmetic covers. Check alignment, movement and access while the interfaces remain visible. A cover can make a flawed assembly look complete while preventing a simple correction. If a joint needs more time to cure, use the pause to organise the remaining loose parts rather than applying load to hurry the process.
For a project spread over several weeks, date the completed stages on the sketch. Record deviations from the plan in a short note. This helps you resume after a break and gives a later repairer a clearer account than a pile of finished photographs alone.
Another detail to explore
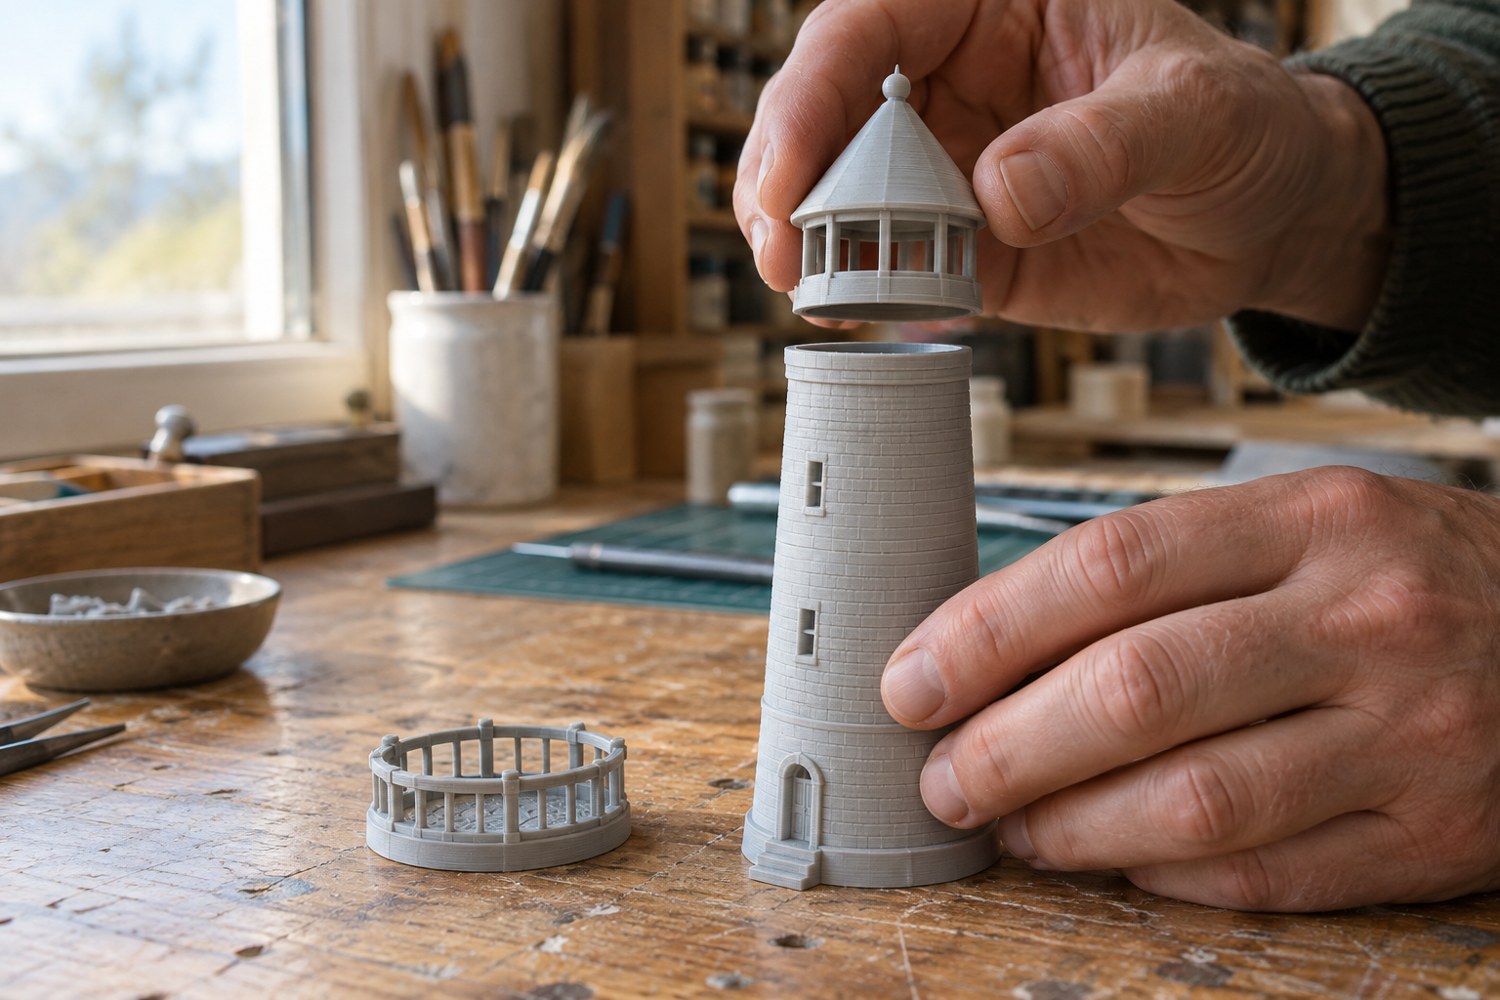
Dry-fit a printed model before reaching for glue
Check alignment, access and assembly order with temporary placement before an adhesive makes the decision permanent.
Read article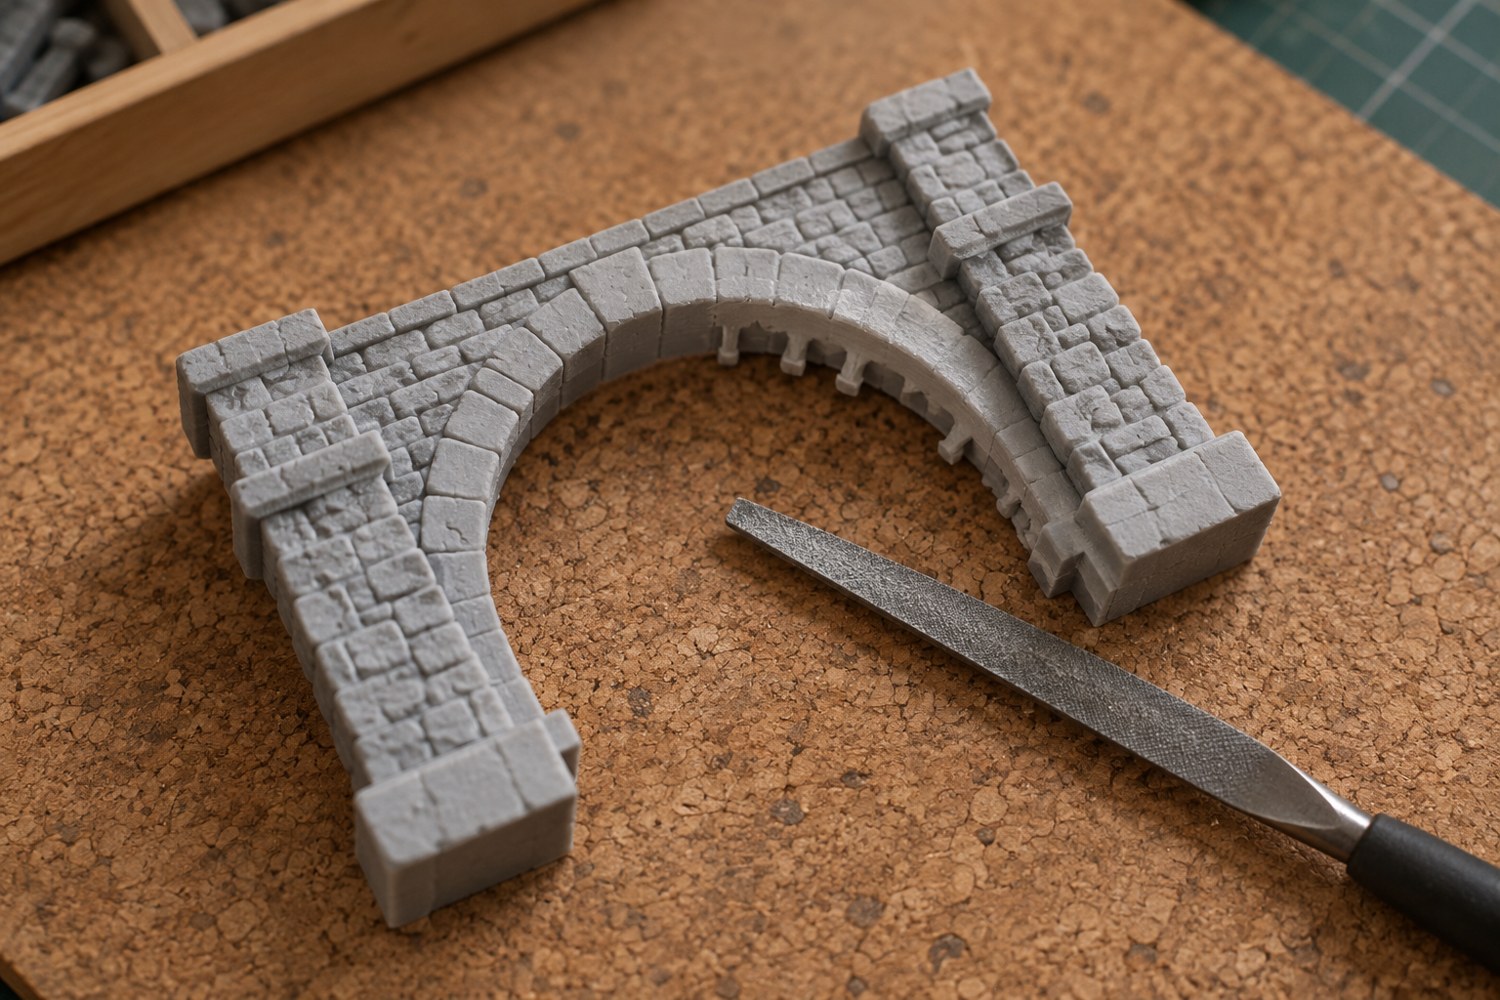
Remove support marks without flattening the model
Identify each support scar and protect the surrounding shape before removing material from a finished print.
Read article