Make a snow scene with removable details
Use separate scenic inserts and clear handling points to give a winter scene details that can be removed without scraping the snow surface.
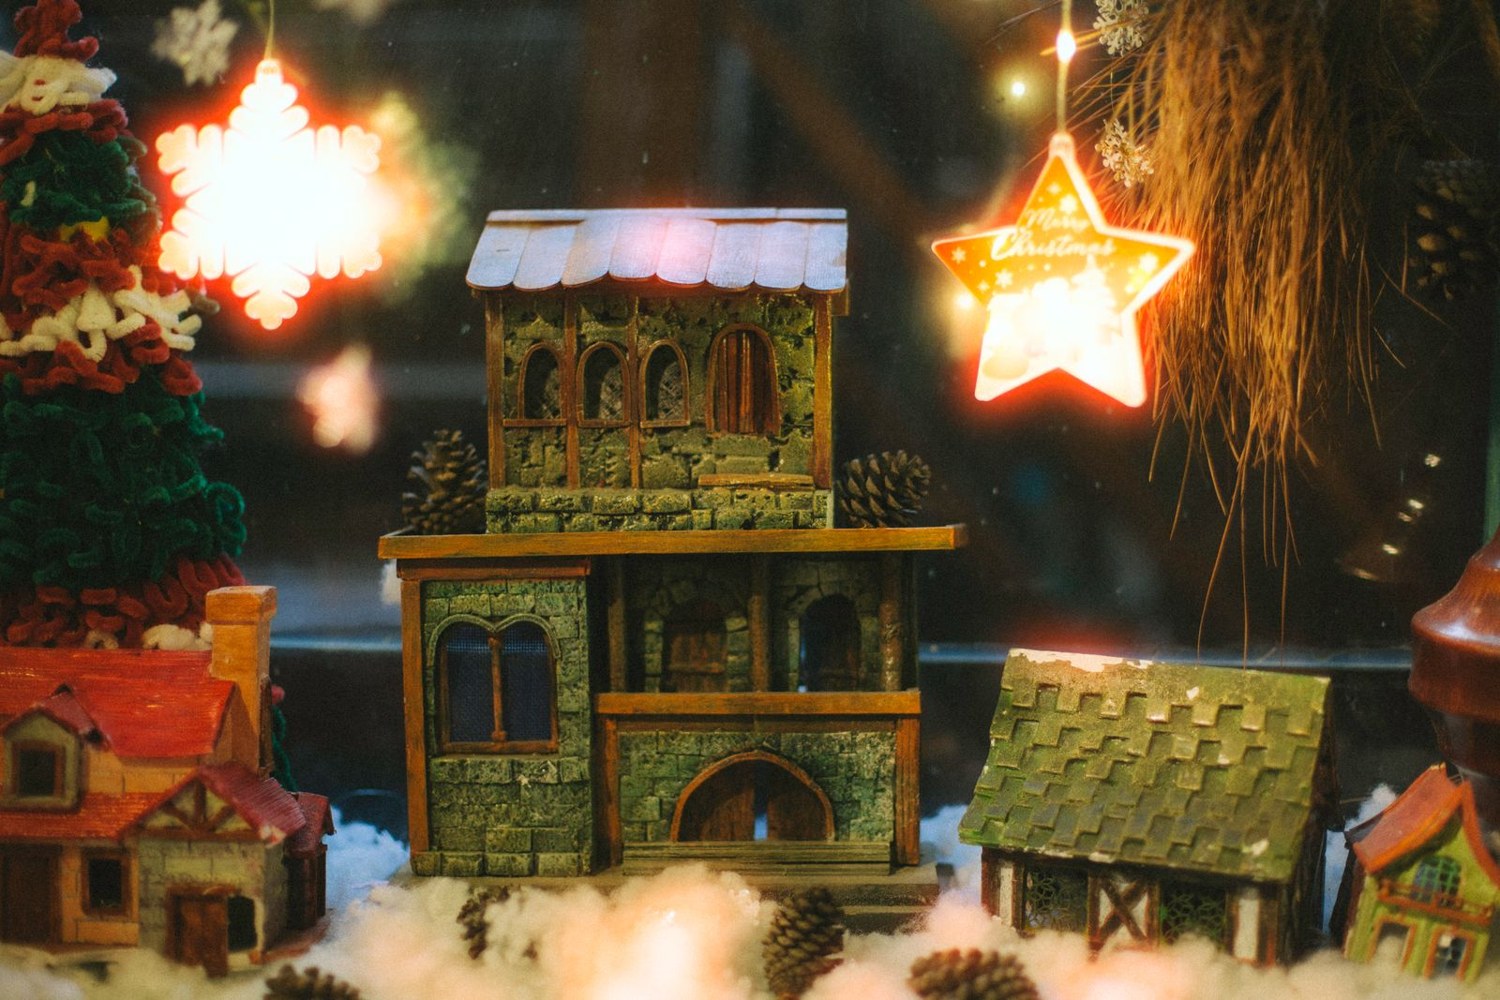
Removable details make a snow scene easier to store and can let one base support different arrangements. Decide which elements need to detach before applying any snow effect. Trees, signs and a small building can each sit on their own insert, but the joints should follow believable ground features rather than cutting straight through a prominent open snowfield.
Make the insert footprints first and test them on the unfinished base. Keep their locating surfaces clean. Snow texture, adhesive and paint can reduce clearance, so protect the parts that actually touch. The insert should lift without rubbing the surrounding surface.
Put the snow pattern on both sides of the joint
Design drifts and exposed areas across the assembled scene. Then decide where the removable boundary can hide: beside a wall, under a low mound or along a change in ground level. Do not build a continuous ridge that bridges the joint and tears apart when the detail is removed.
Use a dedicated scenic snow product according to its own instructions. Woodland Scenics provides separate guidance for its Winter Effects materials; the appearance and fixing method should not be assumed to apply to every white powder or paste. Make a sample with the same paint and adhesive combination before covering the model. Avoid substituting household materials without understanding their behaviour and suitability.
Keep some underlying surfaces visible where the scene needs contrast. Uniform white coverage can hide the form of a path, roof or rock. A few darker edges help the viewer understand what is beneath the snow. Choose their placement deliberately rather than removing random patches after the effect has set.
Provide a solid grip on each removable item. A tree should be lifted by a suitable base or trunk area, not by its snow-covered branches. Store inserts in individual compartments so loose texture cannot grind against neighbouring pieces.
Photograph the assembled scene and the empty locations. Label the underside of each insert with its position if the fits differ. After the scenic product has fully reached its stated handling condition, rehearse removal over a clean tray and check for shedding or rubbing. If a boundary is too tight, correct the interface rather than applying more force to a delicate winter surface.
Make the insert edges survive a seasonal change
If the same base will alternate between winter and another season, design the insert boundary to work in both versions. A snow mound may hide a gap in winter but leave an obvious rectangular hole when replaced with summer ground. Try the two surfaces side by side on paper and choose a boundary that follows a permanent feature such as a wall or rock edge.
Keep the thickness of the alternative inserts consistent at their bearing points. Their visible surfaces can differ in height, but the locating relationship should stay the same. Label the underside with the scene position and season so a similar-looking insert is not forced into the wrong opening.
Plan a storage tray for the unused set. Support the insert from below and leave the textured top untouched. Store a photograph of the complete winter arrangement with those pieces, including the orientation of trees or signs. This makes the seasonal change a controlled assembly operation rather than a repeated experiment in fitting loose scenic parts.
Another detail to explore
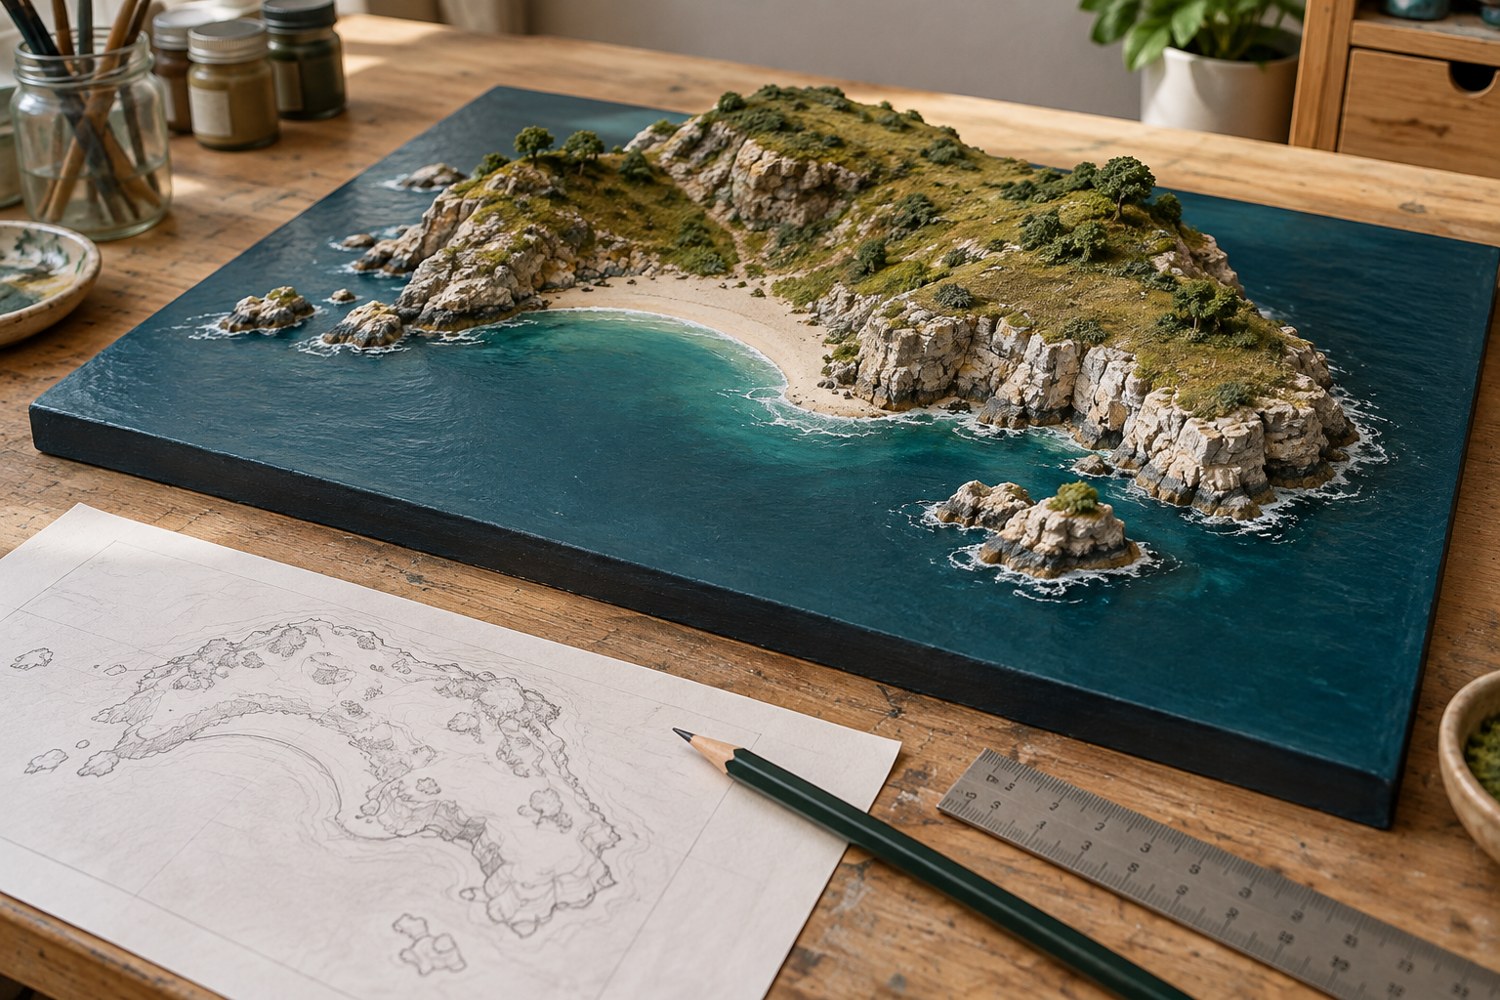
Plan an island diorama before building the coastline
Turn an island idea into a buildable composition by deciding the viewing angle, scale, shoreline and assembly order on paper first.
Read article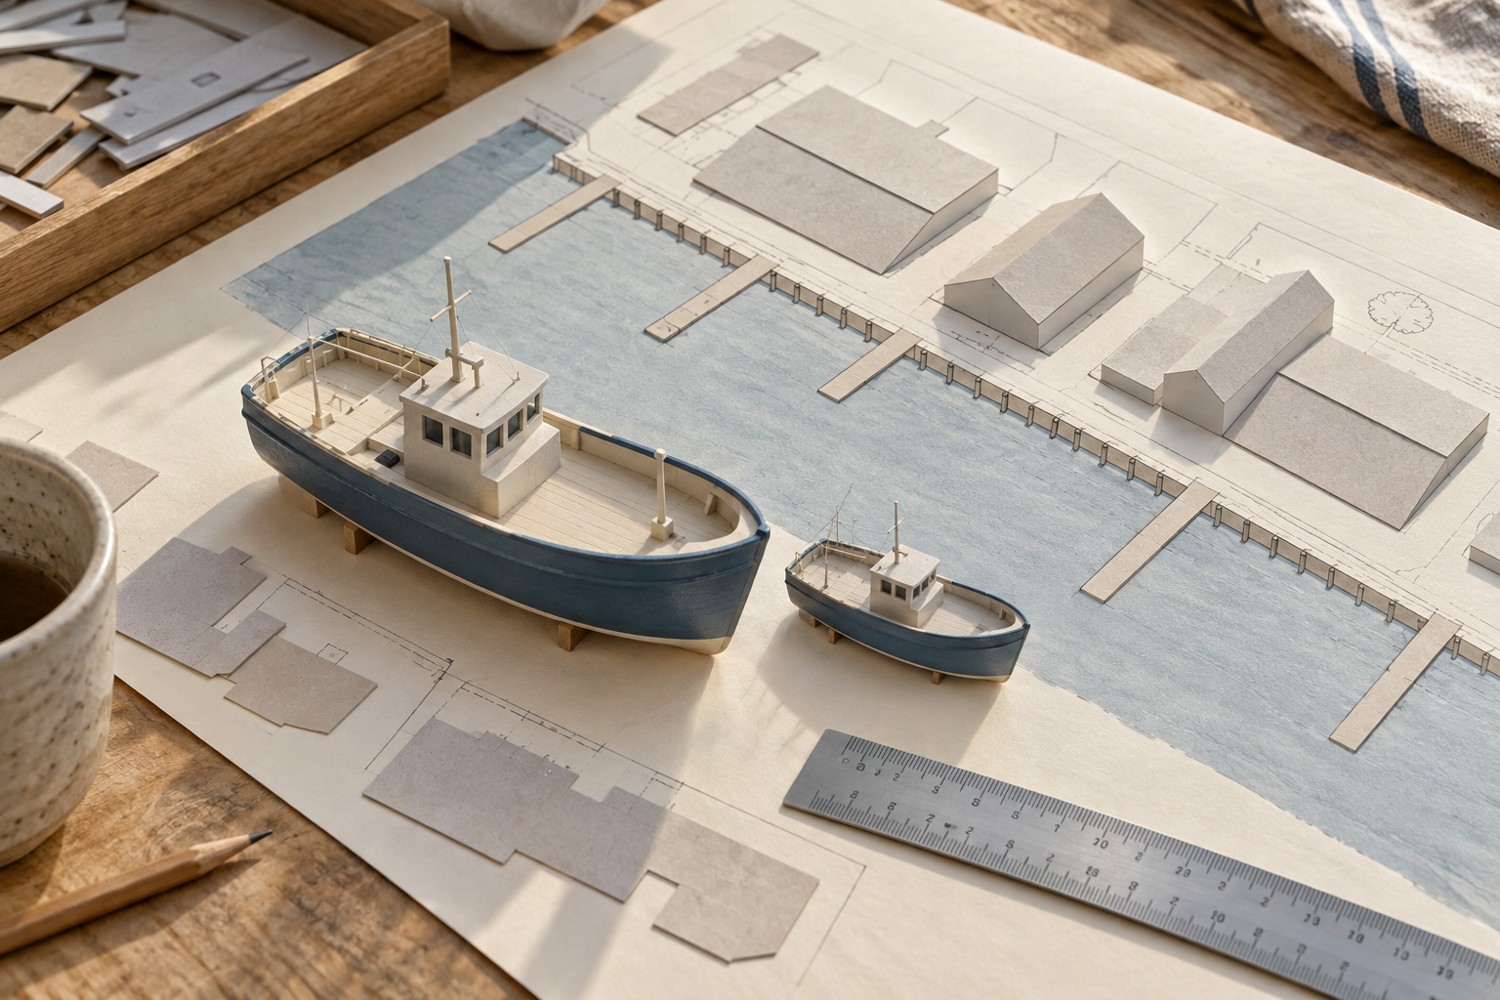
Choose a scale for a miniature harbour
Use the largest boat and the available footprint to choose a harbour scale before buying buildings and fittings.
Read article