Keep moving parts free of paint
Identify bearing, sliding and locating surfaces before painting so the finish does not turn a movable assembly into a tight fit.
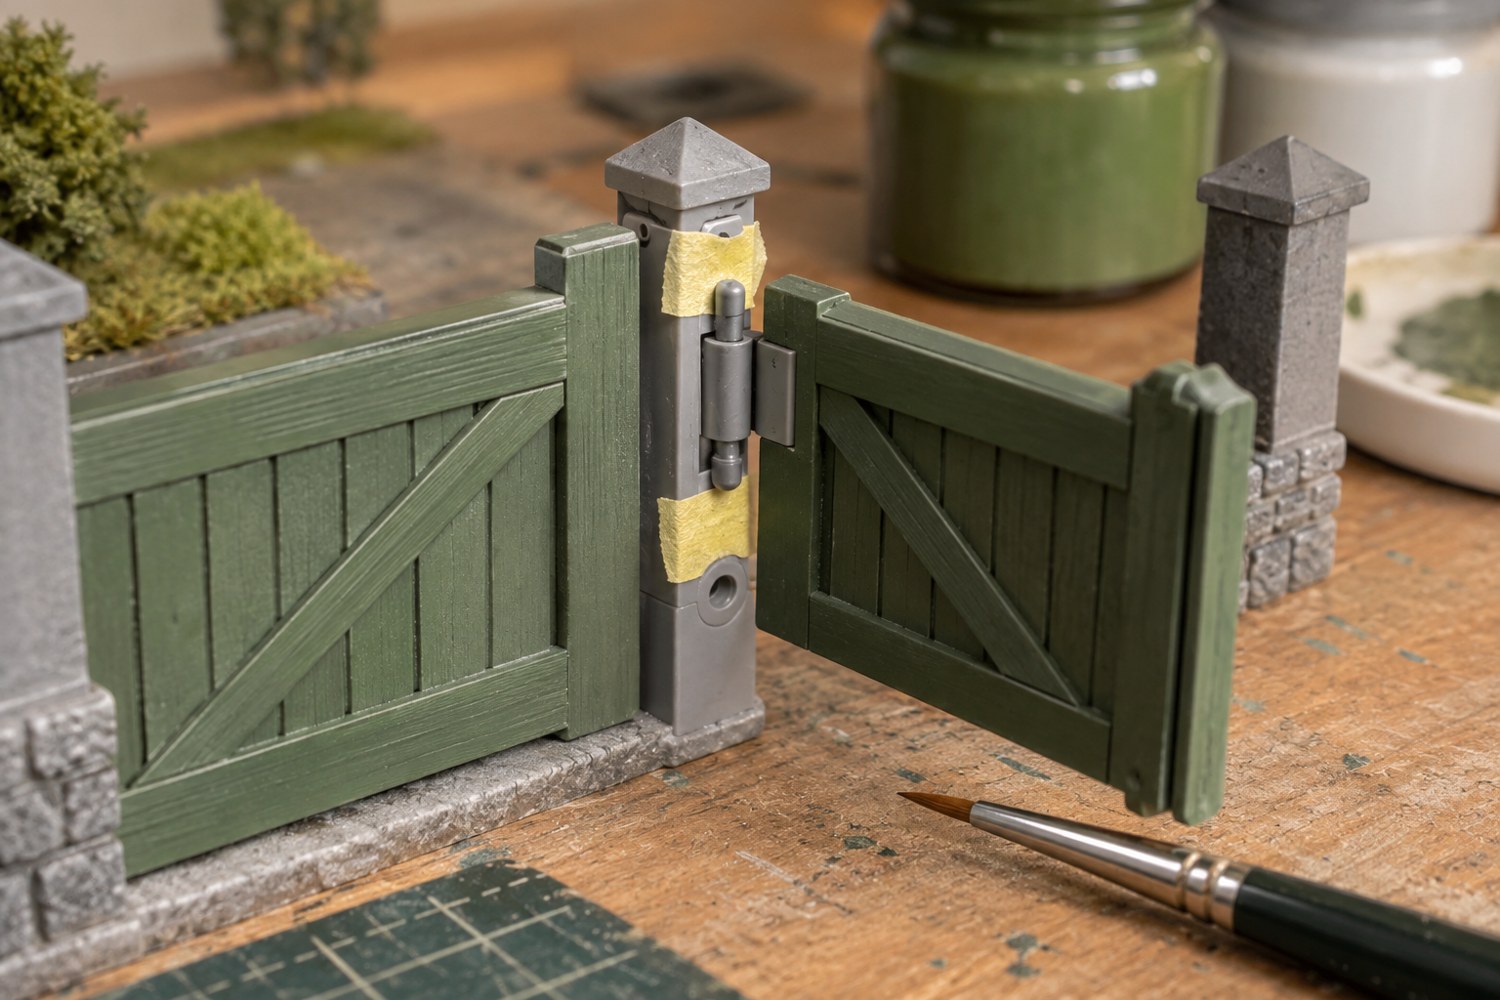
Paint adds material to a surface. On a miniature hinge, sliding roof or rotating feature, that added layer can change the fit. Assemble the unpainted mechanism first and identify which faces actually touch. Mark them on a photograph so you do not rely on memory once the pieces are separated for finishing.
Distinguish movement surfaces from visible decorative areas. A pin may need to remain clean inside its hole while its exposed end can be painted. A removable lid may locate on a narrow internal ledge rather than its whole underside. Protect the necessary contact area instead of leaving large visible patches unfinished without a reason.
Rehearse the masking and assembly
Choose a masking method suitable for the surface and coating. Test it on spare material, particularly where tape or a plug could distort a small opening. Keep plugs easy to remove without pushing against delicate geometry. Do not insert an improvised object so tightly that it becomes another fit problem.
Paint the parts separately when that preserves access and is consistent with the assembly design. Keep their orientation labelled underneath or in a tray. Similar hinge leaves or pins can be confused after colour has hidden the raw-material differences.
Allow each coating to reach the manufacturer's stated handling condition before testing movement. Forcing a tacky or incompletely cured surface through a joint can scrape it and transfer paint into the mechanism. If resistance appears, stop and find the contact rather than repeatedly cycling the part until something wears away.
A useful trial includes the primer, colour and final finish on a sample joint. Measure or observe how the assembly changes through that full sequence. There is no single allowance that suits all printers, paints and mechanisms, so use the actual process rather than a universal clearance number.
Keep the finished moving part accessible for inspection. A decorative panel that permanently encloses the mechanism can make later cleaning impossible. Avoid lubricants unless the materials and product instructions support their use; an incompatible substance may affect paint or plastic. After final assembly, move the feature through its intended range gently over a clear surface. Record any travel limits and provide a solid handling point so users do not push on fragile decoration to operate it.
Colour-code a mechanism drawing, not the finished part
Use a photograph or sketch to mark three zones: visible surfaces to paint, contact surfaces to protect and concealed surfaces where appearance does not matter. This avoids placing temporary marks on a small mechanism where they could interfere with fit. Keep the drawing beside the paint station and check each part before coating it.
A rotating turret-like feature, for example, may have a visible outer shell and a hidden circular bearing surface. The shell can receive the complete decorative sequence while the bearing follows the mechanical design's requirements. The important boundary is the actual contact, not an arbitrary line chosen because it is easy to mask.
Test the mechanism after each major finishing stage only when the coating is ready to handle. If resistance first appears after primer, record that before applying colour and clear finish. This isolates the change and prevents the final repair from becoming a broad scrape through several layers. Keep removed masking accounted for so a small fragment is not left inside the joint.
Another detail to explore
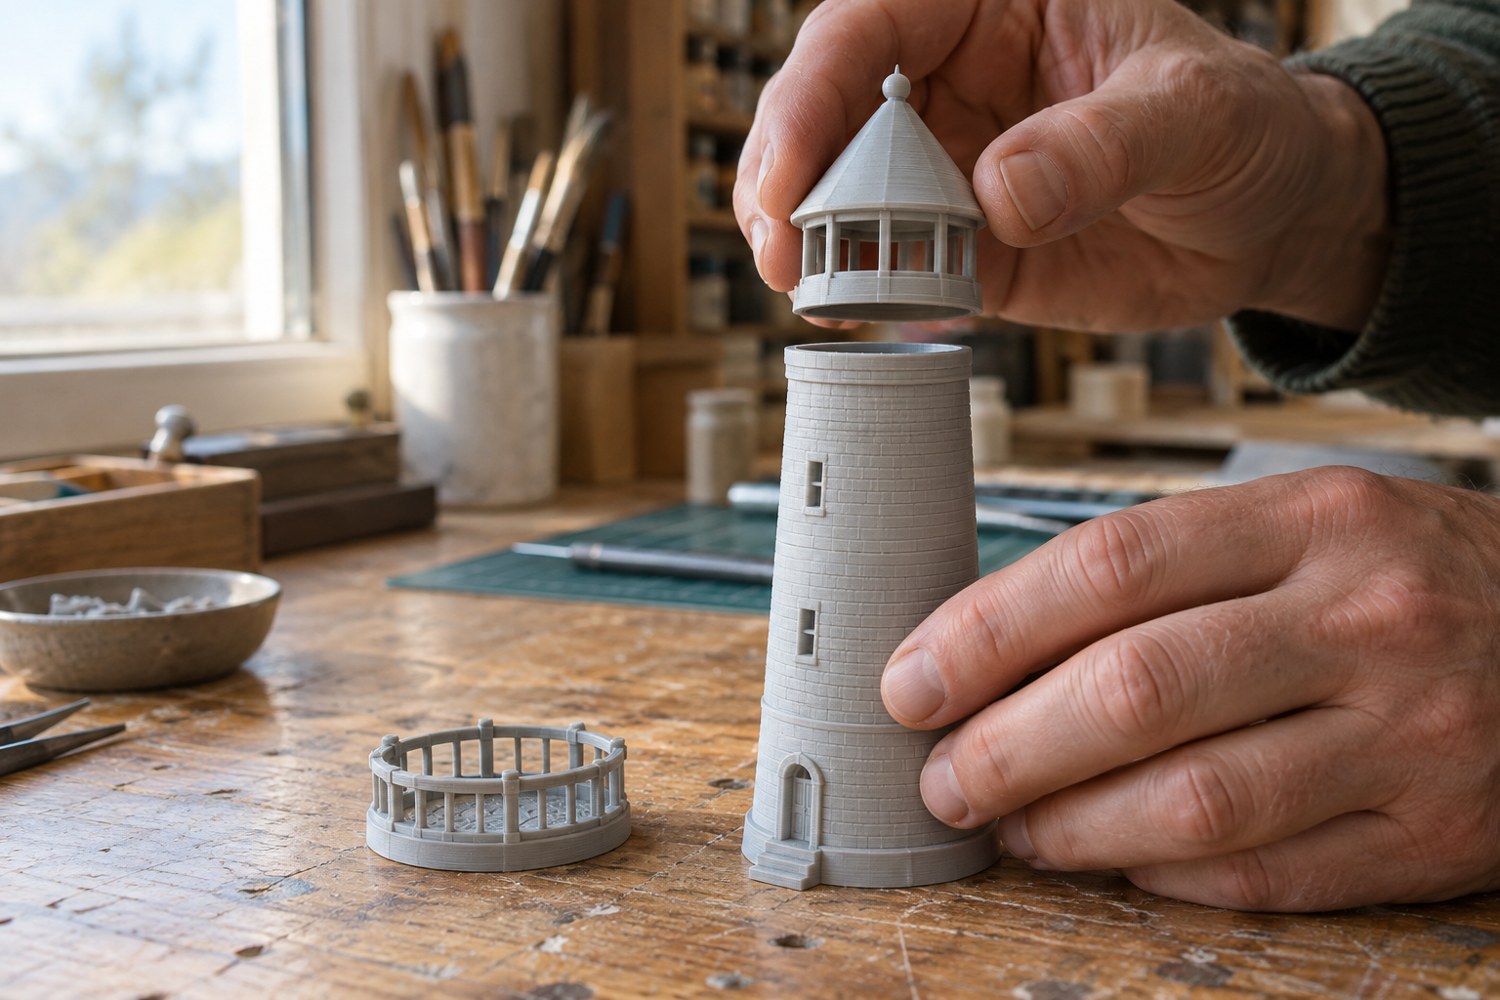
Dry-fit a printed model before reaching for glue
Check alignment, access and assembly order with temporary placement before an adhesive makes the decision permanent.
Read article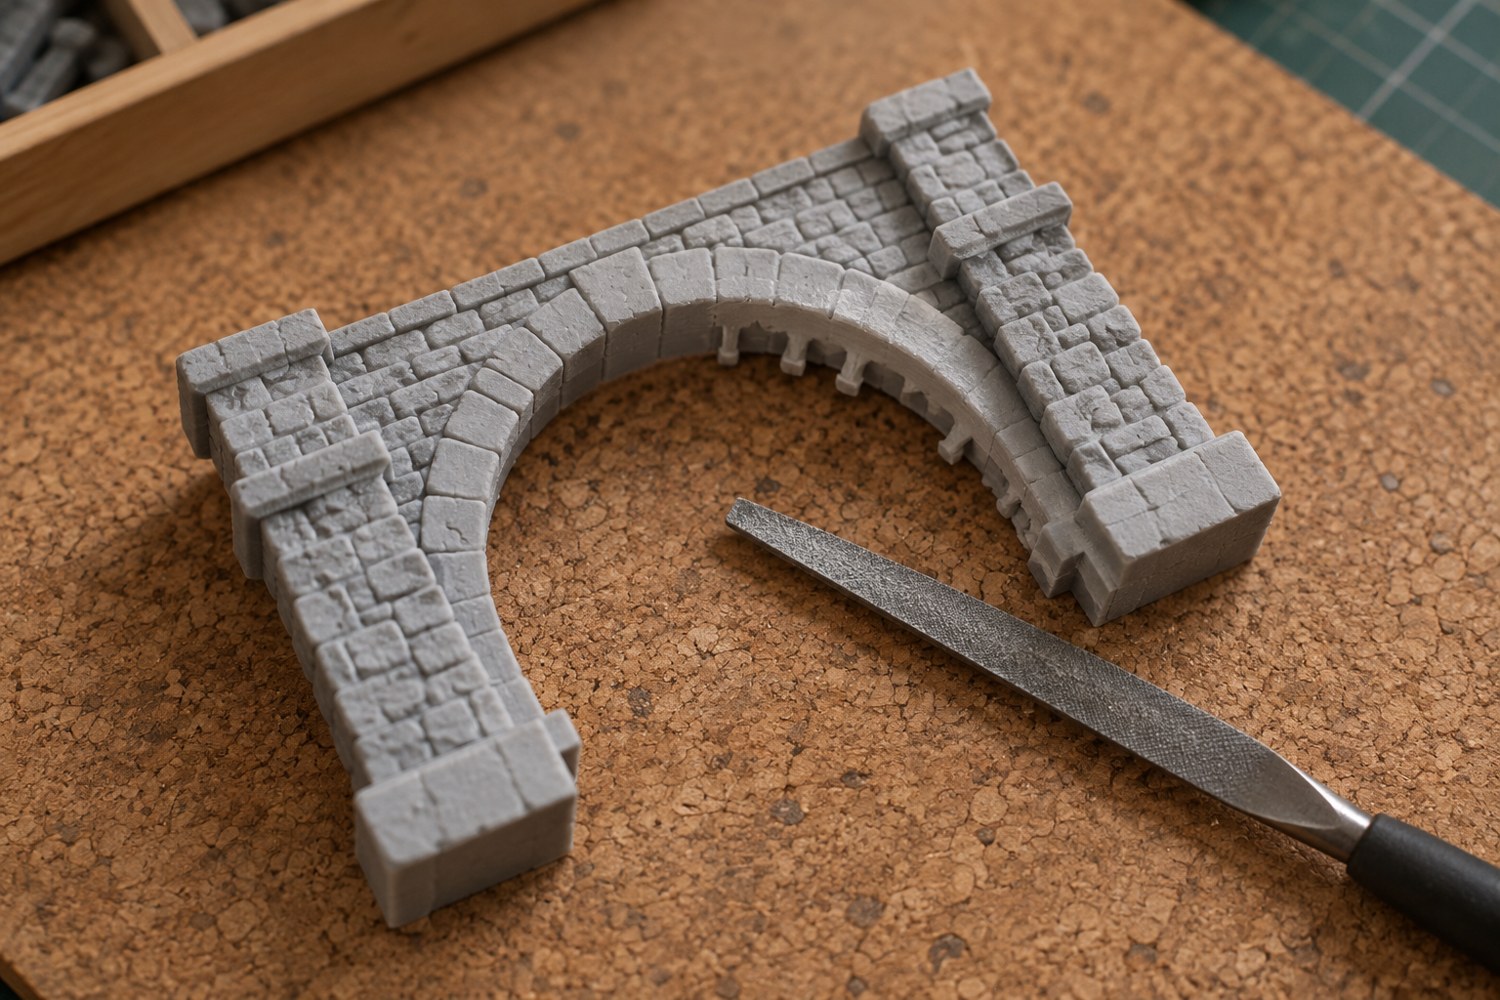
Remove support marks without flattening the model
Identify each support scar and protect the surrounding shape before removing material from a finished print.
Read article