Dry-brush stone texture with a controlled test
Use a spare textured piece to establish paint load, pressure and highlight colour before touching the finished stonework.
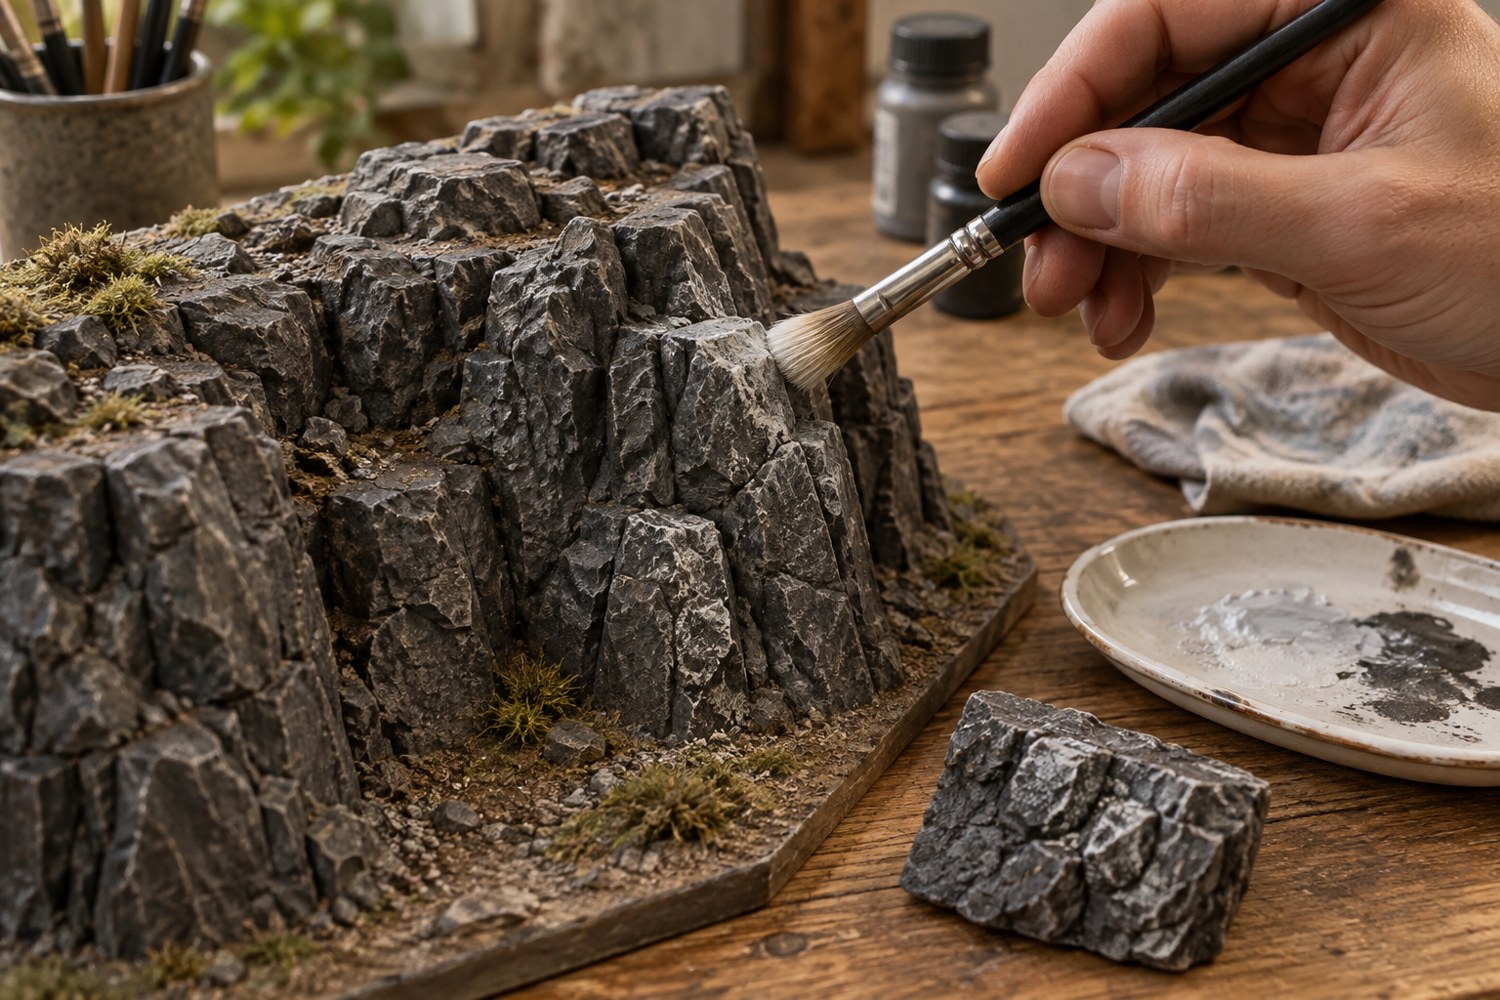
Dry-brushing works by catching raised texture with a small amount of paint. On miniature stone, the risk is making every edge equally pale and turning a varied rock face into a chalky surface. Use a spare piece with similar texture to establish how much paint and pressure you need.
Choose a highlight related to the base colour. Pure white can be useful in some palettes, but it is not a default requirement for grey stone. Try a slightly lighter, warmer or cooler version of the underlying colour and judge it beside the rest of the scene.
Load the brush lightly and remove excess on a suitable palette or test surface. Make a stroke on the sample before approaching the model. If it leaves a broad wet patch, reduce the load. If it leaves almost nothing, add a little paint rather than pressing harder against delicate texture.
Follow the large forms
Move across the raised texture while keeping the broader rock planes in mind. Concentrate the strongest highlight on selected upper or outward-facing areas. Leave some edges quieter. The direction and placement should help explain the shape instead of tracing every bump with the same brightness.
Rotate the sample under the light and view it at normal distance. A close-up can make a subtle effect look insufficient, while the same treatment on the full cliff may be too strong. Compare after the paint has dried, since the wet appearance is not the final result.
Use a brush reserved for this rougher work. Avoid catching thin rails, branches or small attached details at the edge of the terrain. Where such pieces are already present, work with a smaller controlled contact or protect them from accidental strokes.
Stop after one restrained pass and photograph the model. If more separation is needed, add it to a limited area rather than repeating the entire surface automatically. You can restore an over-bright patch with a compatible base colour, but repeated corrections may build up paint and soften texture.
Keep the successful sample with the project's colour notes. Mark the base and highlight colours and the approximate sequence used. When extending a terrain set later, that physical reference is more reliable than remembering that the original rocks received a light grey dry-brush.
Another detail to explore
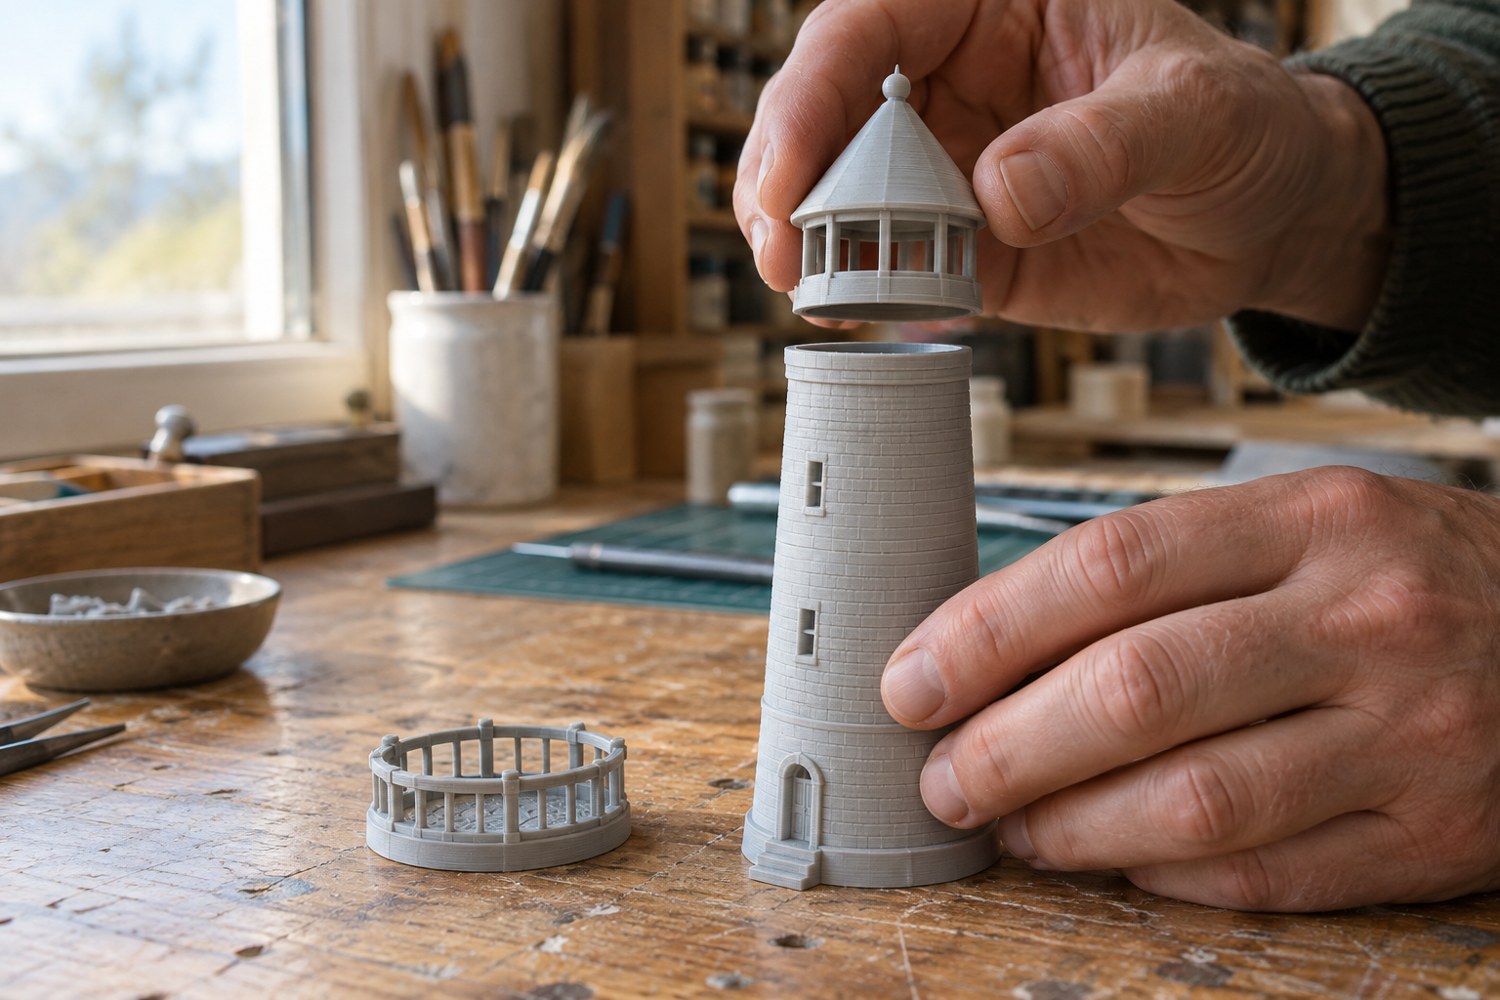
Dry-fit a printed model before reaching for glue
Check alignment, access and assembly order with temporary placement before an adhesive makes the decision permanent.
Read article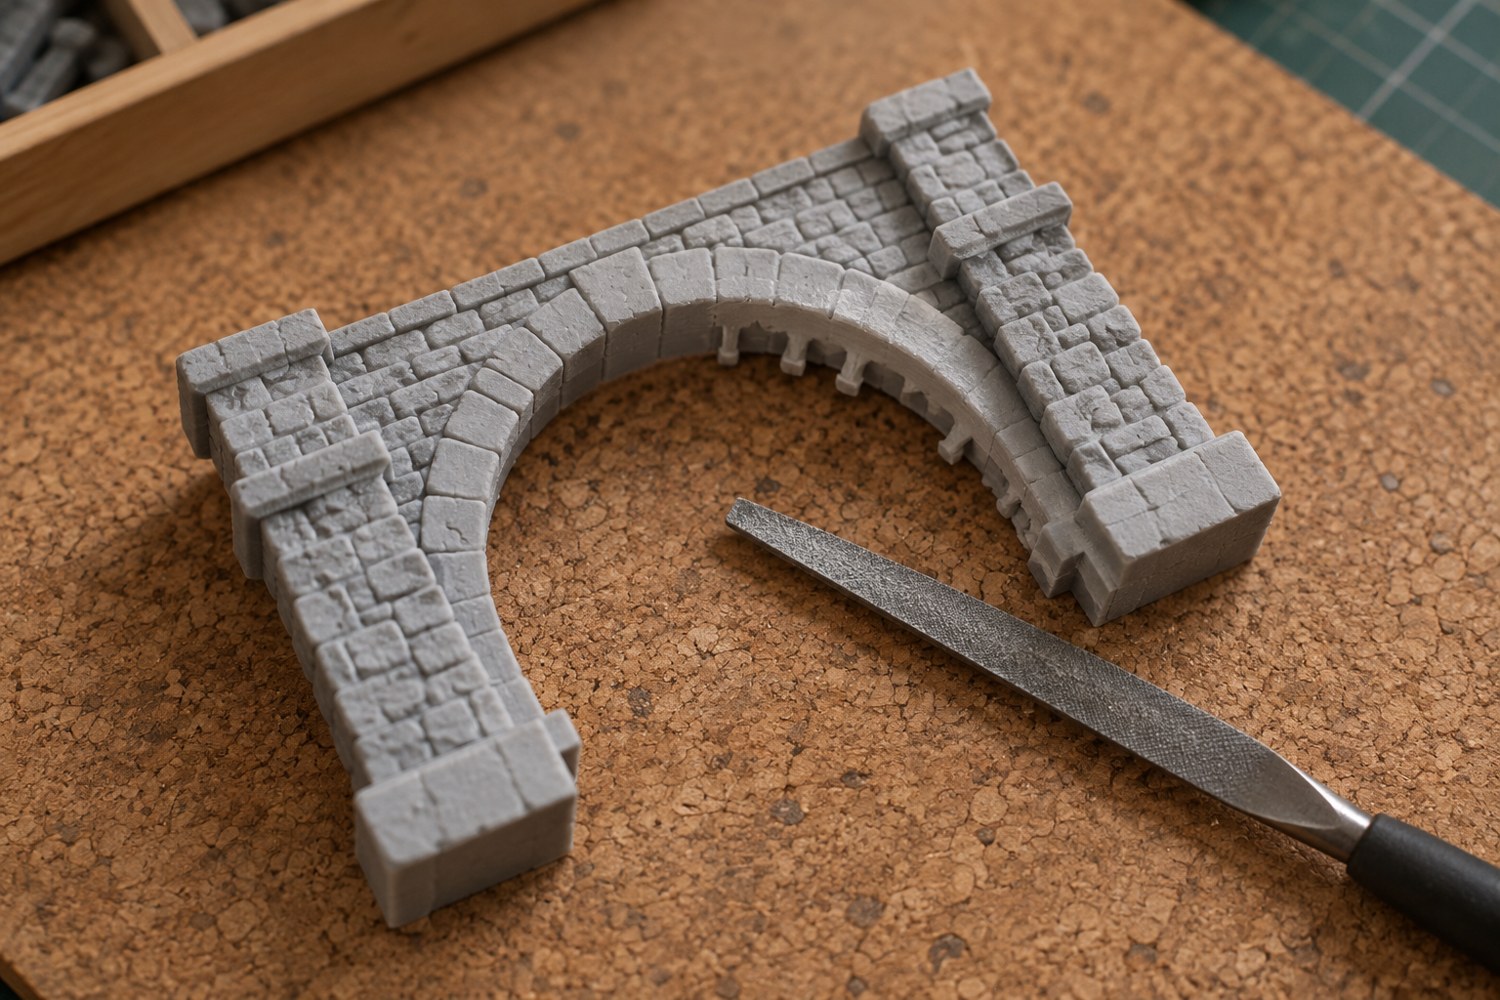
Remove support marks without flattening the model
Identify each support scar and protect the surrounding shape before removing material from a finished print.
Read article