Design a removable lid for a small storage box
A removable lid needs an opening path, a repeatable fit and a way to grip it. Model those features before adding a decorative top.
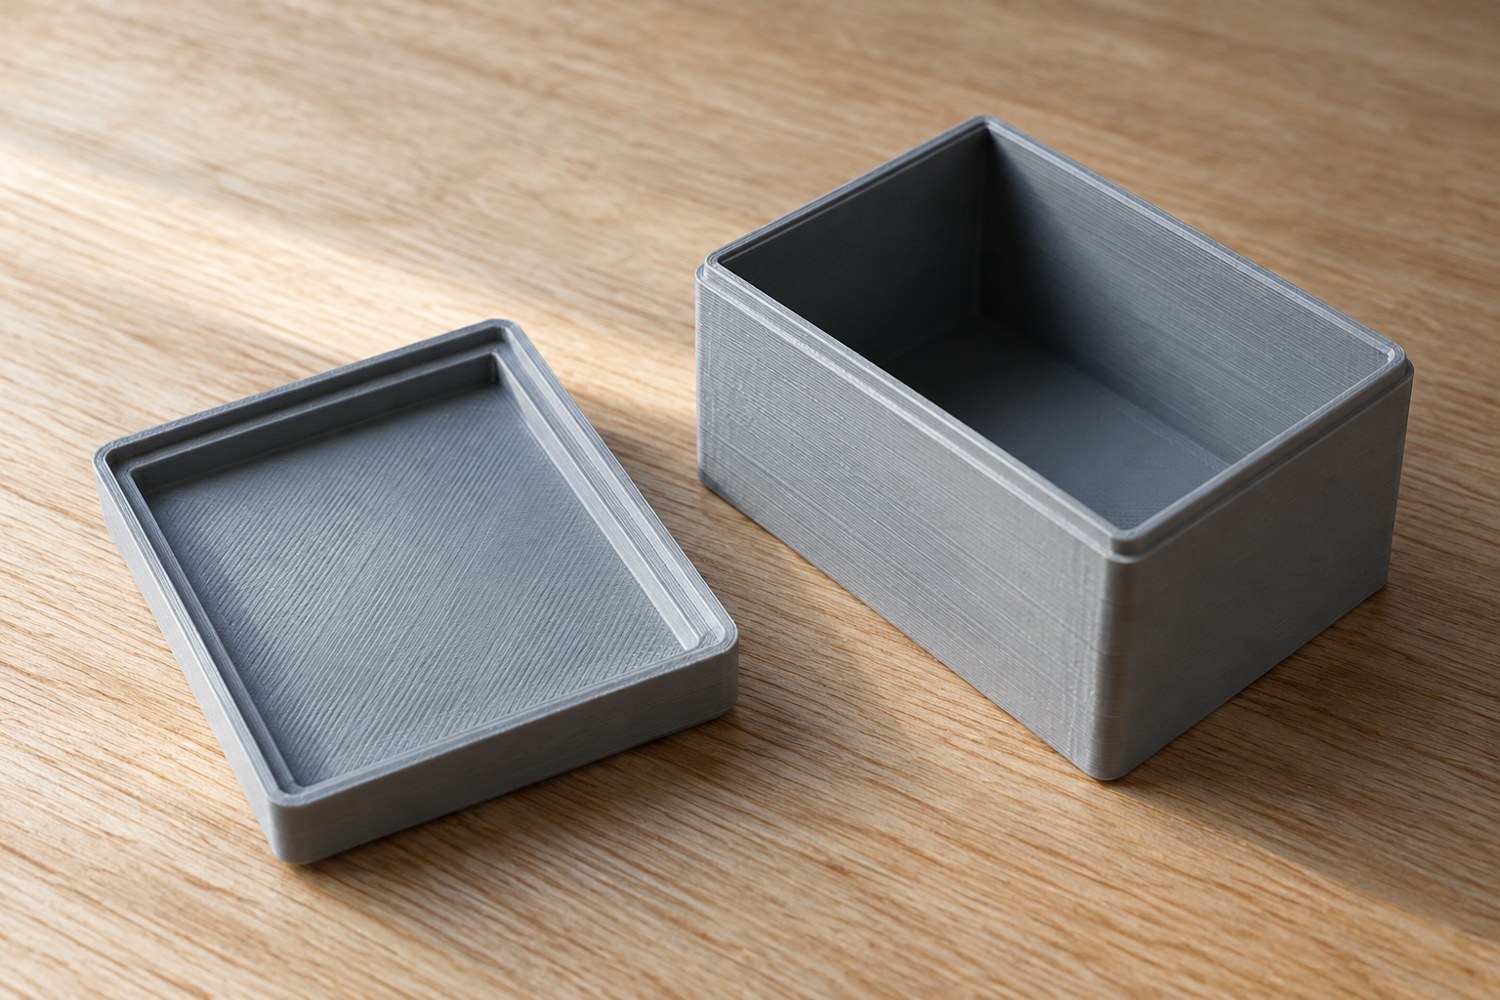
Start a small storage box with its contents. Measure the largest item, decide how it will be placed inside and leave room to remove it. Then draw the lid separately from the box body. This makes it easier to distinguish the usable internal space from the wall, locating lip and top thickness.
Choose the closure behaviour. A loose lift-off lid suits a box that stays on a shelf. A sliding lid requires a clear travel path. A snap feature introduces another set of material and durability questions. Do not add a snap simply because it looks neat in a rendering. For a first design, a simple removable lid can make the fit easier to evaluate.
Define the contact surfaces
Draw a section through the closed box. Mark where the lid rests, what centres it and which surfaces should remain apart. A locating lip should not reach the bottom of its receiving space before the lid reaches its intended stop. Record the dimensions using consistent terms for total gap and clearance per side.
Think about corners as well as straight edges. A rounded lid corner meeting a sharper internal corner can interfere even when the overall width looks correct. Use matching geometry deliberately and test a corner section. Do not solve a corner mismatch by enlarging the entire box without understanding the cause.
Give the user a place to lift
Include a finger recess, an accessible edge or a separate handle that can be used without tipping the contents. Check the grip while the box is next to another object, as it may be on a shelf. A tiny overhang that works in an empty scene may be inaccessible when boxes are packed together.
If the lid has a preferred orientation, make that relationship understandable. An asymmetric feature can prevent confusion, or a small mark can indicate the front. Avoid relying on a subtle difference that will disappear after painting. For a box with several compartments, verify that the lid does not touch items projecting above their intended spaces.
Print the relationship before the volume
Make a short test containing a corner and the locating surfaces. Use the intended material and print orientation. Try the cooled, cleaned parts together without force. Assess whether the lid seats evenly, rocks or binds on one side. Record the tested dimensions before adjusting the full model.
When the full box is printed, check the fit again across its complete length. A short successful test does not prove that a larger part will remain equally straight. If the lid binds, inspect the surfaces and dimensions rather than repeatedly forcing it. A removable component should remain removable through the normal use you designed for.
Add decorative details after the functional arrangement is settled. Keep paint and other finishes in the fit plan, especially on the locating lip. Save the plain version of the box and lid as a separate revision. It gives you a stable starting point if you later need a different size, compartment arrangement or top design.
Diagnose a lid that almost fits
When a lid reaches one corner but leaves another raised, first check for debris and unfinished edges. Place the parts on a suitable flat reference surface and inspect their shape. A corner interference, a bowed lid and a lip that is too deep can all produce an open seam, but enlarging the width only addresses one of those possibilities.
Use a drawing to mark where contact occurs. Compare the intended stop with the observed contact point, then revise the relevant feature on a copy of the model. For a lip-depth problem, a small section test can verify the revised relationship without rebuilding the whole box. If the full span has changed shape, a short corner coupon may not reproduce the problem and should not be treated as conclusive.
Consider the contents during the final check. An object sitting slightly above its compartment can stop the lid even when the empty box closes perfectly. Test the intended loaded arrangement and leave room for ordinary handling, not only a carefully positioned demonstration. A lid design is complete when it works with the box in use, not merely when two empty printed pieces can be photographed together.
Another detail to explore
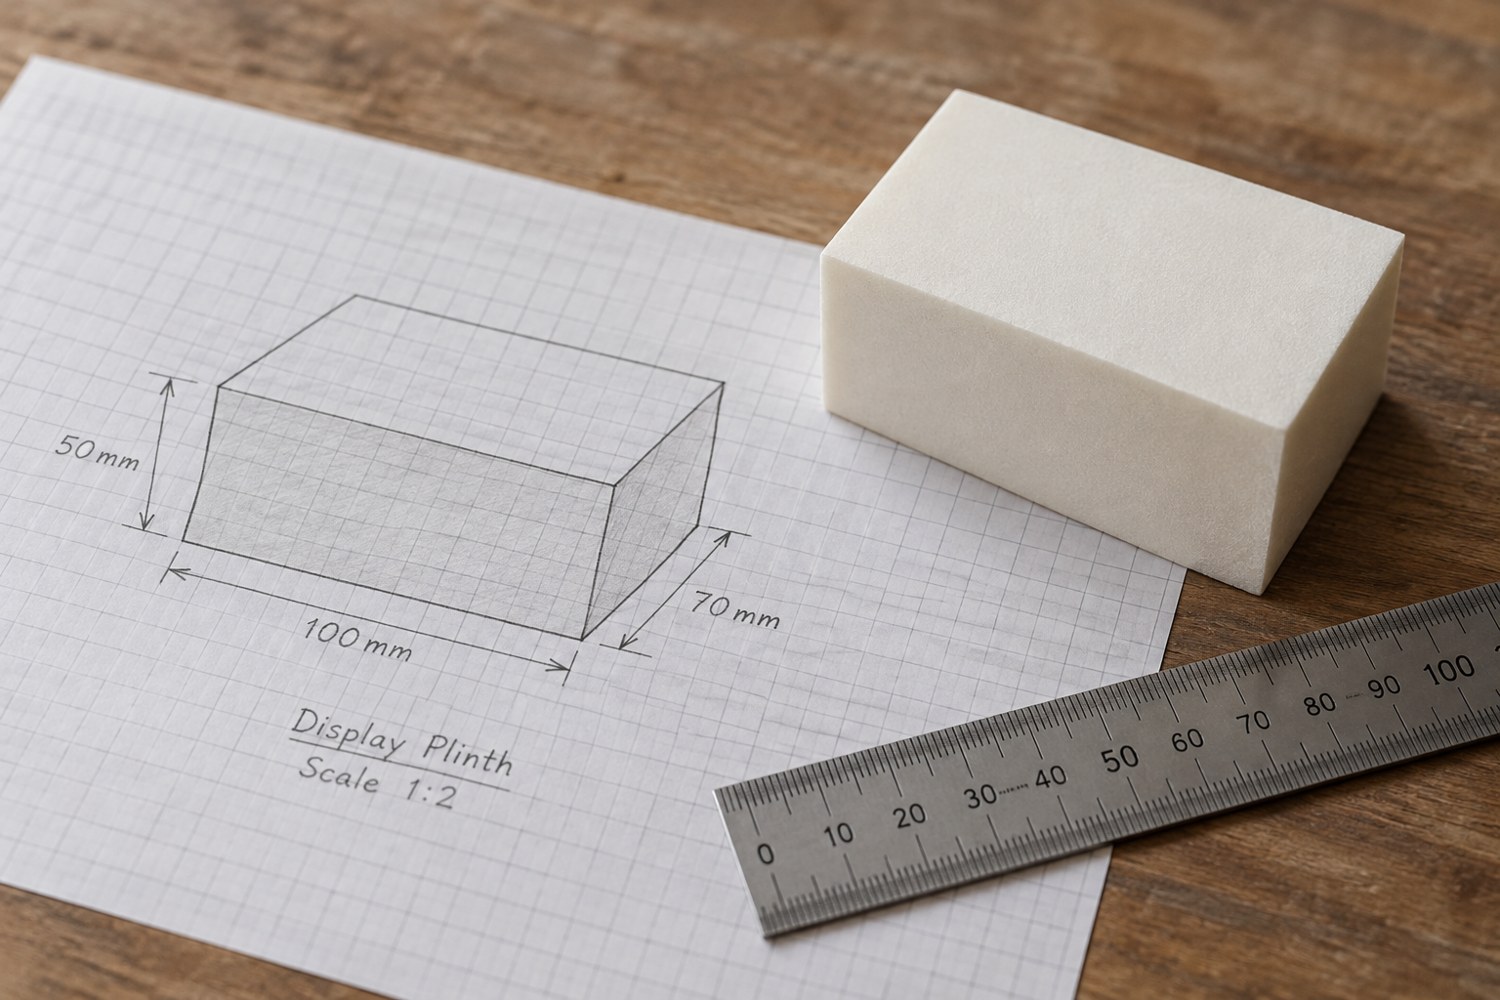
Start a model with dimensions instead of details
Build a short dimensional brief before adding bevels, textures or decorative features. It gives every later modelling decision a reference.
Read article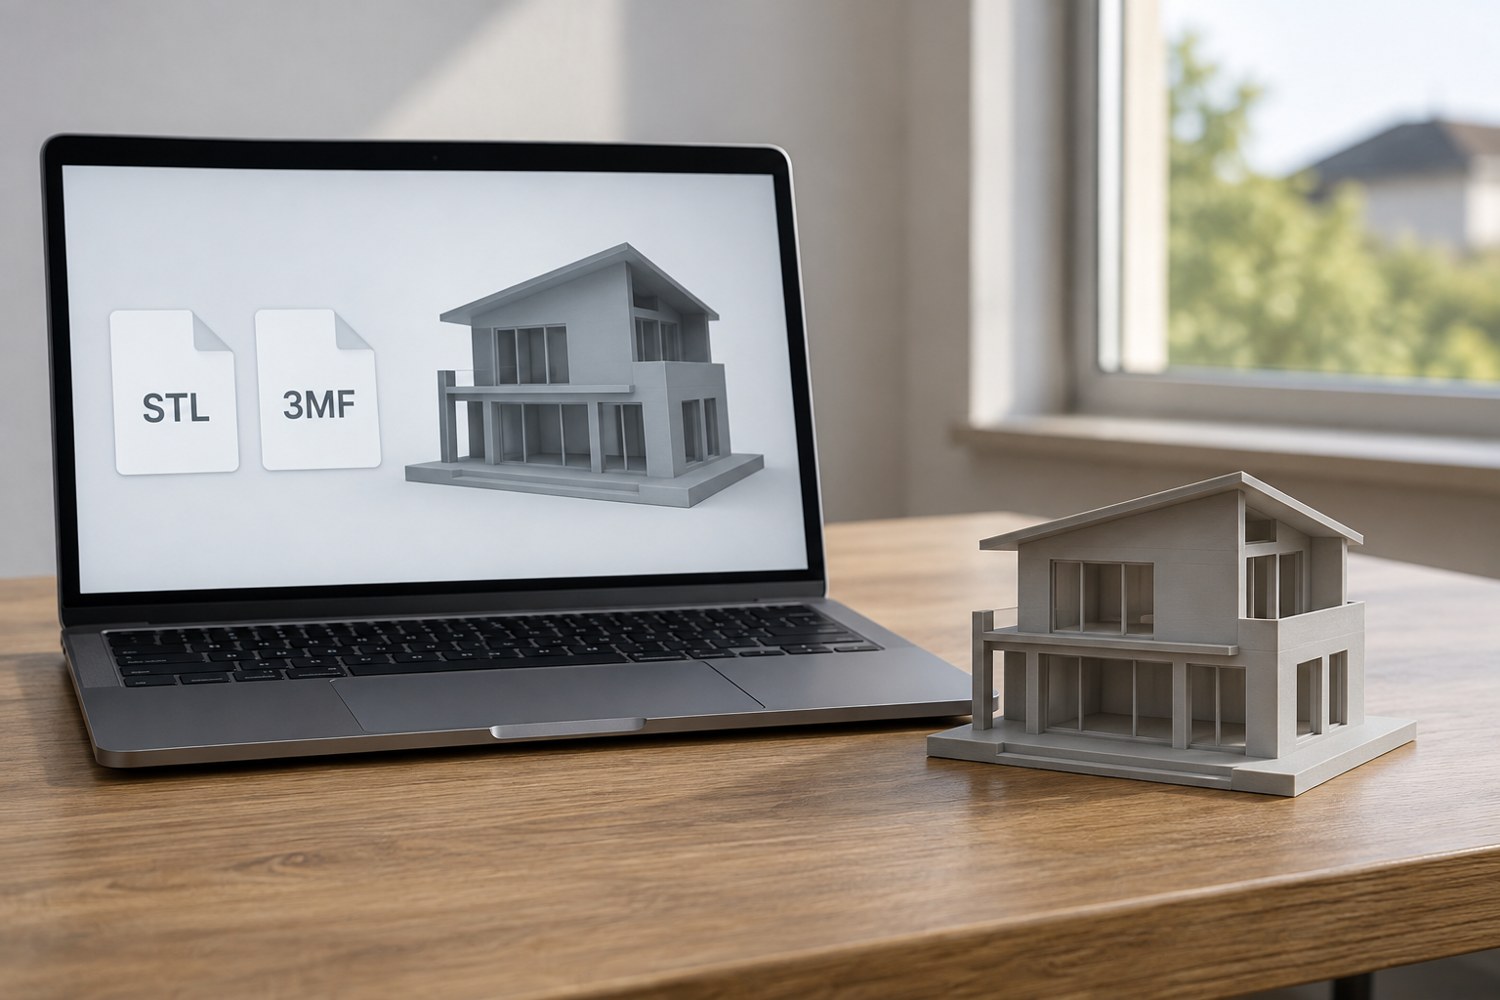
Understand STL and 3MF when sharing a print project
An STL mesh and a saved 3MF project can carry different information. Decide what a recipient needs before choosing the file to send.
Read article