Design a model railway backdrop transition
Use a controlled viewing height, a quiet horizon and a few overlapping forms to join three-dimensional scenery to a backdrop.
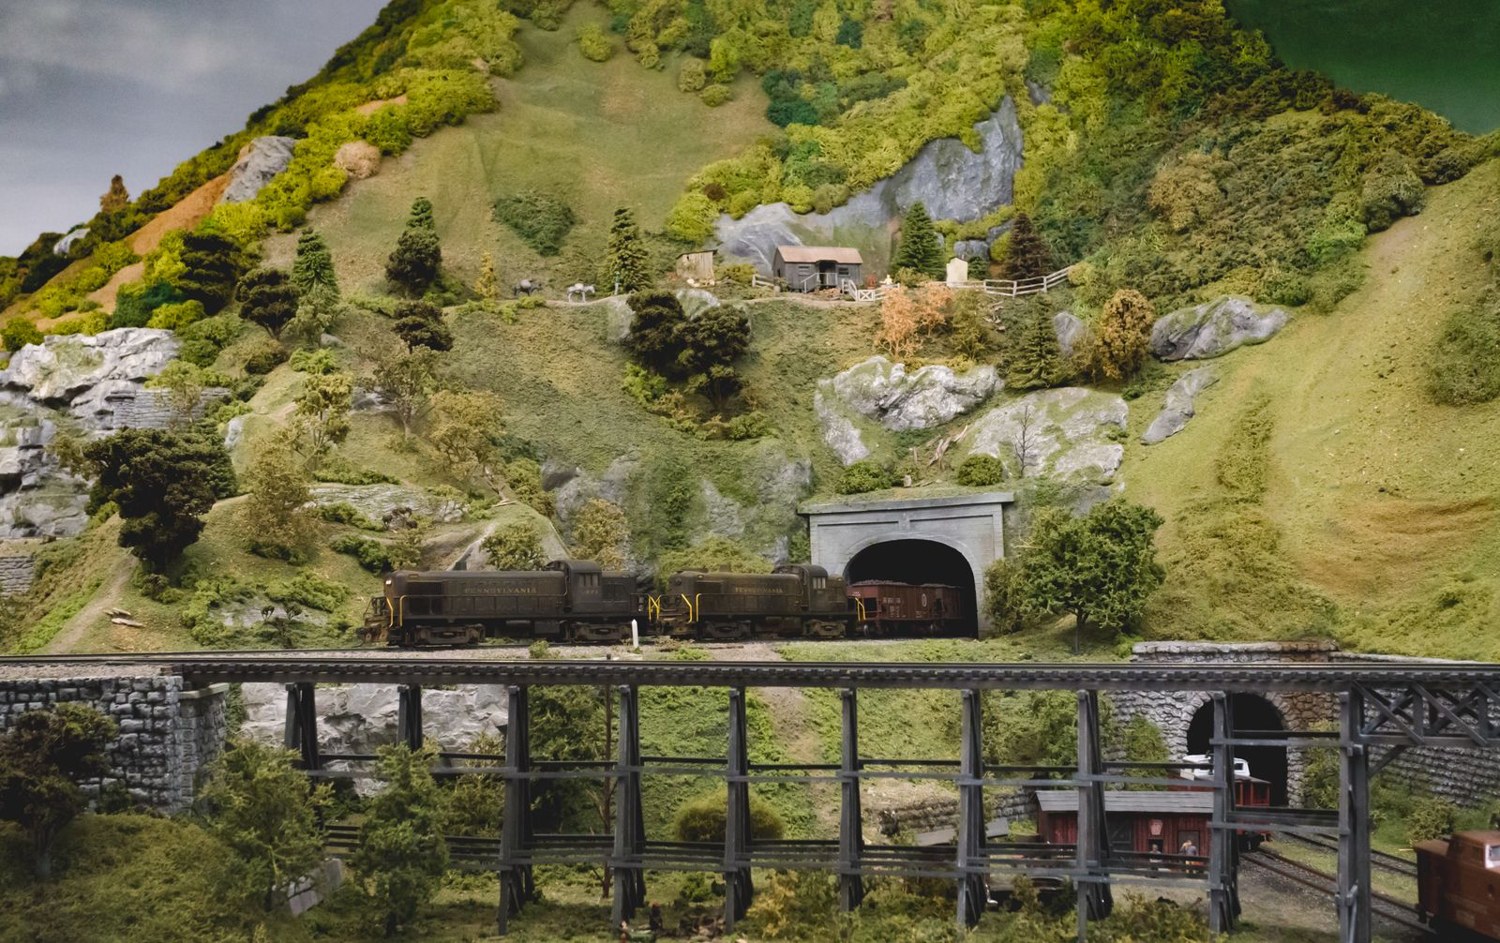
The join between a model railway and its backdrop becomes conspicuous when the scenery stops at a visible vertical line. Start by establishing the main viewing height. A painted horizon that works while standing may sit awkwardly behind the model when viewed from a chair. If several people will use the layout, choose the most important view rather than trying to make every angle equally convincing.
Hold a plain sheet behind the unfinished scene and mark the apparent horizon from that position. Try several heights before painting. Keep the nearest three-dimensional scenery in place during the test; judging the backdrop separately can lead to a horizon that conflicts with the model's hills and buildings.
Avoid a row of objects hiding a seam
A continuous line of identical trees along the back can draw attention to the boundary it is meant to conceal. Use overlapping groups with occasional quieter areas. A low hill, a building corner or a darker vegetation mass can each interrupt the join in a different way.
Let roads disappear at an angle or behind a feature rather than running straight into a flat painted wall. A route that narrows in three dimensions and continues into a painted scene requires careful perspective. For a first backdrop, hiding the transition behind a believable obstruction is often easier to control.
Keep the distant scenery less busy than the foreground. Fewer sharp edges and less local contrast can help separate it from the model without forcing an unrealistic colour change. Test a small painted panel under the layout lighting. The same colour may look different when the backdrop is lit more strongly than the terrain.
Leave maintenance access where track or wiring needs attention. A scenic screen should be removable if it blocks essential work. Test the removal path before adding fragile branches or attaching a long backdrop panel permanently.
Photograph the scene from the viewing point and from slightly to either side. Look for shadows cast onto the backdrop by nearby trees and buildings. Moving those objects forward, changing the light or simplifying their silhouette may improve the transition. A backdrop is most successful when it supports the model quietly; it does not need a second set of detailed landmarks competing with the foreground railway.
Curved corners and access panels
A sharp room corner behind the scenery can be difficult to disguise because its shadow announces the change in plane. If the layout and available materials allow a curved backdrop, mock up the curve before building the terrain in front of it. Check the radius against the usable scene depth and any access requirements. Do not sacrifice essential reach to gain a smoother background.
Where the backdrop must open or detach, place the joint where it can be handled without dragging across trees. A removable panel needs its own locating and support method. Label its orientation and photograph the fit before surrounding scenery makes the connection harder to see.
Keep any printed or painted perspective tied to the main viewing position. A building drawn in strong perspective can look convincing from one point and distorted from another. A more distant, simplified landscape is often less sensitive to this shift. Test a temporary printed or sketched panel at full size before committing to a detailed backdrop.
Another detail to explore
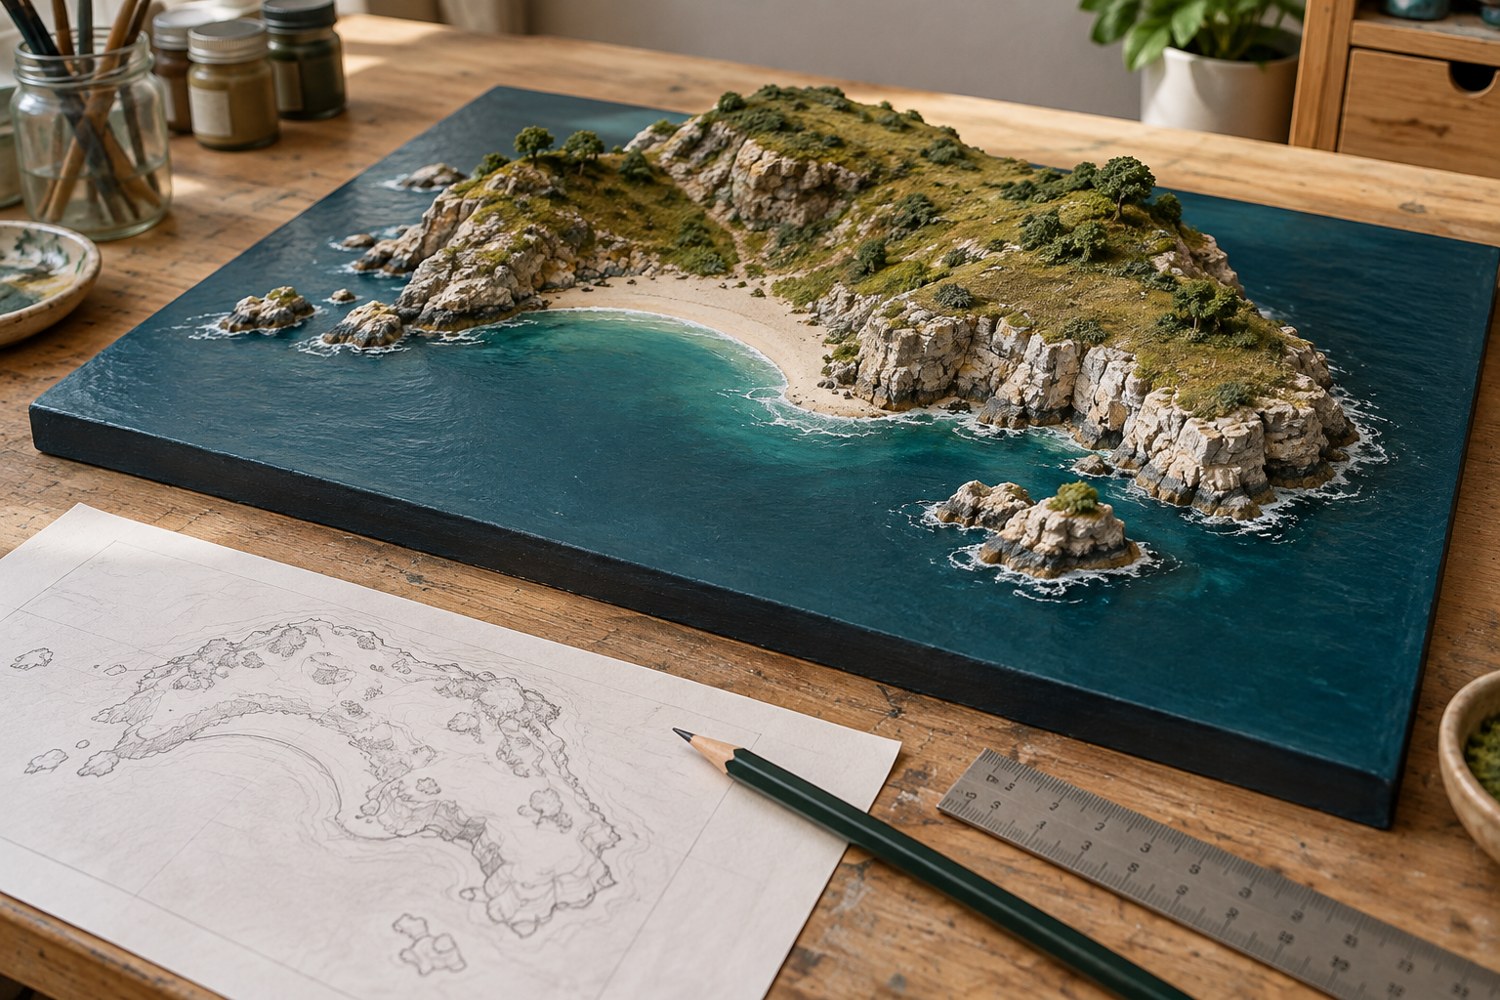
Plan an island diorama before building the coastline
Turn an island idea into a buildable composition by deciding the viewing angle, scale, shoreline and assembly order on paper first.
Read article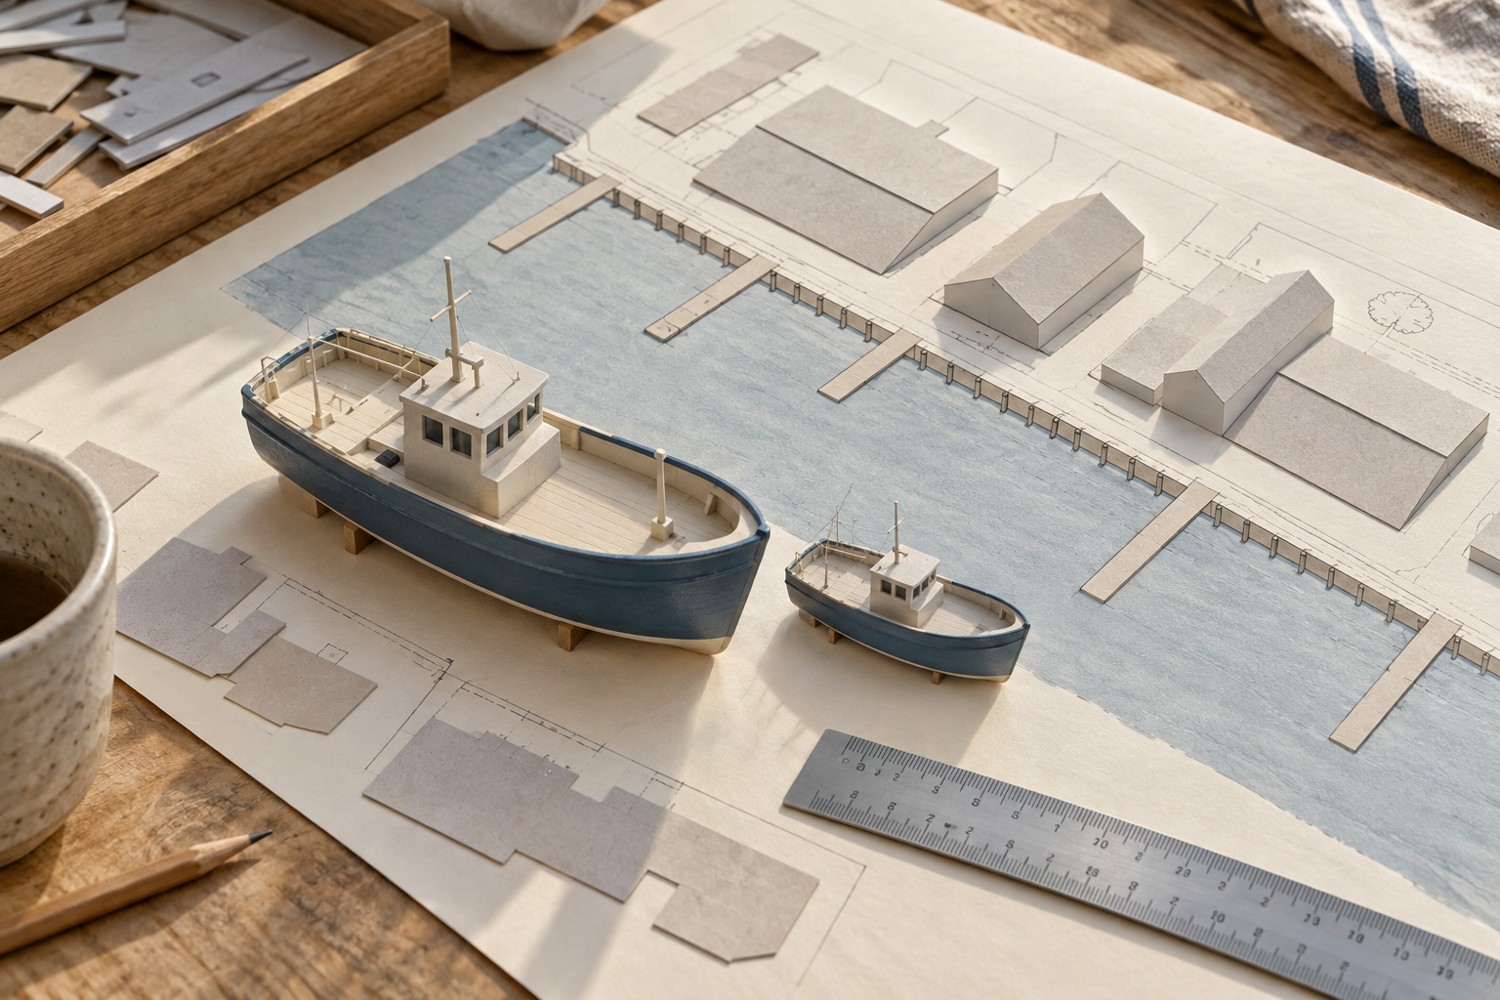
Choose a scale for a miniature harbour
Use the largest boat and the available footprint to choose a harbour scale before buying buildings and fittings.
Read article