Create a shoreline with a dry water-effect approach
Suggest shallow water with colour and surface sheen while keeping the coastline build free from deep pours.
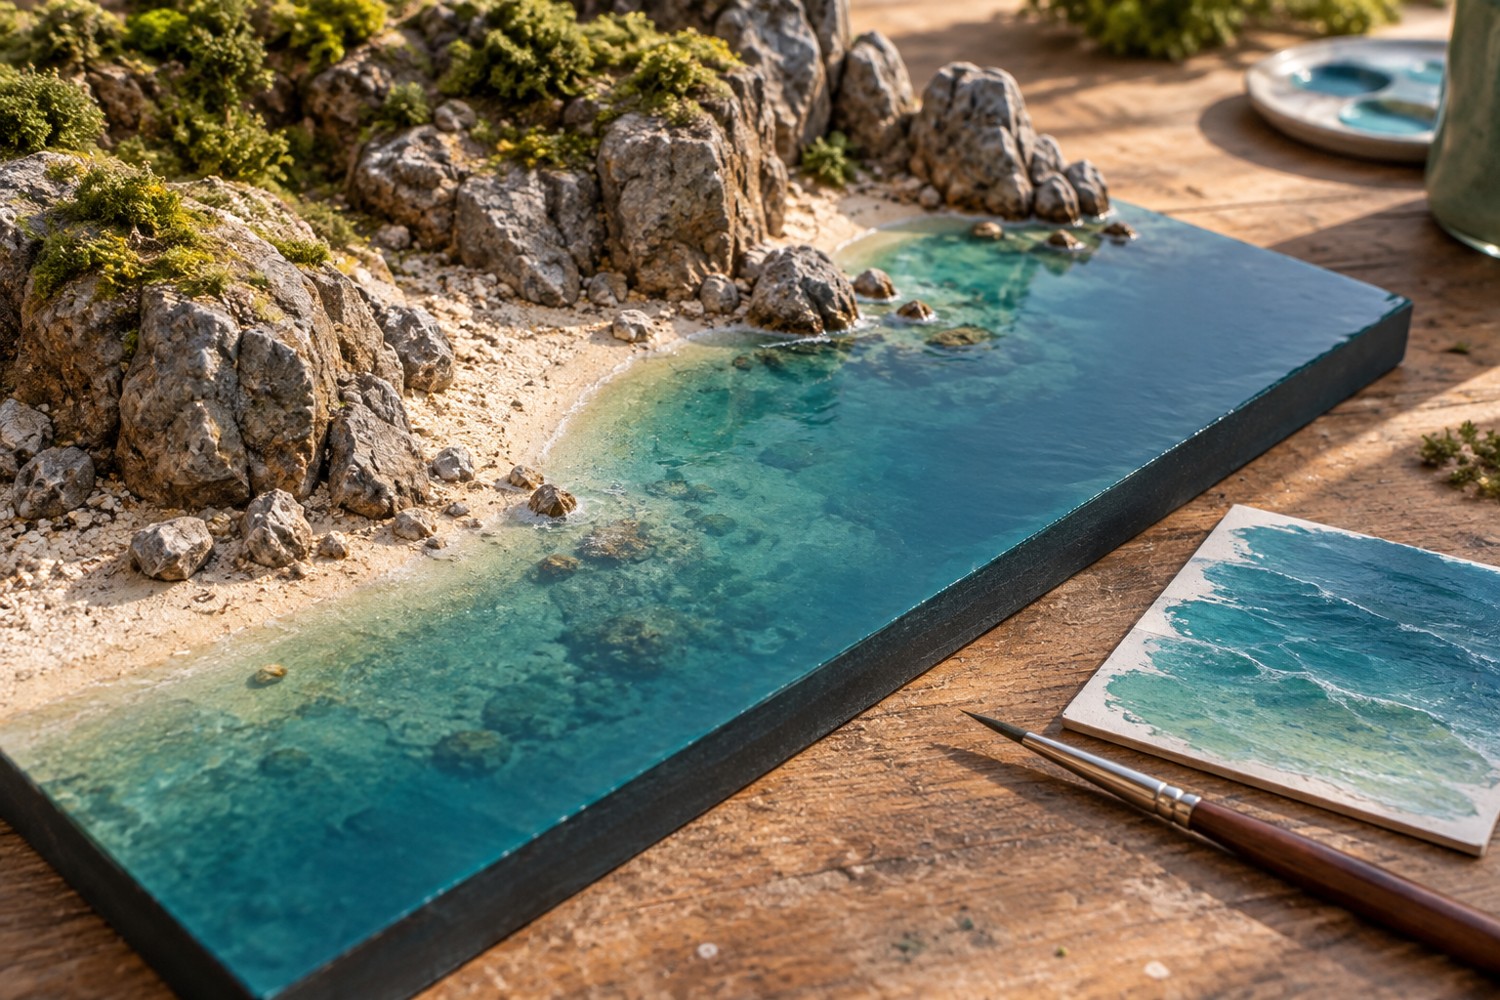
A dry water-effect approach uses a solid base, painted depth cues and an appropriate surface finish. It can suit a small shoreline where the main purpose of the water is to frame the land. It does not create transparent depth around submerged objects, so choose the method before designing a scene that depends on seeing through the water.
Draw the shoreline on a rigid, smooth surface. Put the landform in place without fixing it and check that a useful band of water remains visible. Mark the deepest-looking area, the shallow margin and any reflected colour you want to suggest. These are artistic decisions; they do not need to reproduce a blue gradient around the entire island.
Build the illusion in a sample
Paint a separate scrap with the same base colour and preparation. Try a dark central area transitioning to a lighter or warmer margin. Keep the transition broad enough to avoid a bright outline around the coast. A sharply uniform pale ring can look like decoration rather than shallow water.
Add only a few broken marks for surface movement. Their scale matters. A thick white stroke on a tiny harbour may represent an enormous wave. Test them beside a boat or another scale reference, then view the sample from the distance at which the diorama will be displayed. If the water is meant to be calm, large areas can remain visually quiet.
Choose a clear finish whose manufacturer lists compatibility with your paint and substrate. Apply it to the sample first and follow its handling and drying instructions. A finish can change colour, reflect nearby lights or emphasise brush marks. Judge it under the actual display lighting before applying it across the scene.
The shoreline connection deserves more attention than the centre of the water. Let rock and beach shapes interrupt the edge naturally, but keep stray ground texture out of the painted water. If adding a boat, decide whether its underside needs a shallow seat or whether it will rest on the finished surface; test that contact before painting.
Keep the finished water area away from fingers during assembly. A removable paper guard can protect it while you place buildings and vegetation. Photograph the result from a low angle: reflections may be convincing in person yet obscure the coastline on camera. Adjust the light or viewing angle before adding more painted detail to solve a photographic problem.
Choose the surface movement before painting foam
An enclosed harbour and an exposed coast can use different mark patterns even within the same palette. Draw a few directional lines on the paper plan to establish the movement you want to suggest. Keep them broad and sparse. This is an artistic organisation tool, not a fluid simulation, but it stops the finished surface from containing unrelated waves pointing everywhere.
For a calm inlet, reflections and a slight sheen may carry most of the effect. For a more active shoreline, short broken highlights near selected rocks can suggest contact with the coast. Leave some areas without white marks so those accents remain meaningful. A continuous bright border around the island often reads as an outline rather than water.
Test the composition with the boat in place. Its painted waterline should agree with the level represented on the base, and the hull should not cast an unexplained shadow from sitting above the surface. If the boat is removable, keep its contact zone consistent with that requirement instead of covering the gap with permanent scenery.
When the model is photographed, a glossy surface may reflect the camera or room. Move the light and viewing angle first. Adding more texture to eliminate one reflection can make the physical scene unnecessarily busy. Keep a reference photograph of the successful lighting position with the project images.
Another detail to explore
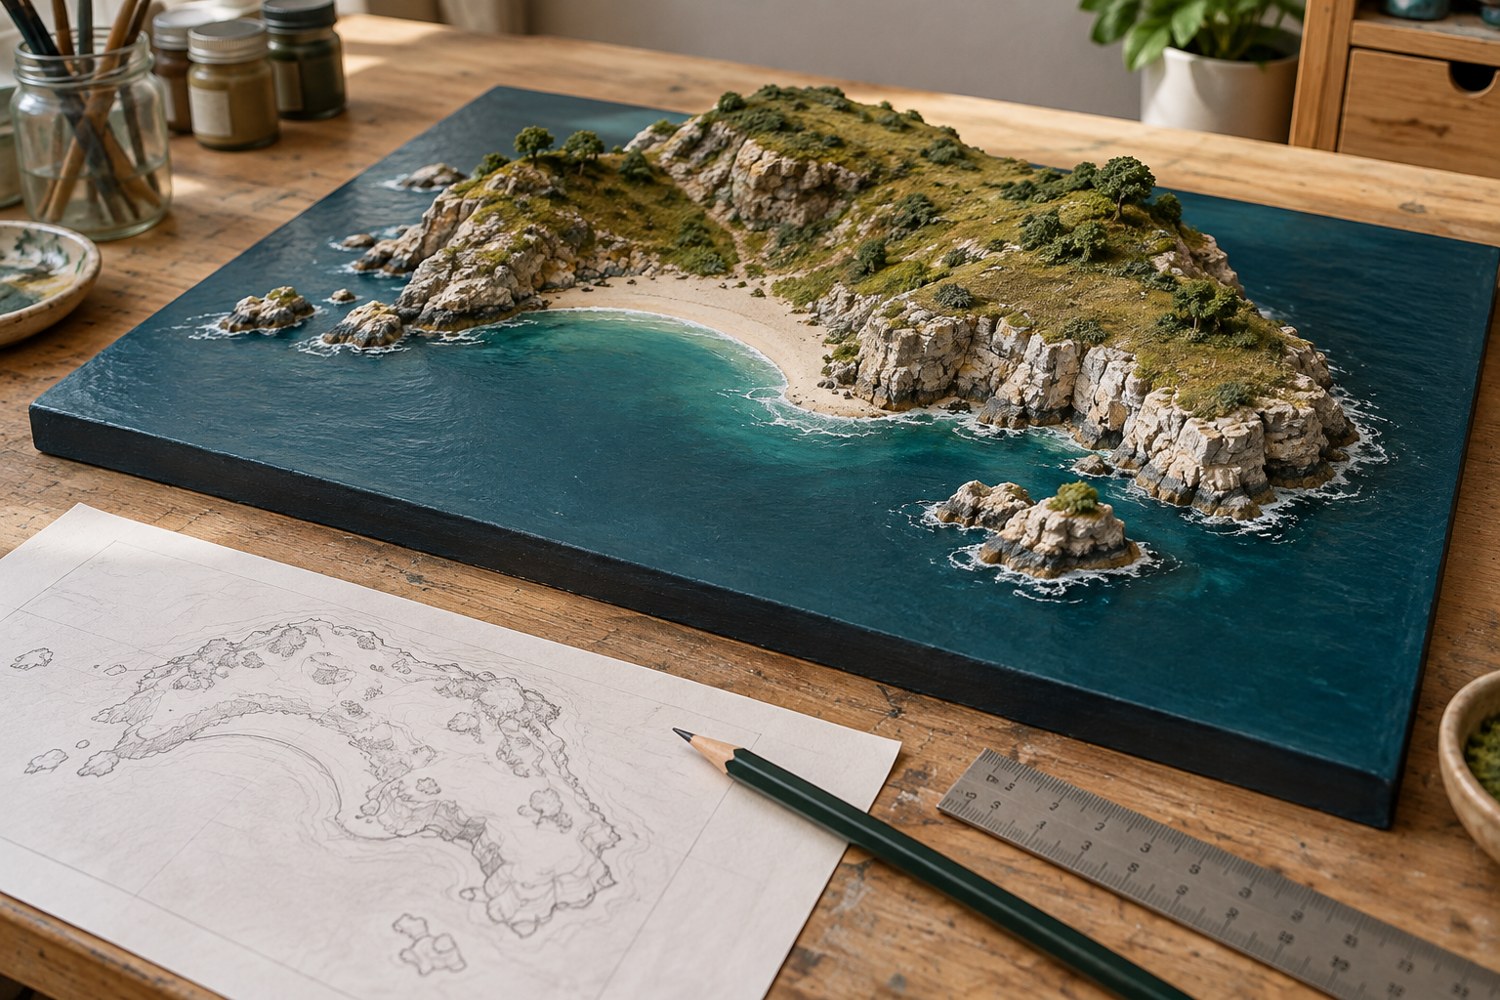
Plan an island diorama before building the coastline
Turn an island idea into a buildable composition by deciding the viewing angle, scale, shoreline and assembly order on paper first.
Read article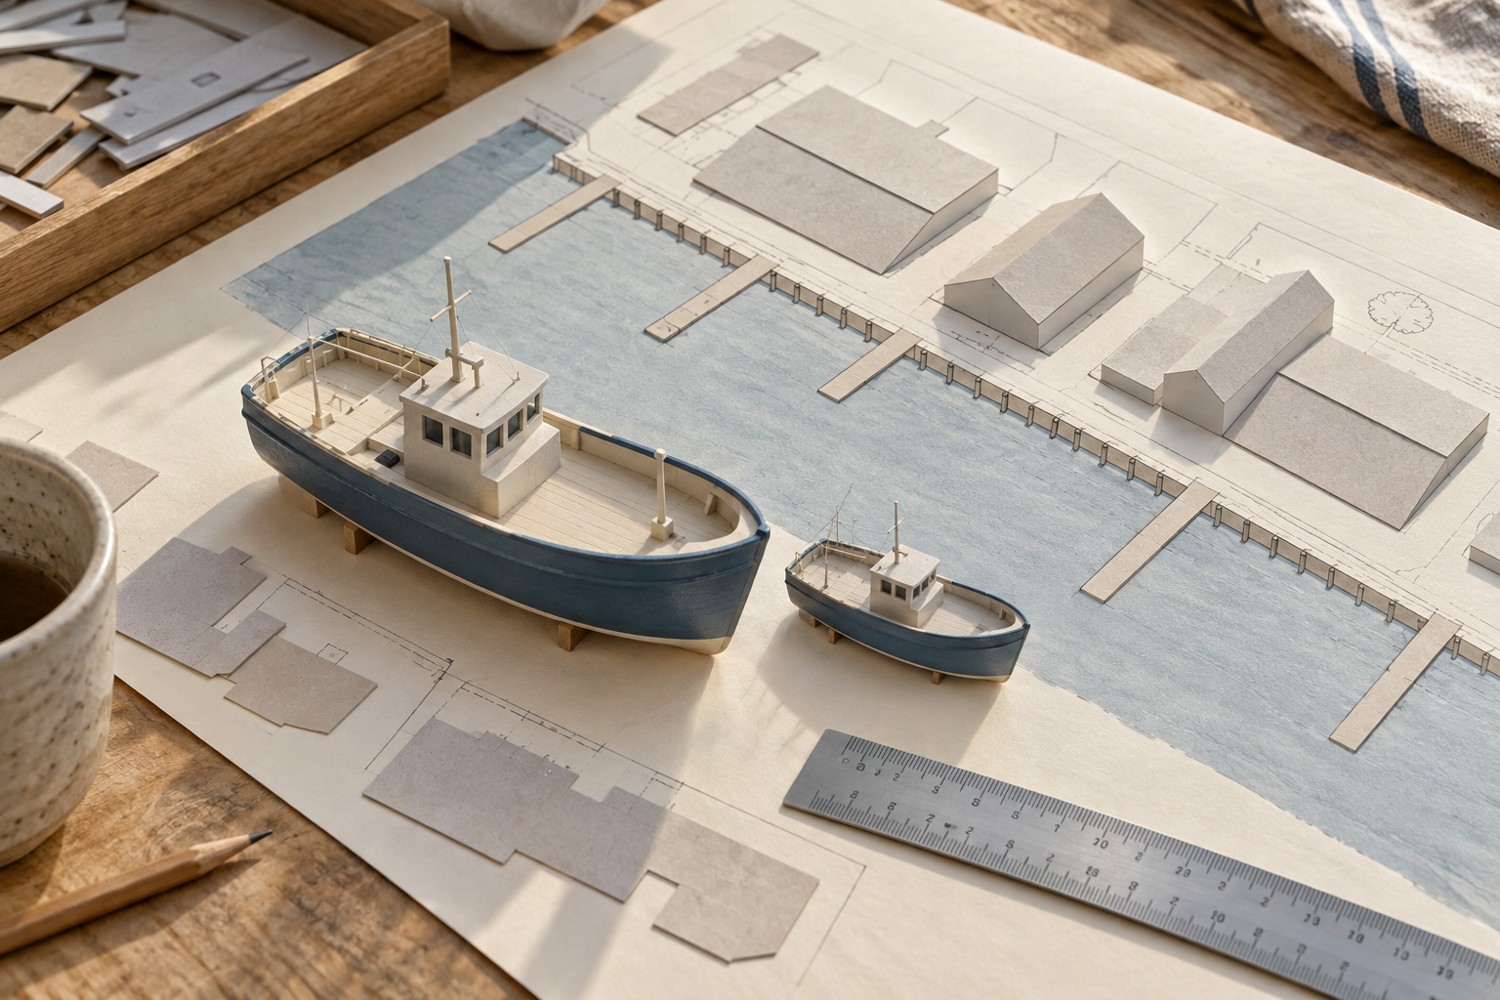
Choose a scale for a miniature harbour
Use the largest boat and the available footprint to choose a harbour scale before buying buildings and fittings.
Read article