Create a removable bridge for modular scenery
Design a bridge and its landing points together so the span can be lifted out without disturbing the surrounding scenery.
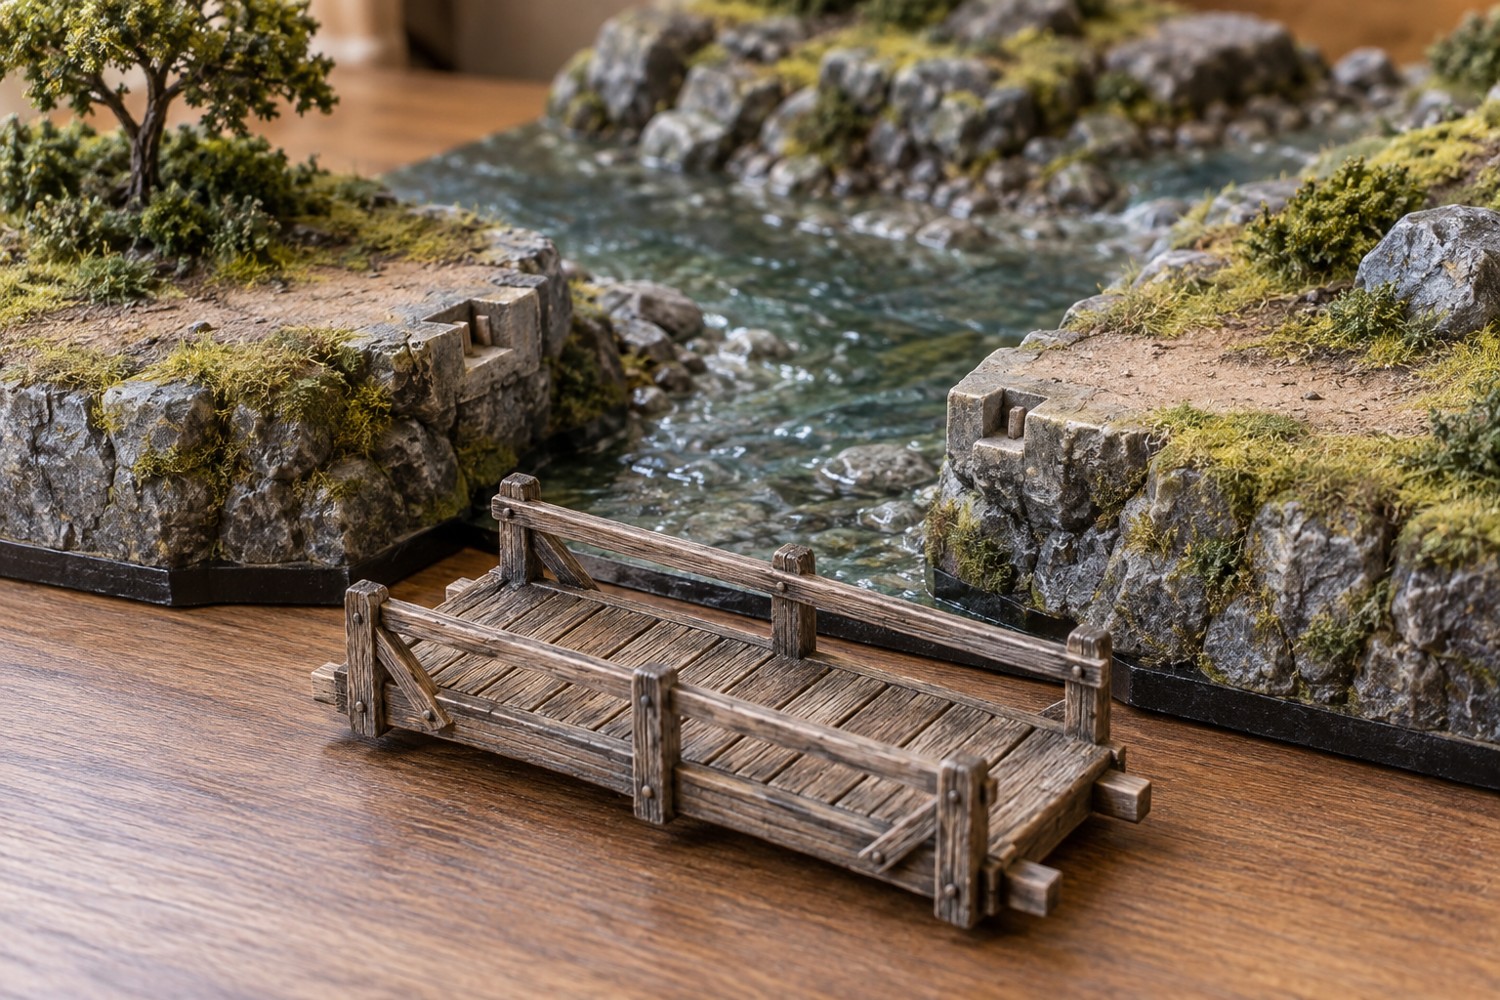
A removable bridge is a three-part system: the span and two landing points. Start by fixing the distance and height relationship between the banks. A bridge that fits its own drawing can still rock on uneven terrain or end above the approach road. Use a temporary straight strip across the gap to establish the walking or driving surface.
Mark where the bridge actually rests. Keep these bearing areas separate from decorative railings and projecting details. The span should sit on broad, stable contacts rather than hang from a tiny peg. Test with an undecorated mock-up and check both ends from table height.
Leave a way to lift it
Choose a handling point near a solid part of the deck or underside. Do not make the handrail the only accessible grip. If the bridge is small, a discreet clearance under the deck may allow fingers to lift it evenly. Rehearse that movement with neighbouring buildings and trees represented by blocks.
Decide whether the bridge has a preferred orientation. If the two ends differ, mark the underside and use an asymmetric locating arrangement. A pair of identical-looking ends that fit only one way can lead to repeated forcing. If the bridge must work in either direction, test both before finishing.
Keep paint and ground texture off the locating surfaces until the fit has been checked. A small allowance is useful, but there is no universal clearance that suits every material or printing process. Use a sample joint and allow room for the finishes you intend to apply. The bridge should settle into position under its own weight, without spreading the banks apart.
Blend each approach with a short transition surface. A path should meet the deck rather than stop just before it. Avoid attaching grass, ropes or cables across a removable joint unless they detach separately. Such details can silently turn a removable span into a fixed one.
Pack the bridge apart from the terrain for transport. Support the deck and leave the railings clear. Keep a photograph showing its installed orientation with the storage tray. On the finished board, check that a representative gaming figure or display vehicle can cross if that is part of the intended use. Appearance, handling and access should all work before the bridge receives its final small details.
Make the banks tolerate repeated assembly
A removable span invites repeated contact at the landings. Keep the immediate bearing surface durable and easy to inspect. Fragile ground texture can sit beside it, but should not be the material that establishes the bridge height. A discreet solid ledge hidden beneath the deck can separate the structural contact from the scenic finish.
Test whether both ends seat at the same time. If one end enters a deep locating feature before the other can lower, the installation motion may scrape the opposite bank. A shallower guide or a different orientation can make the span easier to place. Rehearse with the actual clearance around the bridge, including any cliffs or trees.
If different modules will share the bridge, make a single spacing reference and check each pair of banks against it. Do not alter the bridge to compensate for every new module. That can create one span that fits none of the earlier locations properly. Keep the original gauge and identify any intentionally different bridge length as a separate part in the collection.
Another detail to explore
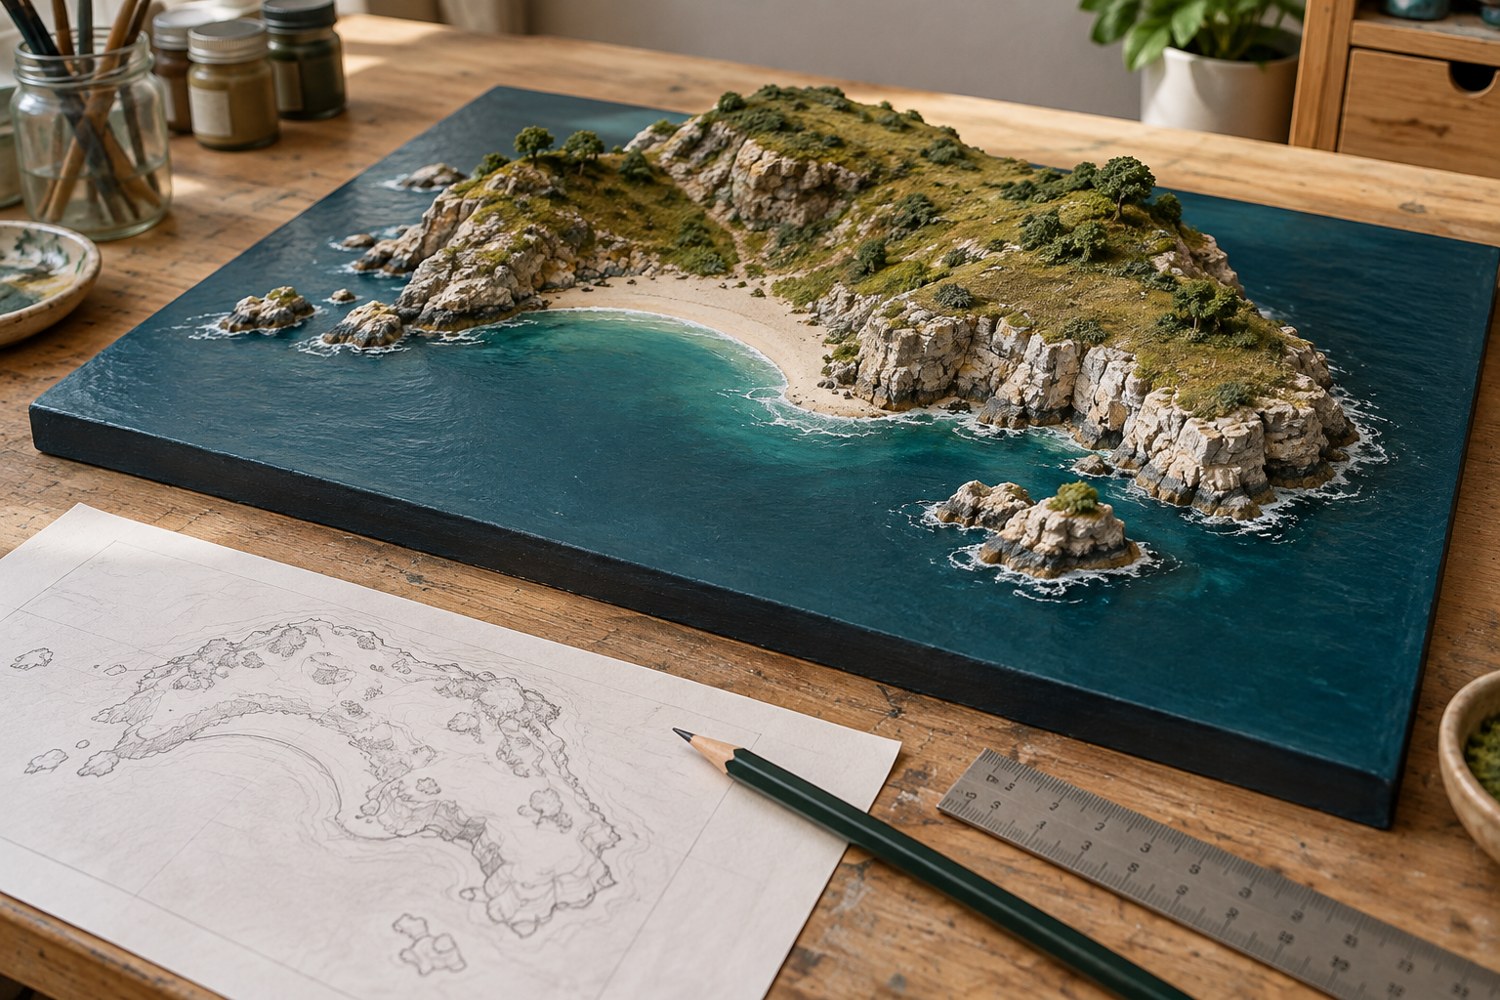
Plan an island diorama before building the coastline
Turn an island idea into a buildable composition by deciding the viewing angle, scale, shoreline and assembly order on paper first.
Read article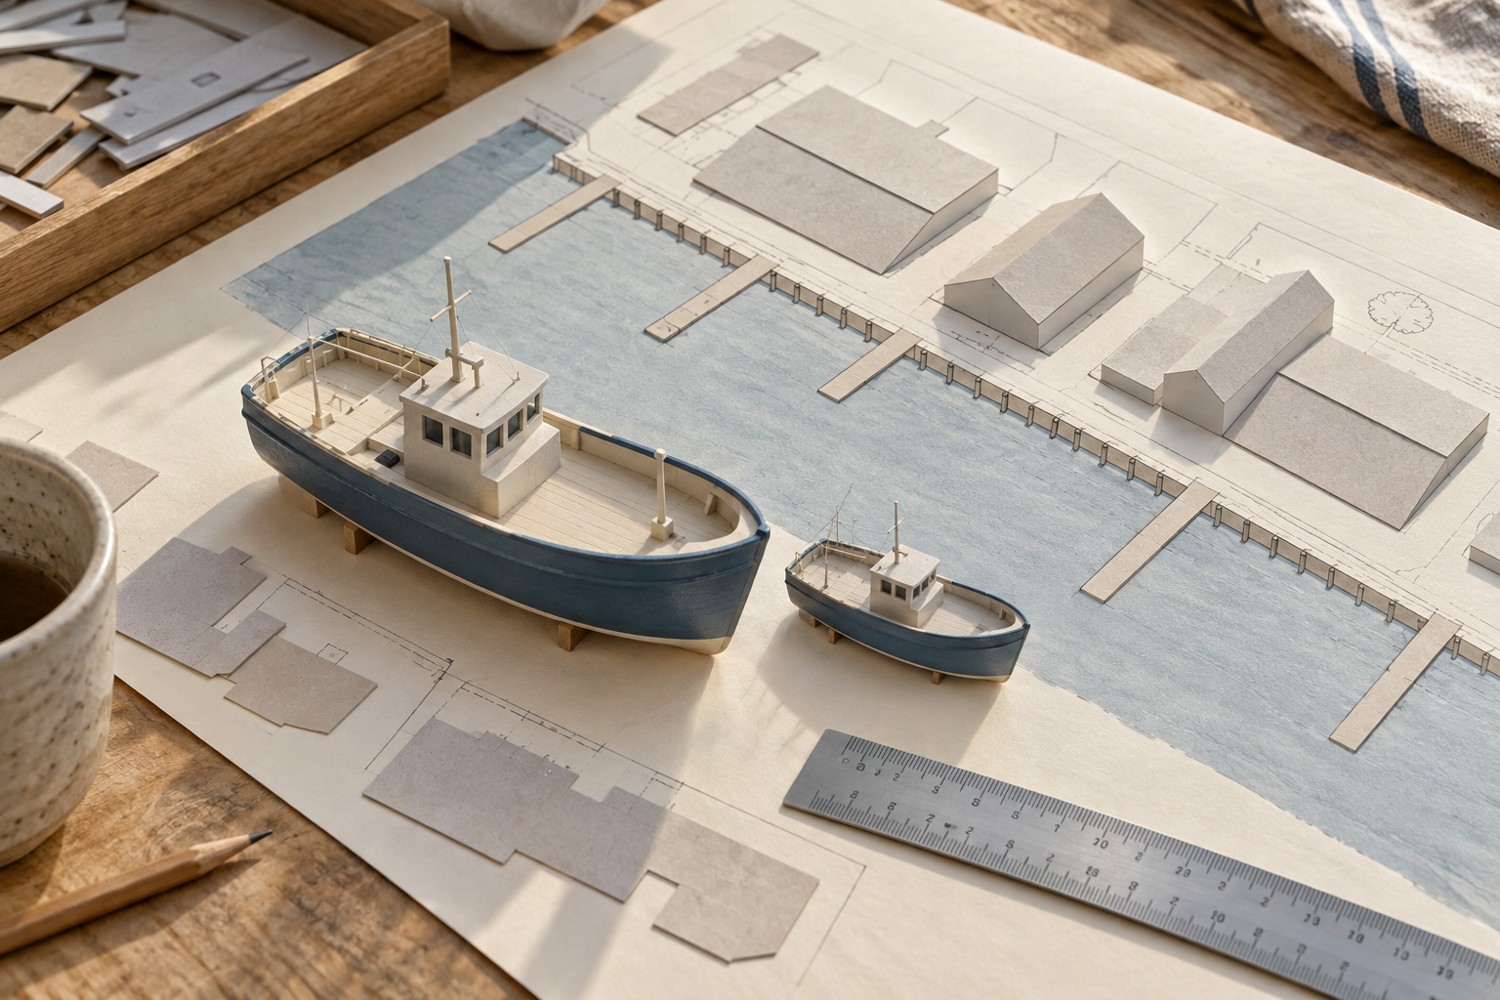
Choose a scale for a miniature harbour
Use the largest boat and the available footprint to choose a harbour scale before buying buildings and fittings.
Read article