Choose hand tools for cleaning a filament print
Choose a few tools for accessible cleanup tasks and keep cutting forces away from delicate features.
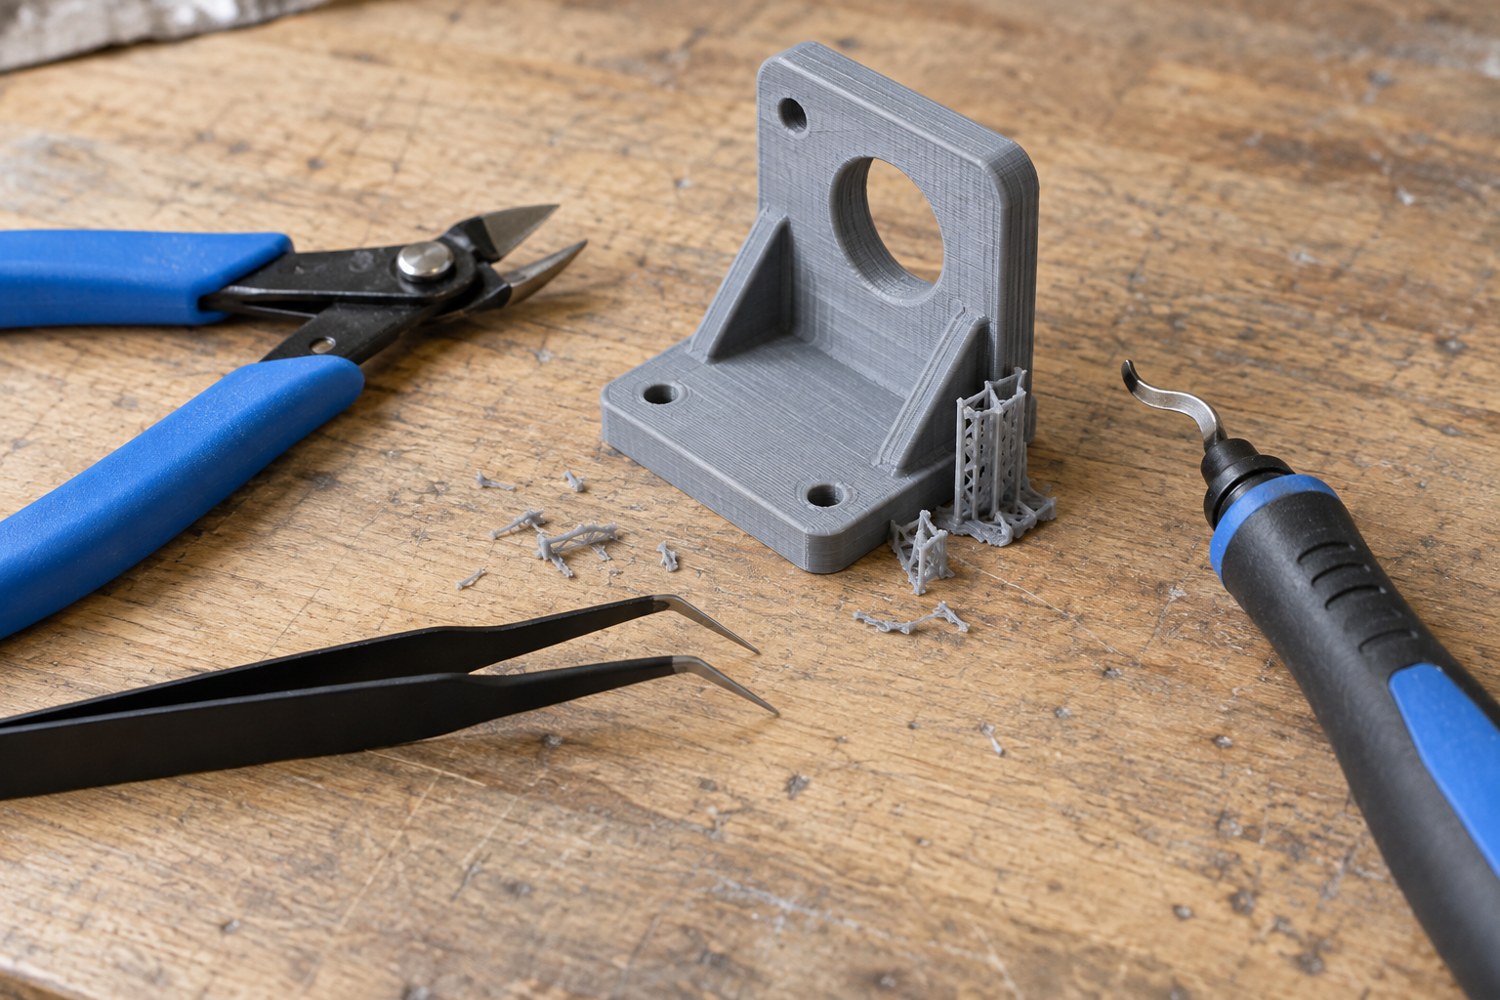
A large tool kit is not necessary for every filament model. Start by identifying what must be removed: a brim, a support attachment or a small raised blemish. Different tasks call for different contact and control. A tool that removes material quickly from a solid base can damage a thin window frame just as quickly.
For an initial kit, consider a suitable pair of flush cutters, small pliers, a fine file and a stable cutting surface. Select tools rated for the material and task. Flush cutters intended for light plastic work should not be used on metal hardware merely because the jaws fit around it. Keep cutting edges in good condition and store them so that they cannot catch a hand searching through a box.
Let the print cool and remove it using the printer's documented method before detailed cleanup. Hold the part close to the area being worked without placing fingers in the cutting path. Wear eye protection where fragments can be ejected. Support a delicate feature from beneath when possible, and remove small amounts rather than using it as a lever against a large support mass.
Work from accessible waste towards the final surface. Cut a support into manageable pieces if that gives a controlled removal route, but stop if the next cut would load a fragile detail. Sometimes the right response is a revised orientation or support arrangement on the next print, not a sharper tool forced into an impossible gap.
Use a file selectively on surfaces that can tolerate the change in shape. A broad flat file can preserve a plane better than rubbing a corner with a fingertip, but it can also erase an intentional edge. Test the motion on a spare print and inspect frequently. Do not try to make every surface perfectly smooth when the model's intended texture is part of its appearance.
Keep a small tray for removed fragments and clear it before beginning assembly. Put sharp tools away when switching to painting or handling tiny finished parts. The most useful cleanup kit is one you can control and maintain, with each tool chosen for a visible task rather than an assortment that encourages unnecessary cutting.
Another detail to explore
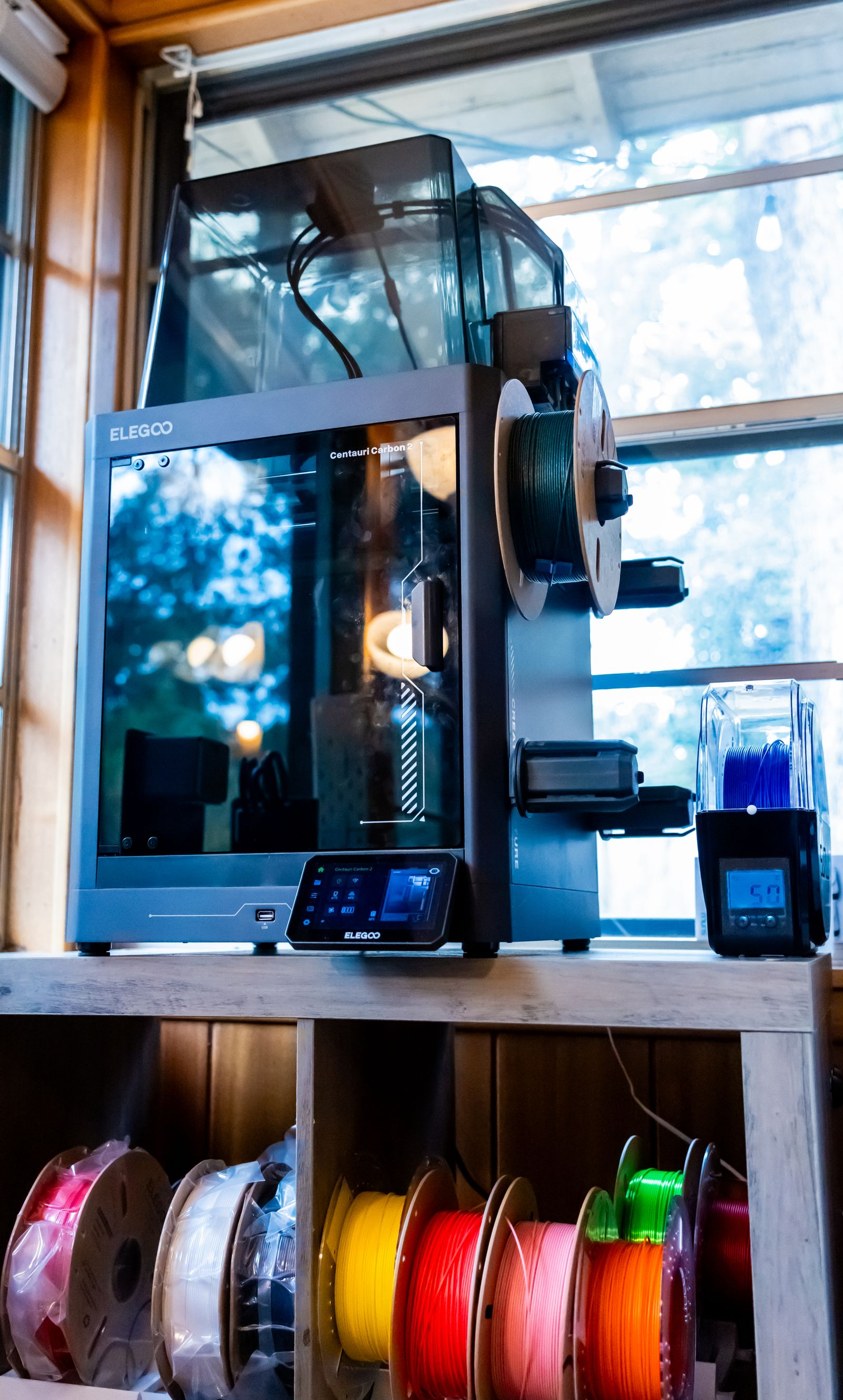
Store filament with a label you can actually use
Keep material identity, opening date and profile information with the spool through storage and use.
Read article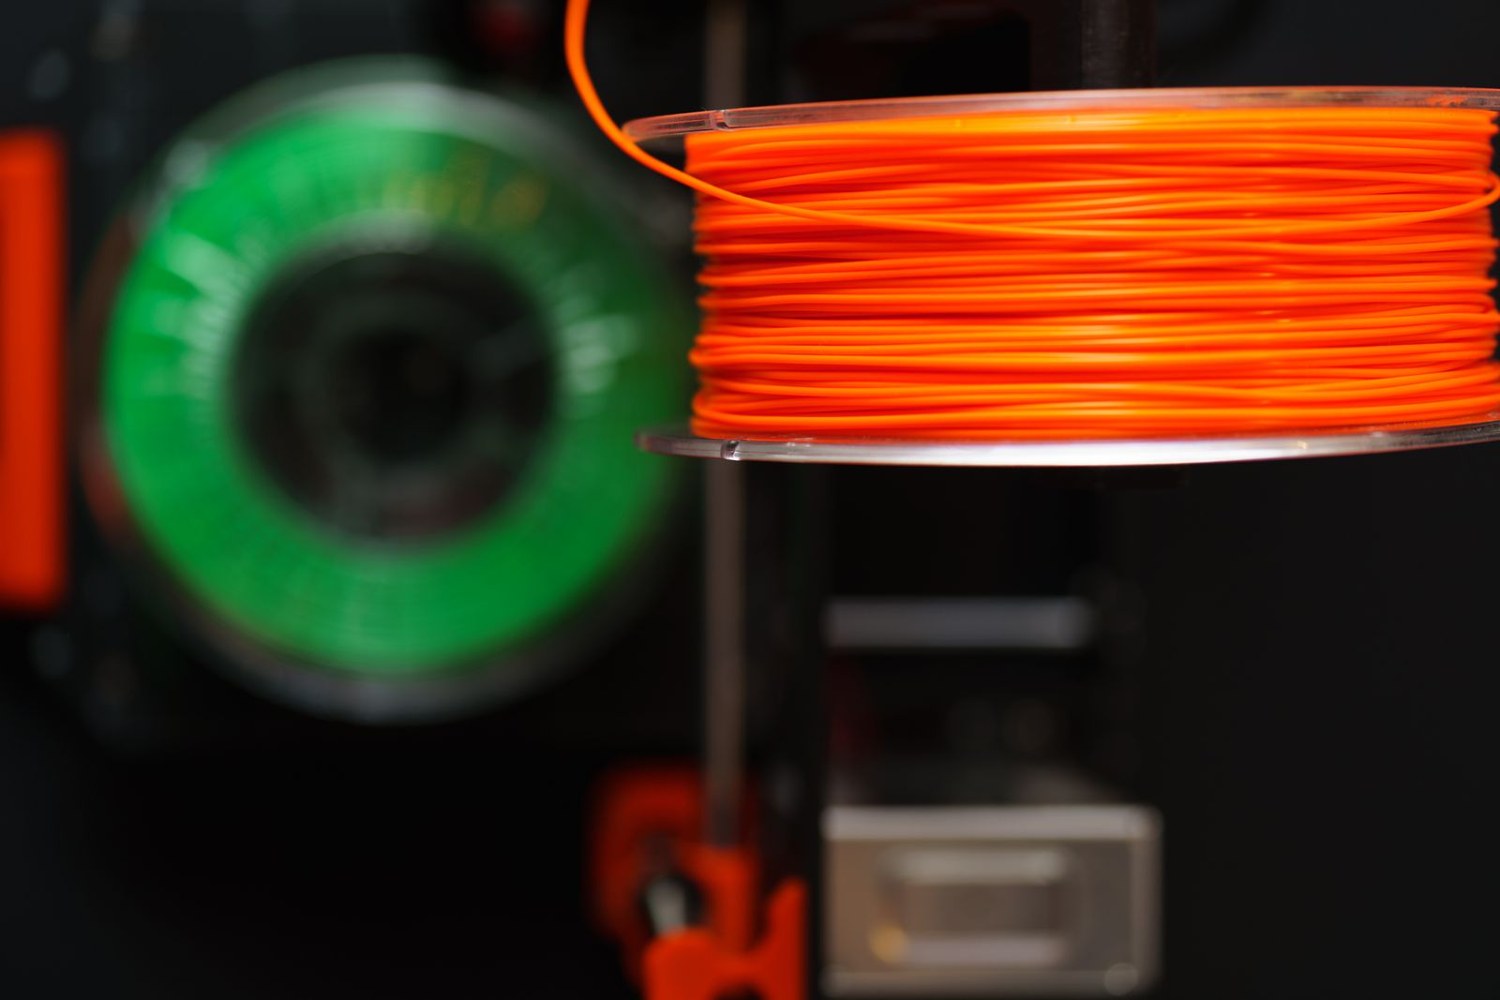
Choose between PLA and PETG for an indoor model
Choose material around handling, shape and finishing rather than treating one polymer as a universal upgrade.
Read article