Build a ruined wall with readable structure
Keep the wall's original construction legible so broken edges and rubble describe damage rather than random texture.
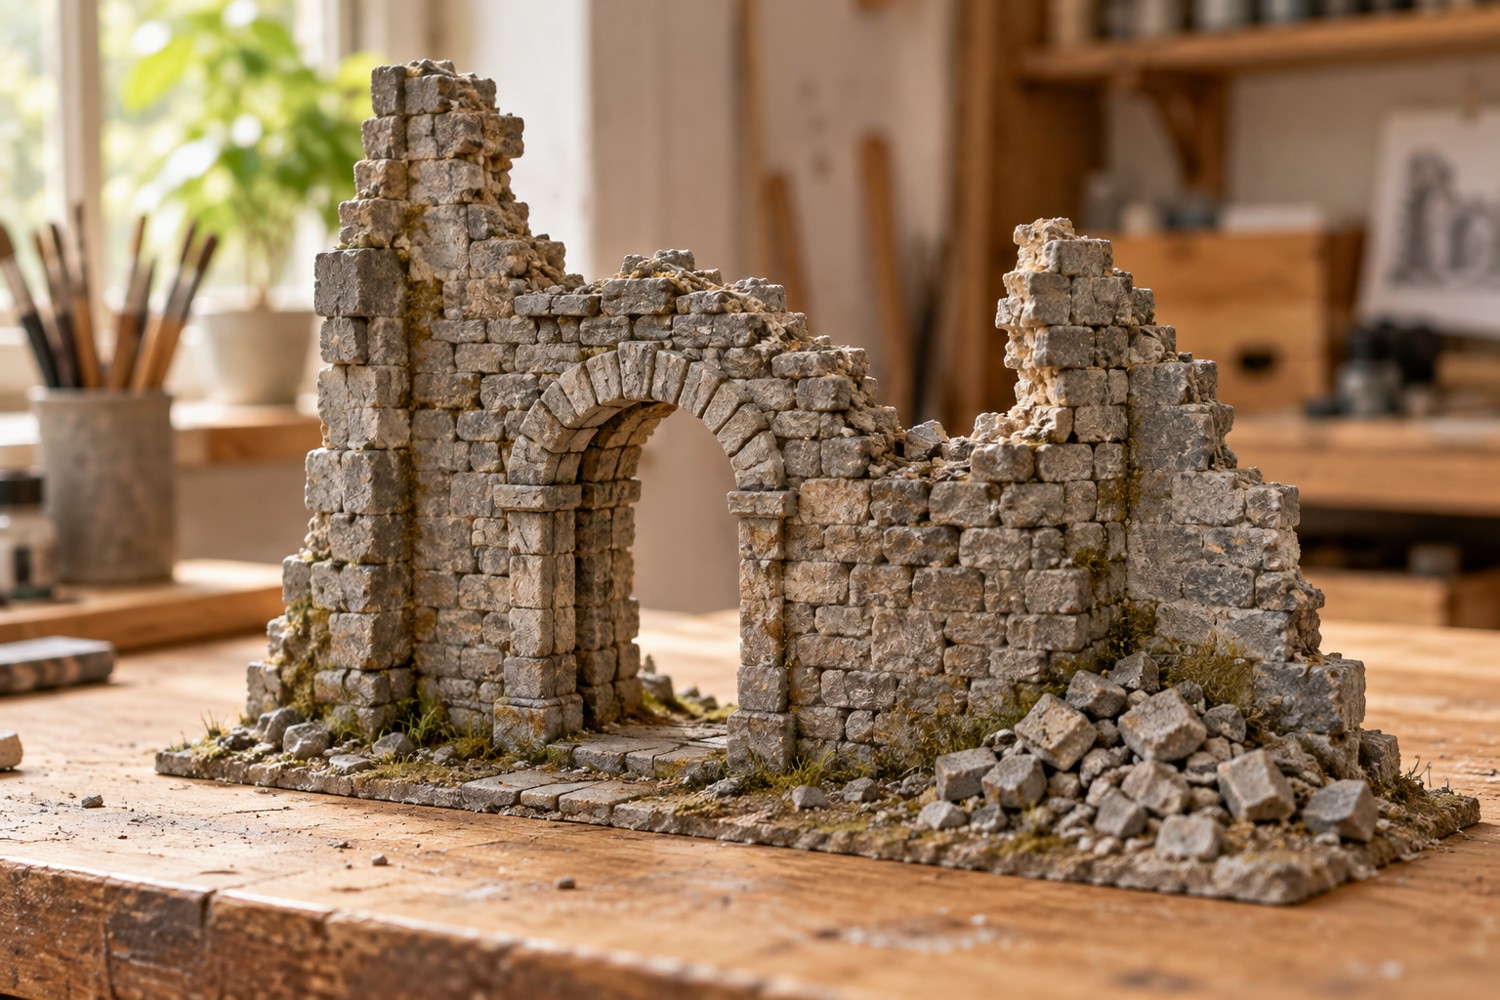
A ruined wall is easier to understand when you first imagine the complete building. Decide where the floor, doorway and roof would have been. Draw that intact outline lightly on paper, then remove selected parts. The remaining structure should still suggest what stood there, even if much of it is missing.
Choose a construction language: block stone, brick, timber framing or a fictional material. Keep the surviving courses, joints and thickness consistent with that choice. Randomly mixing several patterns can make the wall look assembled from scraps unless that history is intentional.
Break the silhouette selectively
Give the top edge a few larger changes in height rather than a uniform sawtooth pattern. Preserve one recognisable corner or opening as an anchor. A doorway cut into an otherwise shapeless fragment can help establish scale, but it needs enough surrounding wall to read as a built opening.
Think about which parts support the model physically. This is a miniature composition, not a structural engineering reconstruction, but a heavy overhang on a tiny contact is vulnerable. Use supported shapes and compatible joints. Do not rely on rubble glued against the side to hold the main wall upright.
Place fallen material after the standing wall is arranged. Larger fragments should have a relationship to the missing areas, while smaller rubble can soften their edges. Leave some ground visible. A continuous carpet of equally sized chunks makes it difficult to distinguish the ruin from its surroundings.
For gaming terrain, test the intended figure bases and access routes. A dramatic pile at a doorway can prevent play through the opening. Decide whether the ruin is meant to be crossed, occupied or simply viewed, and shape the footprint accordingly.
Paint the standing wall and rubble with related colours, then vary selected pieces. Keep the break surfaces readable without outlining every fragment. A controlled difference between recesses and exposed edges is usually more useful than covering the entire ruin in heavy dark wash.
Look at the model from several angles before fixing tiny details. One side may reveal an implausibly thin wall or a flat back that was hidden during construction. If the display has a fixed viewing direction, that may be acceptable; if it will sit in the middle of a table, resolve those views as part of the design. Save a clear lifting edge beneath the rubble for handling.
Plan the wall thickness at openings
Doorways and windows expose the thickness of a ruin. Look through the opening from the side and check that the inner face belongs to the same construction as the exterior. A detailed outer wall backed by an obviously thin sheet can break the illusion more strongly than an undecorated rear area elsewhere.
Use the opening as a place to show the building's former structure. A remaining lintel, sill or clean segment of jamb can make the damage readable without requiring a complete wall. Keep any projecting piece physically supported and avoid placing it where a hand will naturally reach through during gaming.
Separate rubble that belongs to the standing ruin from loose scenic accessories. Fixed debris can blend the wall into the ground, while removable debris can preserve access and allow different arrangements. Give removable pieces a stable underside so they do not wobble on every textured surface.
Before painting, check the outline against a plain background. A few large missing sections should remain visible as shapes. If the entire edge has become uniformly jagged, simplify one area and preserve another longer intact section. The contrast between intact and broken construction is what helps the viewer understand the damage.
Another detail to explore
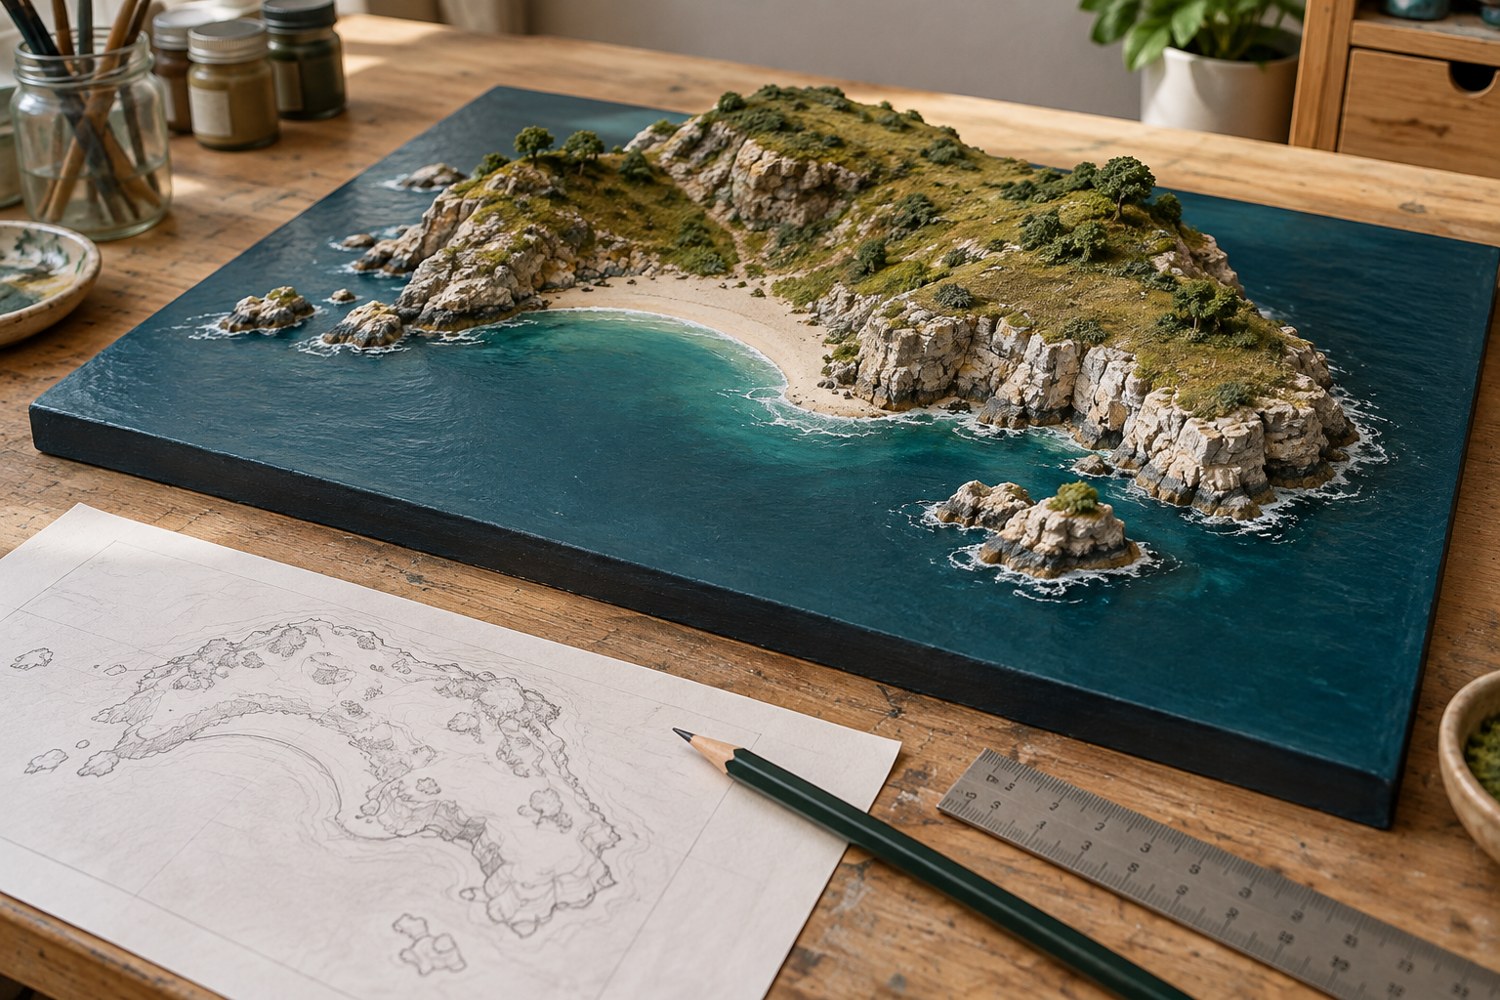
Plan an island diorama before building the coastline
Turn an island idea into a buildable composition by deciding the viewing angle, scale, shoreline and assembly order on paper first.
Read article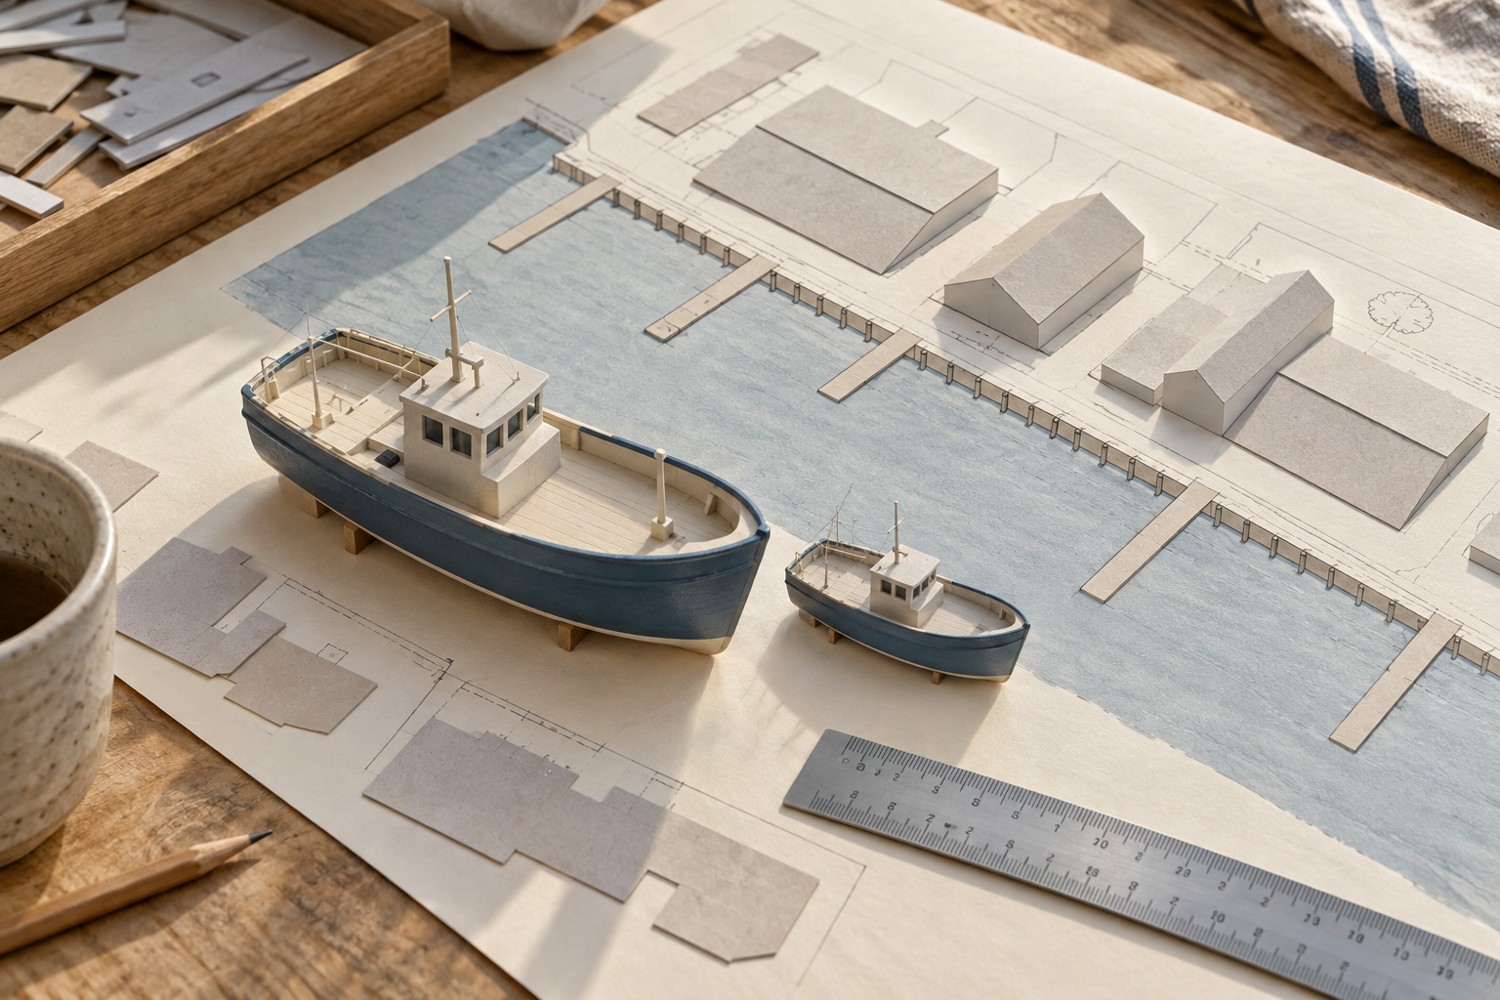
Choose a scale for a miniature harbour
Use the largest boat and the available footprint to choose a harbour scale before buying buildings and fittings.
Read article